Easy Bathroom Makeover: How to Quickly Give Your Bathroom a New Look!
I’ve been helping my sister and brother in law refresh their beach house for a little while now. We started with giving their living room a whole new look and layout and then we made minor tweaks to the dining room. (In case you missed it - catch up here!)
And this weekend I’ll be heading out there again to give one of their bathrooms a little update! They have two full bathrooms in their house, and this one is on the lower level. It’s the one that everyone uses when they have parties or company, which is why they wanted to spruce it up a bit.
They had it painted and the floor tile replaced when they first moved in, so it’s already a great blank slate. They just needed me to come in and help with making the decor feel more thought out!
I won’t lie though - it has a very odd layout, with the shower being placed directly to your left when you first walk in and then a short + very narrow entry to the sink and toilet. Here are some before photos:


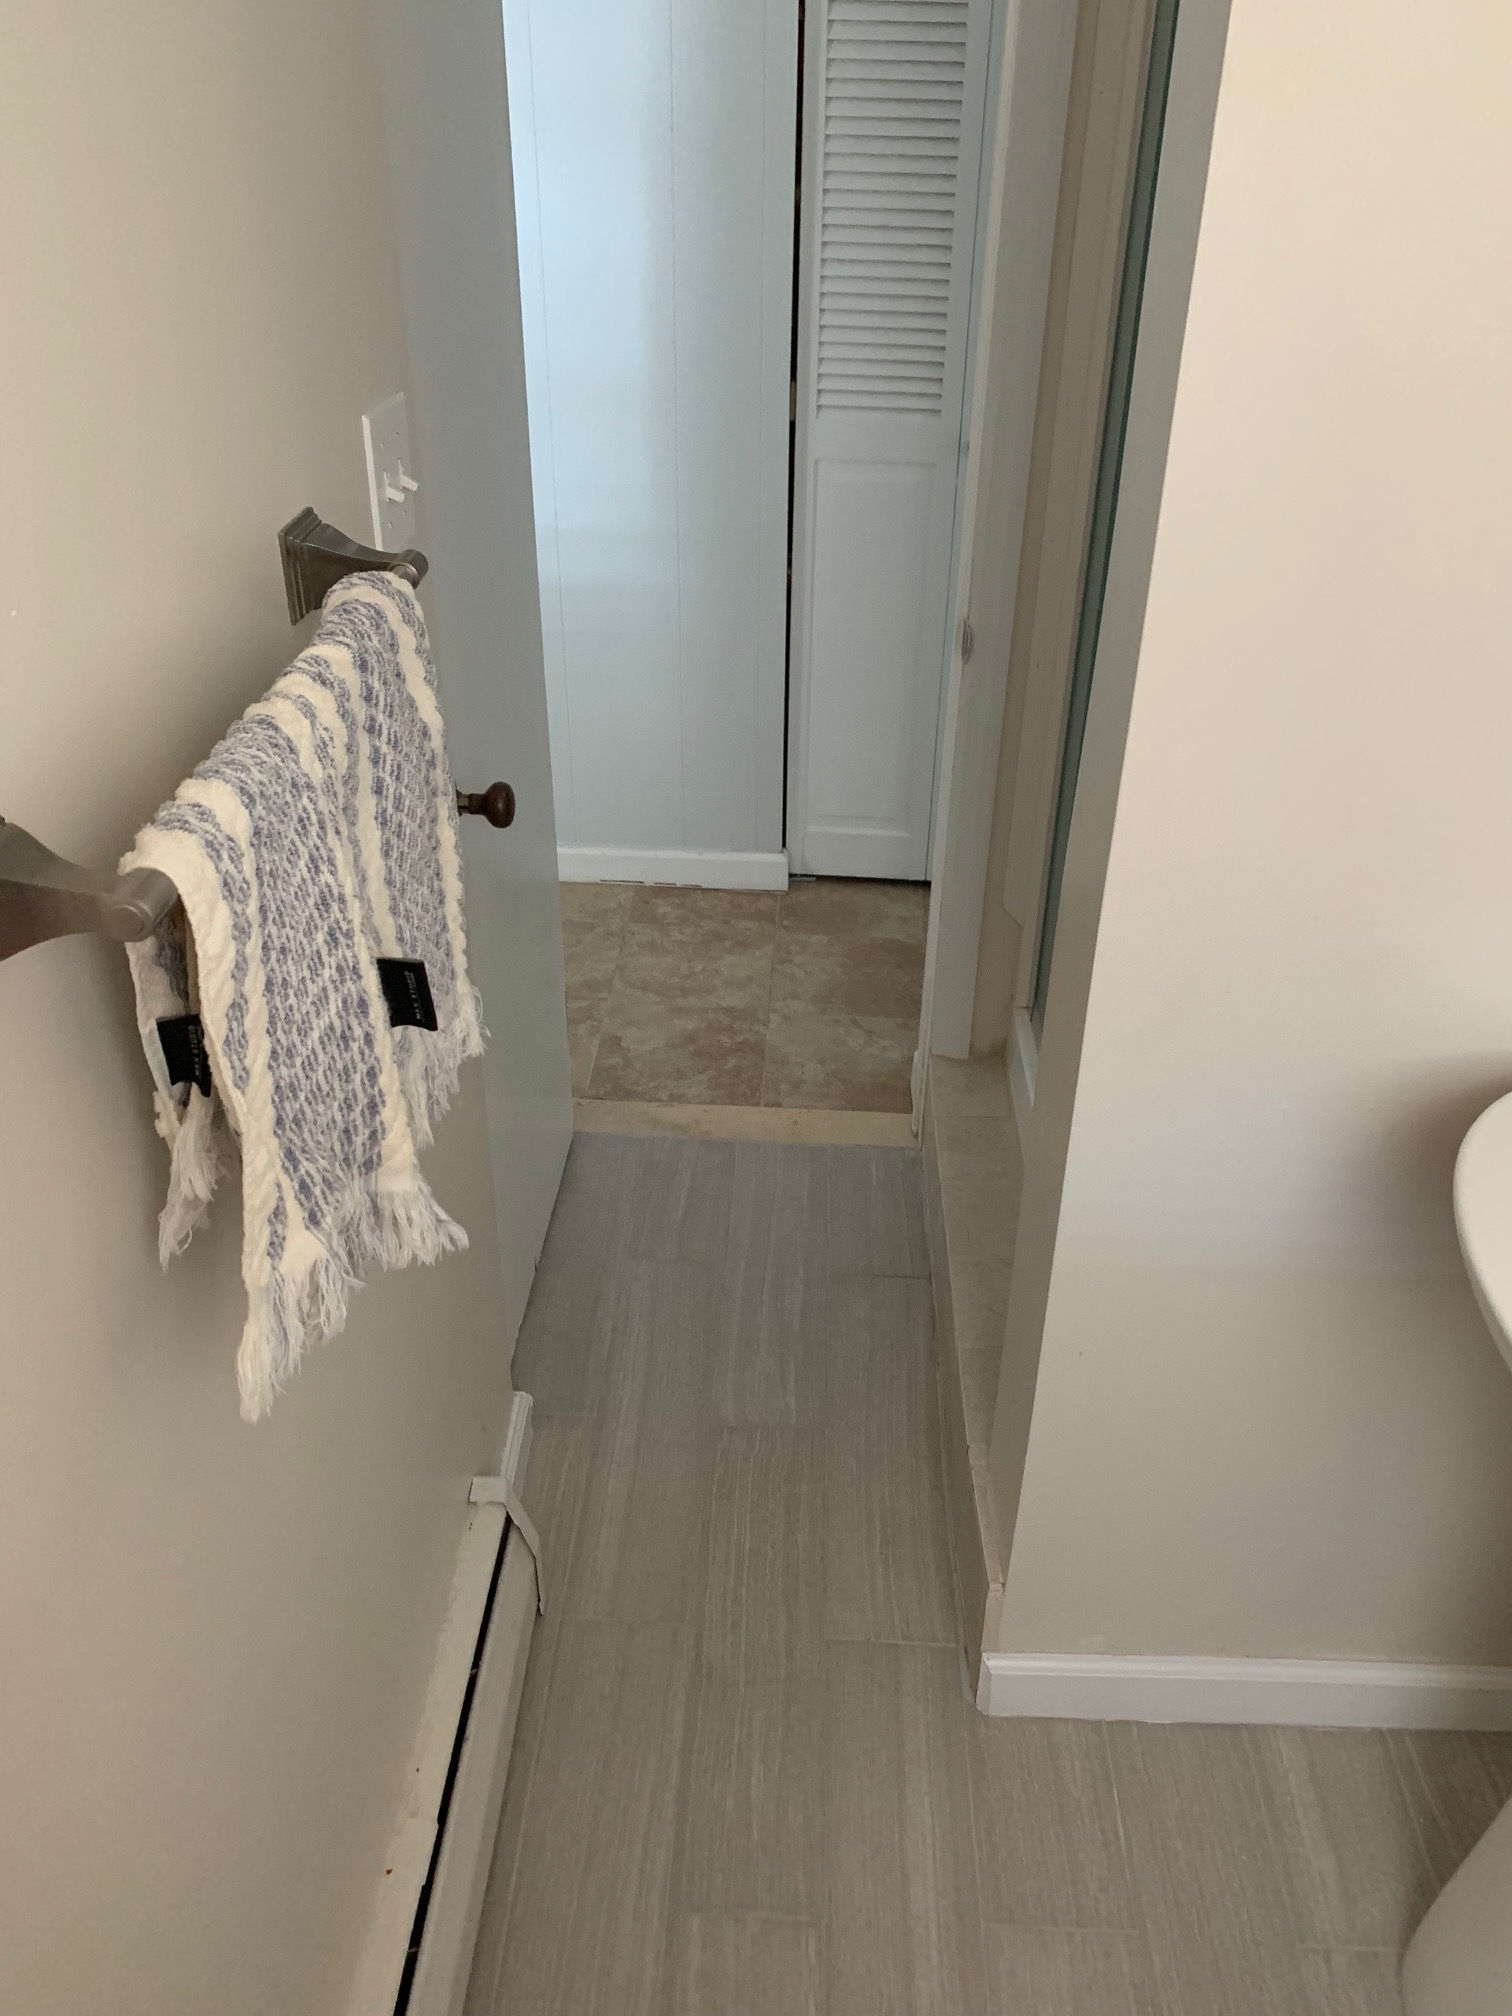
As you can see - the floor, wall color, and sink are all great! This space really just needs some minor updates and it will be looking just as cute as the rest of their house!
The first two things that I knew needed to be changed were the mirror and the light fixture. I never realized how small that mirror was until I saw it in these photos. I’m not sure if there are any hard rules or guidelines for how big a vanity mirror should be, but what I think looks best is: keep the mirror the same width or a few inches smaller than the vanity. And for the height, I think around 3/4 of the distance between the vanity and light usually looks best. For example, the distance between the bottom of their current light fixture and the top of their faucet is 32.5 inches. I believe their current mirror is around 16” long- which is less than 1/2 the distance. I ended up finding a mirror that is 24” long, so that ends up right around 3/4! **(Round mirrors will be different)
Here’s what I put together for the toilet/ sink side of the bathroom, as well as the window:

When I first started thinking about this design, I REALLY wanted to put floating shelves above the toilet. I’m always looking for a good shelf styling opportunity!! Ultimately I decided that I thought it would make this space feel too cramped. I wanted to avoid adding too many little things, so I instead decided on some simple wall baskets. I’m pretty excited about that little light I found on Amazon! I was looking at a few different options, but I loved how this one didn’t force the light straight down. There is an overhead light in the shower, but aside from that- this is only light source in the space.
In an effort to try and make this space feel as big as possible, I decided I’m going to remove the towel bar they currently have on the wall (which kind of intrudes on the pathway walking into the bathroom) and put up a small hand towel ring on the wall right next to the sink instead. They can utilize some wall hooks to hang bath towels behind the door.
The bamboo shade I chose will help add some natural texture… but this space still needed something else. That’s when I found that FAB small Turkish rug!! Since this space is small, I didn’t want to clutter it with too much stuff on the walls… so adding this gorgeous rug will bring in the color and interest that it needs!
And here is what I designed for the opposite side of the sink and toilet:

Nothing too crazy, I wanted to keep this wall relatively simple as it’s part of the very narrow walkway leading into the bathroom. I think have some mudcloth scraps leftover from my Spring One Room Challenge, so I’m planning to frame those. I also have a small ceramic wall planter that I’m not using, and hopefully I can find a simple landscape piece of art.
So as you can see, these are all minor changes that will hopefully add up to a very pretty makeover! Make sure you’re following me on Instagram for some behind the scenes peeks at my progress this weekend, as well as the after shots!