DIY Bathroom Makeover | Progress Post Part 2
Remember back in January I posted about how I was going to start doing some minor DIY updates to our guest bathroom and that it probably wouldn’t take very long… and then a month later I posted a progress post about how I still wasn’t finished??
Yeah… still not finished. BUT I see the light at the end of the tunnel! Plus, I’ve been participating in the One Room Challenge, working full time, being a mom, having a social life etc… so I’m cutting myself some slack!
This post contains affiliate links.

Here’s how it looks today!

Here is how it looked when we bought it.
Since my last post about it, I’ve done the following:
-Sealed the counter with matte polyurethane
-Hung up the mirror
-Bought a rug
-Replaced 2 of the 3 cabinet knobs (the last one is super stuck- I need to remember to ask my husband to help with that… (Hi Luke, if you’re reading- which you better be!!- can you please try to take off the last knob in the guest bathroom??)
-Made a DIY (non-functioning) roman shade for the window
What I have left to do is:
-Replace last cabinet knob
-Touch up some spots on the painted counter + re-seal
-Find new vanity light + replace old one
-Finish sanding and painting behind the wall mirror
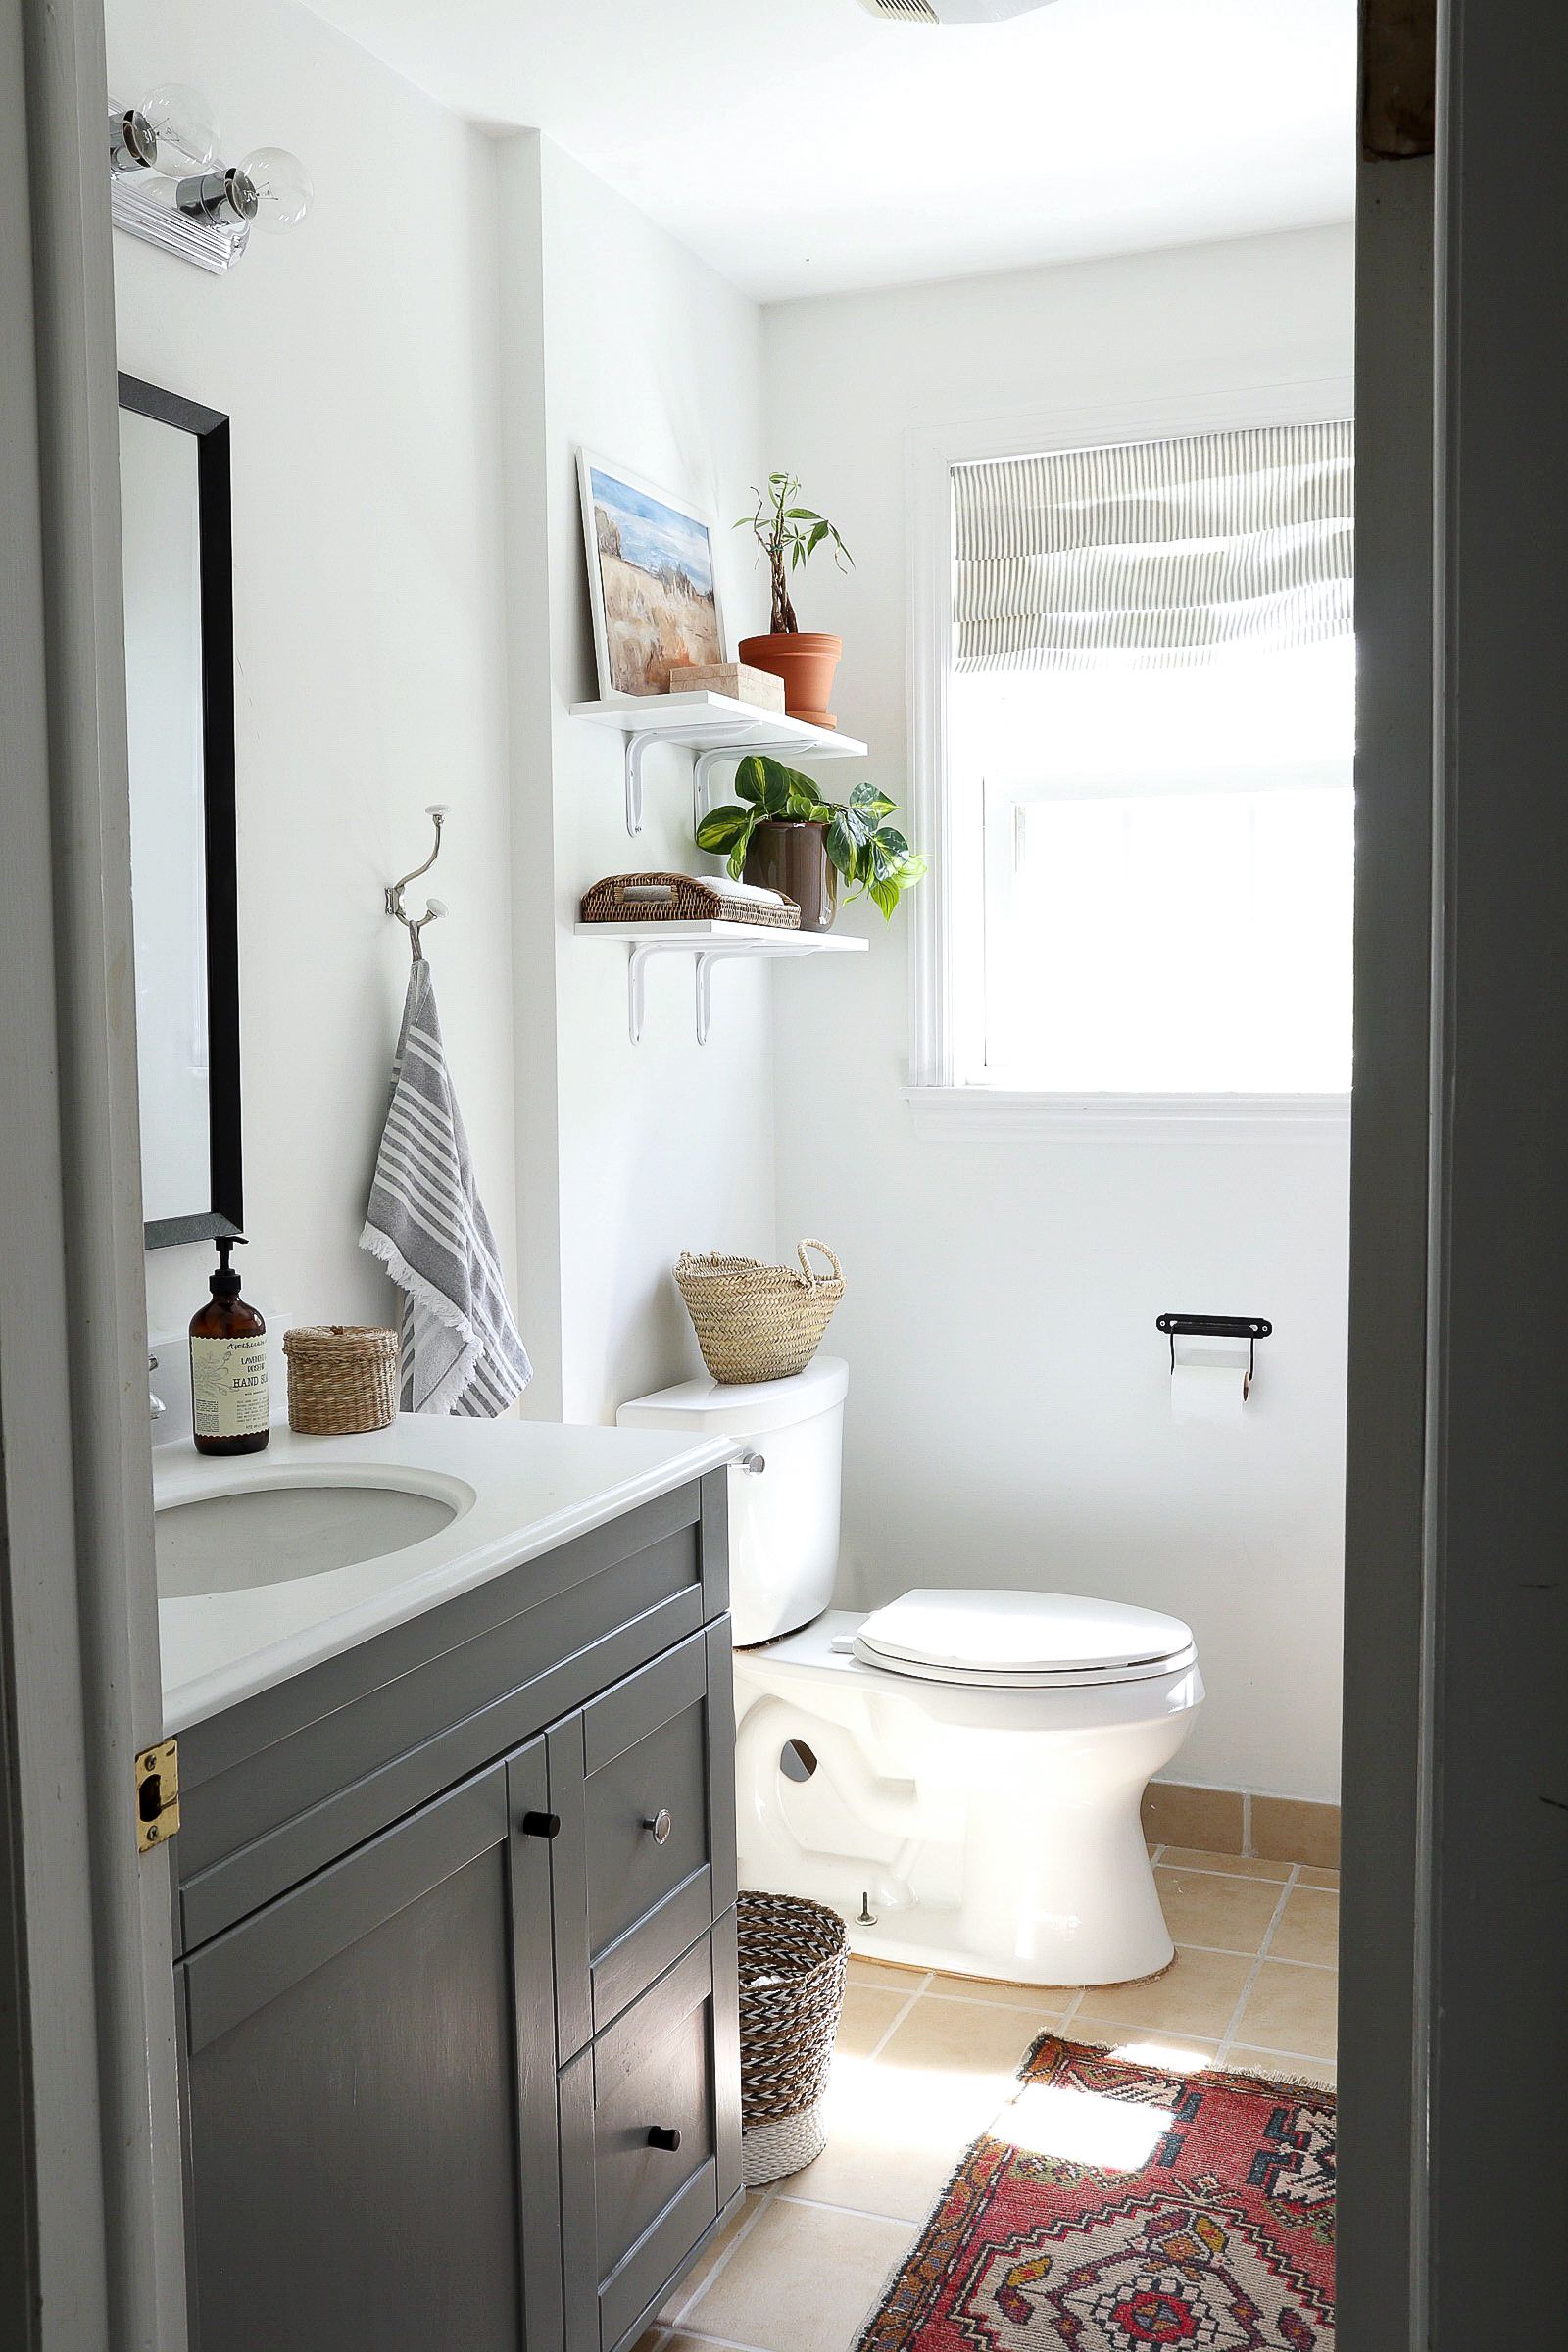


I’m still playing around the shelf styling, but so far I think I’m really liking this arrangement. It’s tough to find the right balance of enough things to make it interesting, but not so much that it looks cluttered. It also needs to compliment the rest of the room. Since the shelves and brackets are both all white, I needed to add warm tones so that it would compliment the gorgeous Turkish rug I bought.
One of the first things I did for this make over was paint the vanity countertop. Here are a couple before photos:

Before view of the vanity / mirror situation - excuse the mess!! #reallife

The counter top wasn’t bad… but it clashed with the floor tile and shower tile
When painting over a counter (or any surface like this) I can’t stress enough how important it is to use a primer! This is the one that I always use: Zinsser Bulls Eye. I did two coats of primer, and then another two coats of regular white wall paint (Pure White by Sherwin Williams). Once that was dry, I rolled on about three coats of matte polyurethane: Varathane Matte Polyurethane. I used a small high density foam roller to get a smooth finish. Between the coats, I also lightly sanded the surface.
I used a water based polyurethane for this project versus the epoxy that we used on our kitchen counters because I’ve read that the water based product won’t yellow over time from the sun. Though it’s not nearly as durable. There are a couple of spots that I need to touch up, some small spots of hair dye got on it and stained it. So I’ve learned that I need to be a little more careful with this countertop. Even though they aren’t as durable, I still think this a great and easy short term solution for ugly counters!

How cute is that little flower pot I found at Michaels?! I didn’t even realize it, but it’s a dupe of one from McGee & Co!
I also wanted to show how I’m making the vintage Turkish rug work…

Everything I’ve read about Turkish rugs says that they are actually extremely durable- and perfect for kitchens and bathrooms. But I still want to make sure I took the precautions necessary to ensure that mine last for a long time (plus stepping out of the shower onto flat wool just isn’t very comfy!). So I found this small + inexpensive bath mat on Amazon to put over top of the Turkish rug. I put it down before I shower or when I’m giving Nathan a bath and then hang it up on the wall behind the door when I don’t need it! So easy!
These relatively small changes have made a HUGE difference to me! I used to think that I would have to gut the whole bathroom and start from scratch in order to like it. But honestly - painting the counter and replacing the mirror have totally changed the look! There are still a ton of more difficult (aka costly) updates I’d love to do, but for now it’s really working for me!
This space is even more evidence that if something in your home isn’t making you happy, you should change it! You might have to get creative with your solution and it might only be a short term fix, but you don’t have to wait until you have enough money saved up for your dream renovation AND you don’t have to have crazy DIY skills!
SOURCES:
Turkish Rug: Vintage from this Etsy Shop
Mirror: No longer available (similar here)
Flower pot on sink: Michaels
Rattan tray: Thrifted (similar here)
Floating Shelves: Home Depot
Toilet Paper Holder: IKEA
Hooks on Back of Door: IKEA
Gray Bath Mat: Amazon
Plant on sink: IKEA