BUDGET FRIENDLY DIY BATHROOM MAKEOVER
Happy Friday! I’ve decided that this weekend I’m finally going to tackle the mini-makeover I’ve been planning for our guest bathroom! The guest bathroom was the one room in our house that previous owners actually “updated”. Unfortunately, the floor tiles, vanity counter top, vanity cabinet, and shower tiles all clash with each other. On their own, they might be OK- but definitely not all together. I’ve been planning ways that I can re-do this space without ripping out any tiles (aka spending a lot of money). You all know that I’m a firm believer in the power of paint (here + here) and I’m hoping that it won’t fail me now!
Here’s a little slideshow of the progression of this space, starting with the listing photo:
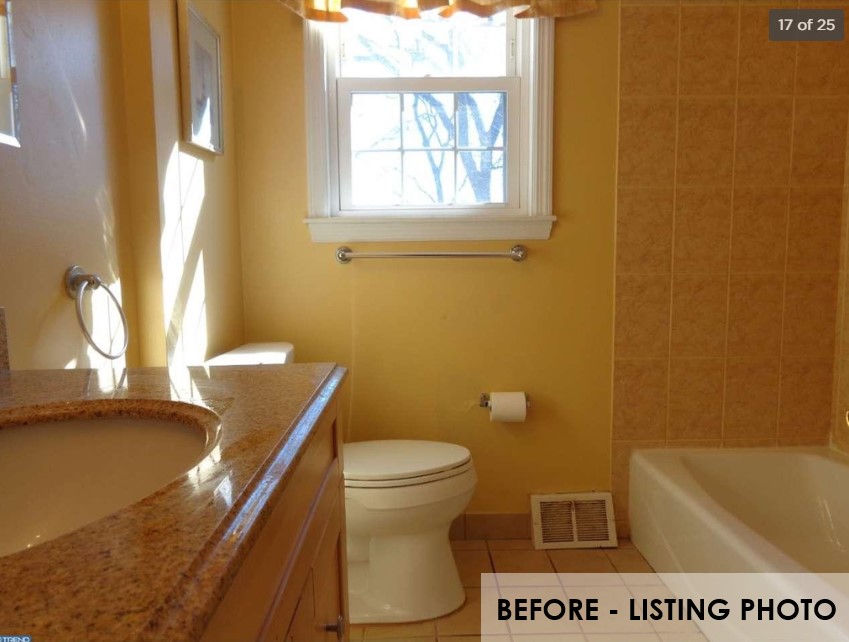
The biggest clash was the vanity top with the cabinet part- and neither of which coordinates whatsoever with the floor and shower tiles. I won’t even get into how bad the yellow paint is - it just hurts my eyes. Anyway, after moving in I told Luke that I wanted to paint every room white (except for the dining room). He thought that was weird so I agreed that we could do the bathrooms different colors.
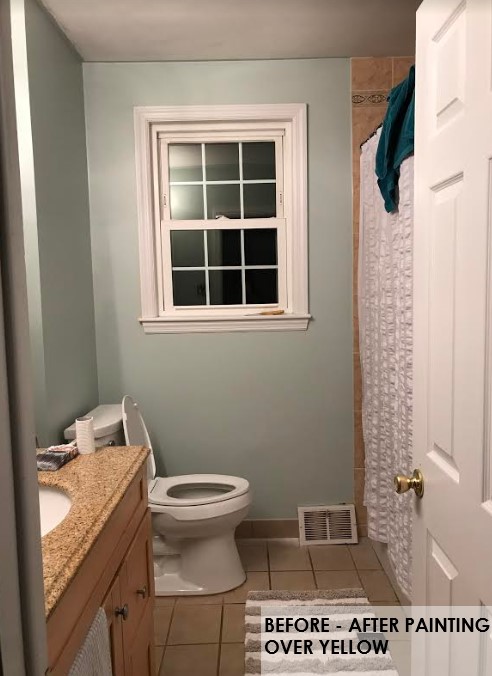
As you can see, we also removed the toilet paper holder and towel rack. They both felt like they were in very awkward spots. Right now, we’re using a freestanding toilet paper holder and we screwed towel hooks into the back of the door.
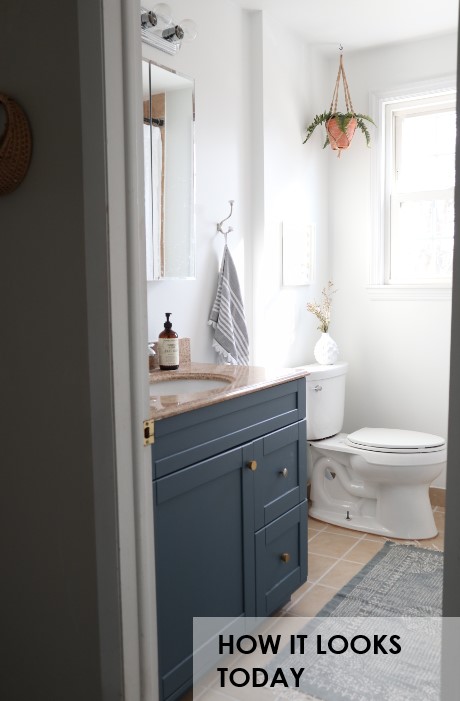
As for the paint: pretty color, but not for in here. The light blue combined with the tan was giving me major beach house vibes… but not the cool California kind, more like the themey-sail-boats-and-sea-shells-everywhere kind. Sooo he painted over it… with white. Lesson learned: always trust your gut!! After the walls were painted white, I decided to paint the vanity dark blue. I felt like it needed contrast between the tan counter and the tan floors.
In addition to painting the vanity (NYPD by Behr), I also used grout paint to brighten up the floor. And yes, one of the knobs hasn’t been replaced yet… I’m pretty sure they used some type of glue on it because it will NOT come off! I also replaced the hand towel holder with a hook, and installed it higher up. Previously, the towel would hang down SO low- it was very weird. These are things you need to think about before you start putting holes in your walls!
Here is a list of what I’m hoping to accomplish for this makeover:
-Paint vanity dark gray (Cyberspace by Sherwin Williams)
-Remove medicine cabinet and replace with regular wall mirror
-Replace light fixture (this probably won’t get done until next month)
-Paint vanity counter top white
-Paint shower tiles using this kit we already have
-Find a new rug
-Install shelves above toilet(?)
And here are some gorgeous inspiration photos that I’m keeping in mind by the talented Amber Lewis:
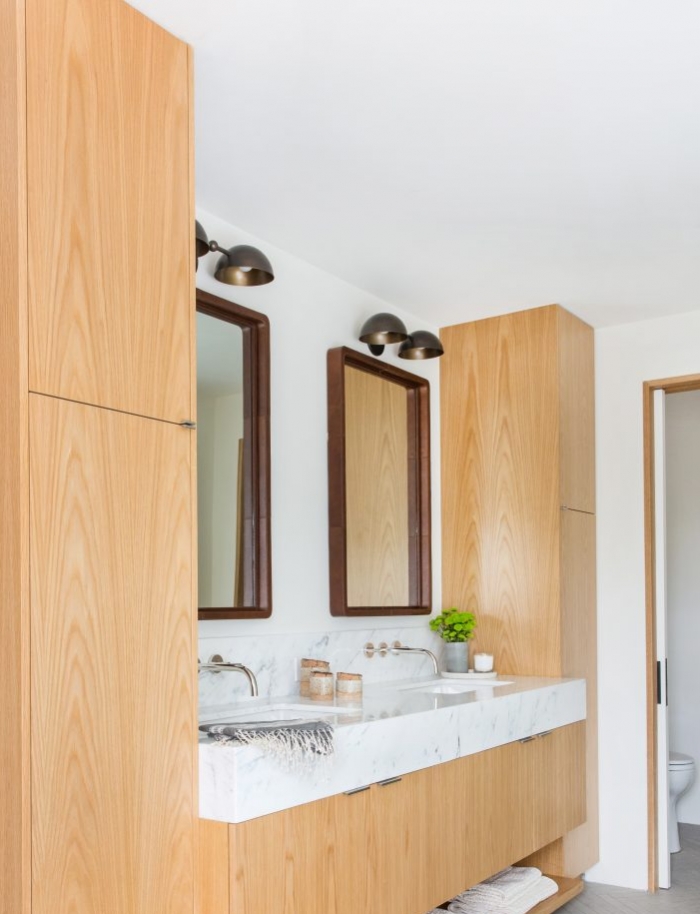


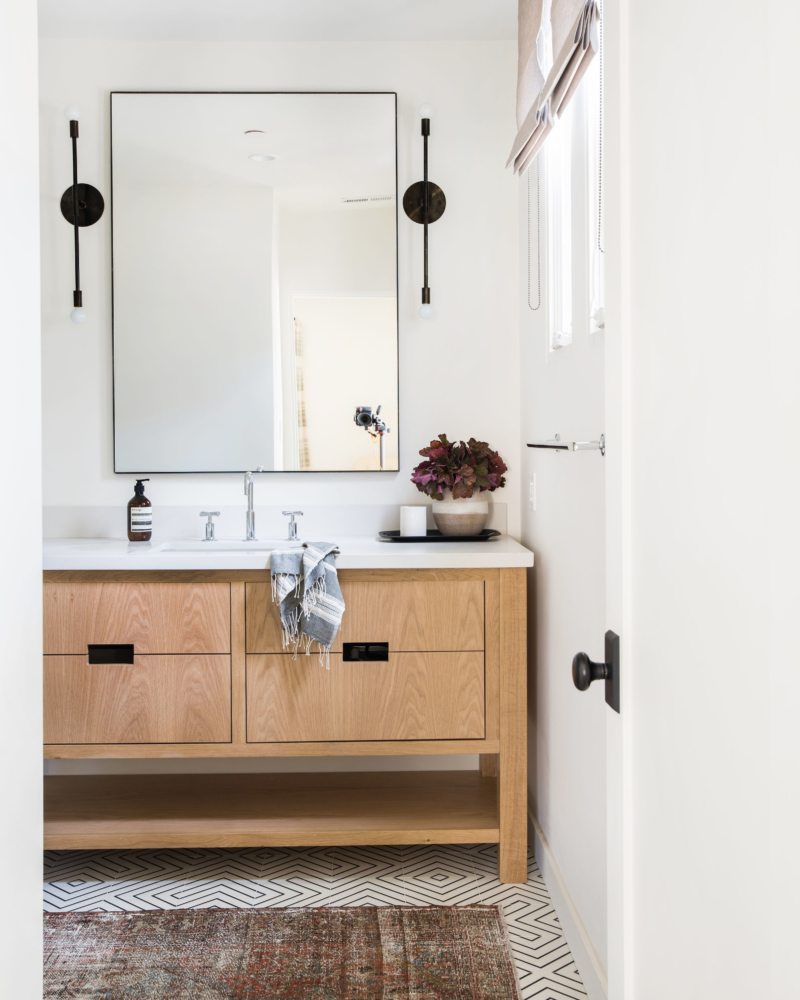
I how these designs are neutral but still have plenty of contrast to keep it interesting. I definitely want this space to finally feel cohesive with the rest of our house. I put together some boards of possible mirror and lighting options. These are all budget friendly and stylish at the same time!
Designer Tip: In my research of bathroom lighting and mirrors, I learned that when it comes to scale you should keep a triangle shape in mind. Meaning that, your light should be a little smaller in width than your mirror, and your mirror should be smaller in width than your vanity. *Applies to rectangle/square mirrors


I’d love to get the painting done and new mirror up this weekend, and possibly shelves if I decide to go in that direction! Usually when I make my mind up about something, there’s nothing that stop me from getting it done! Keep your fingers crossed that I’ll have a happy update post to put together next week!!