DIY WOOD “PICTOGRAPHY” WALL ART

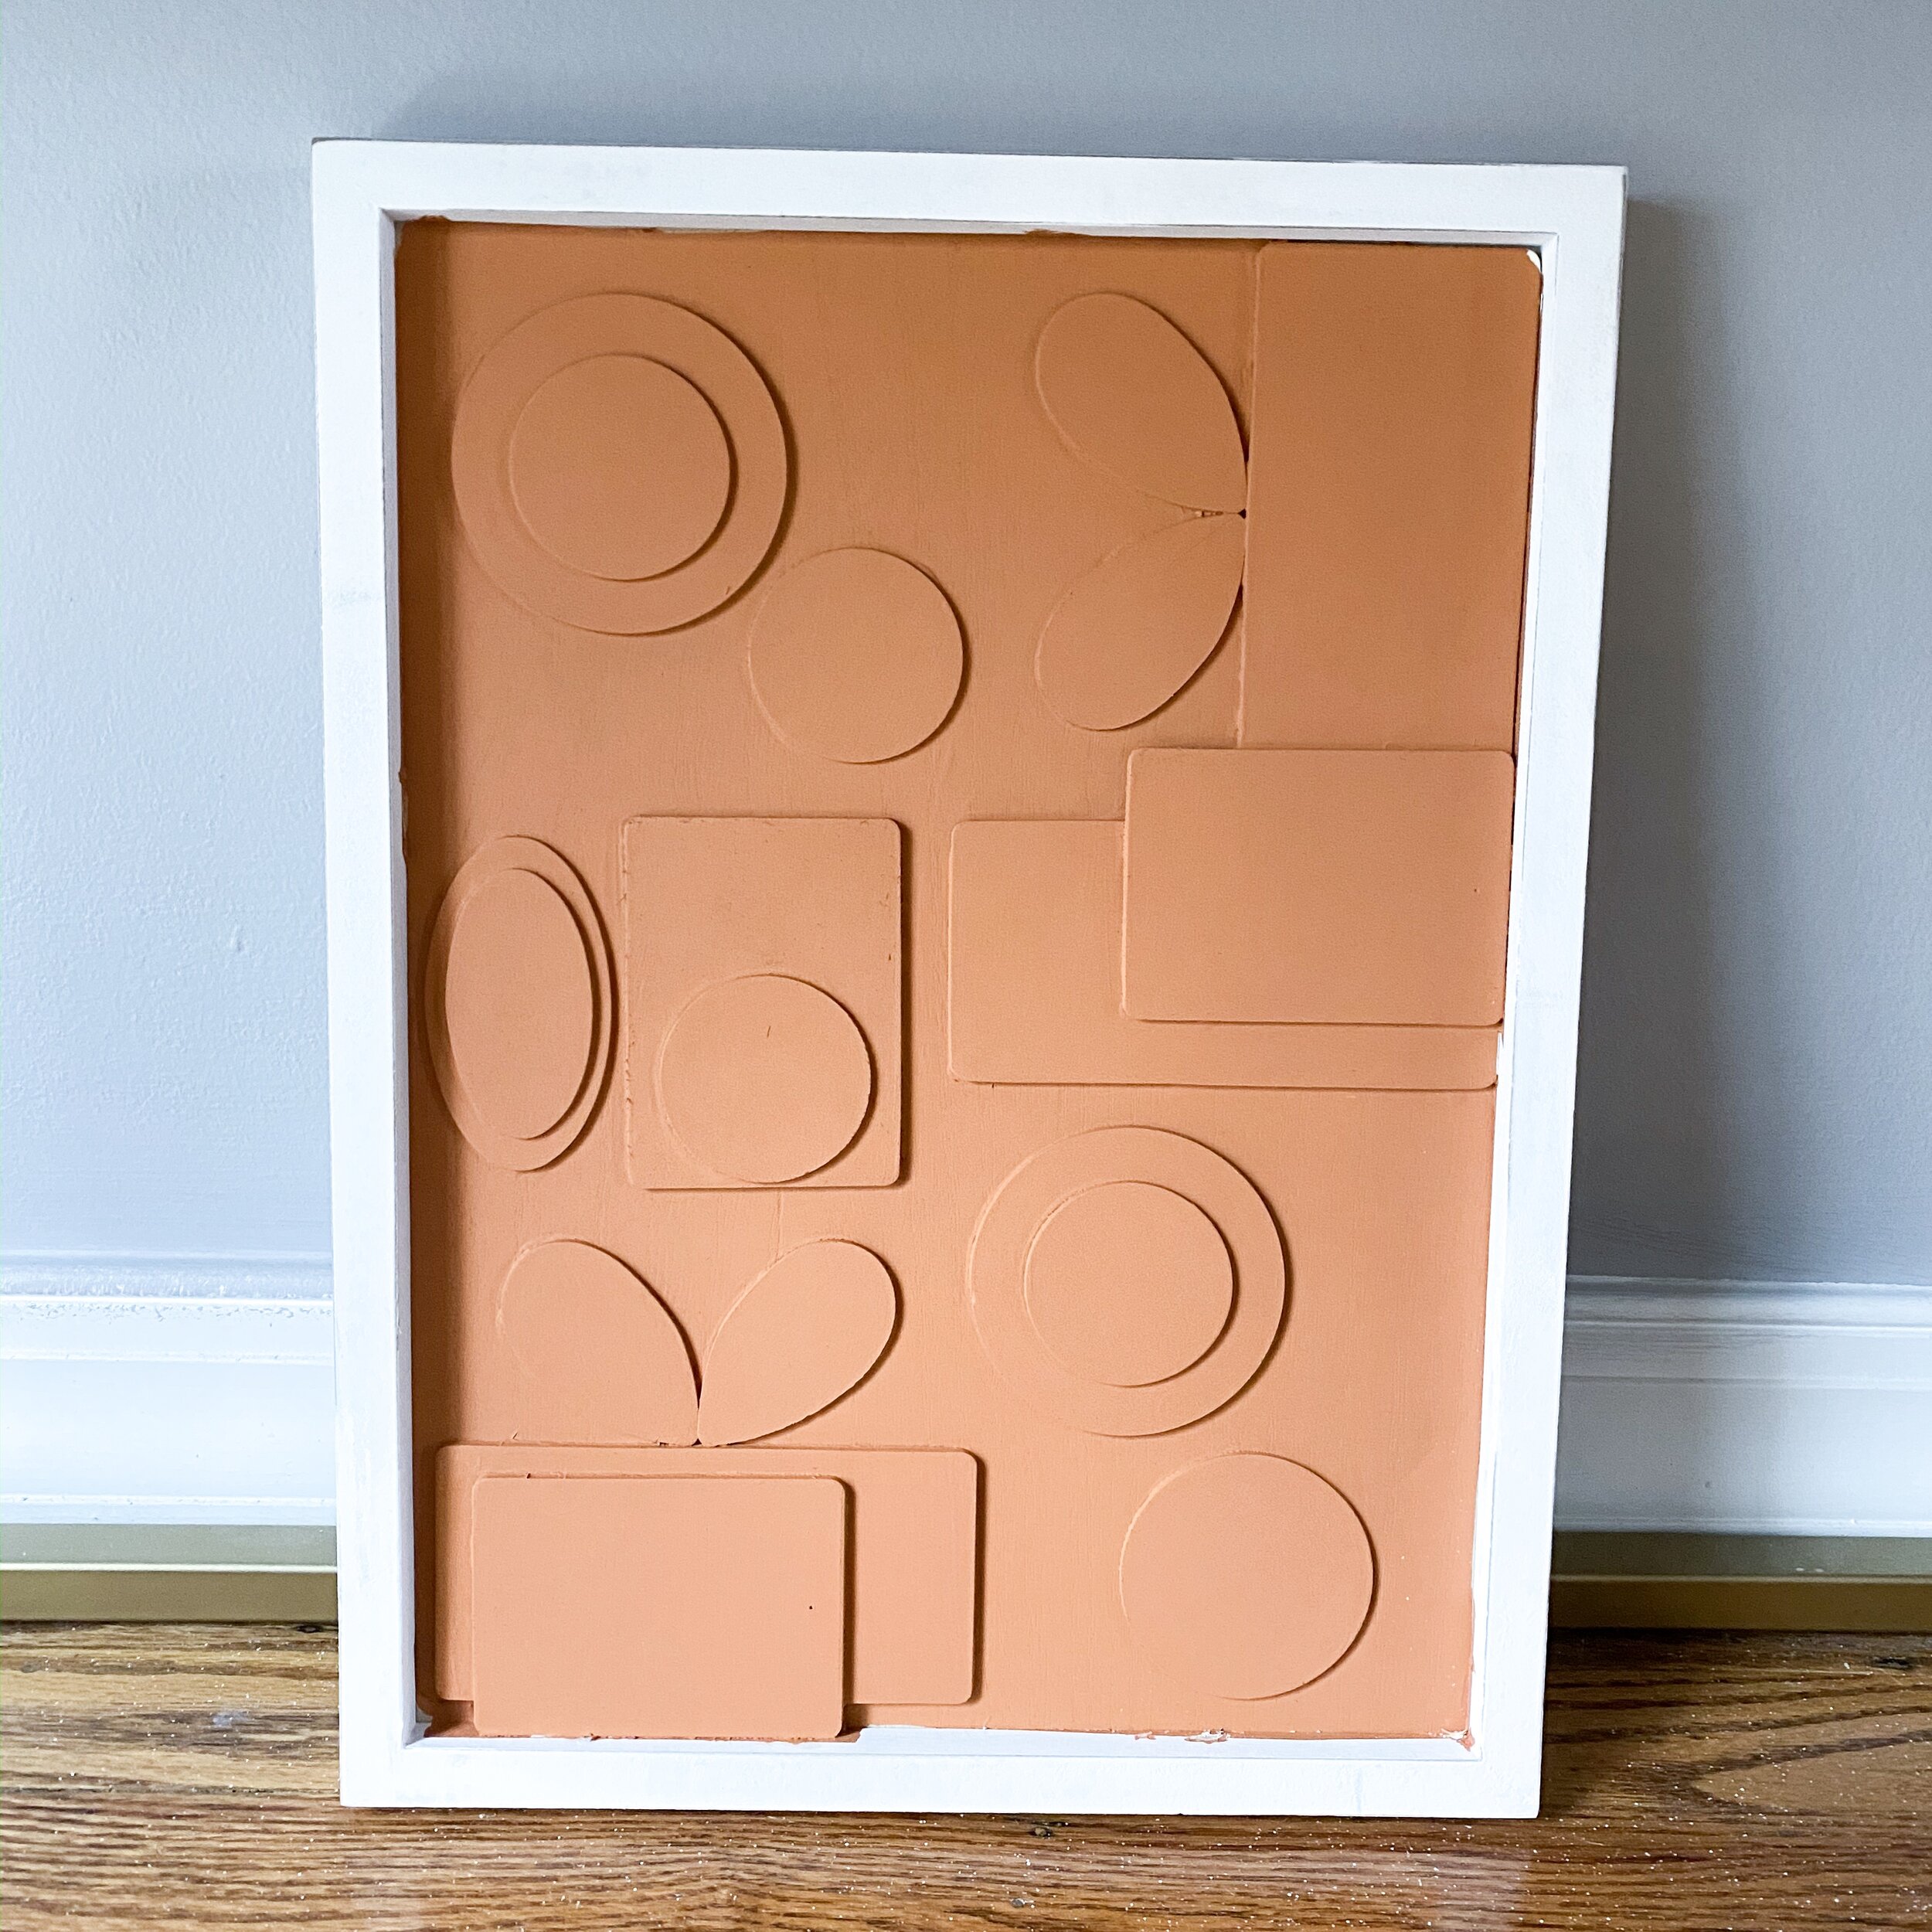
I got the idea for this DIY project when I was looking for wall art for my son’s room. I was looking at Pottery Barn Kids’ website and came across this piece - Dusty Blush Pictography Wall Art. I thought it was so cool and unique, but of course out of my budget. So in true Meredith style, I figured out the easiest way for me to just make it myself! Keep reading to learn how I did it…
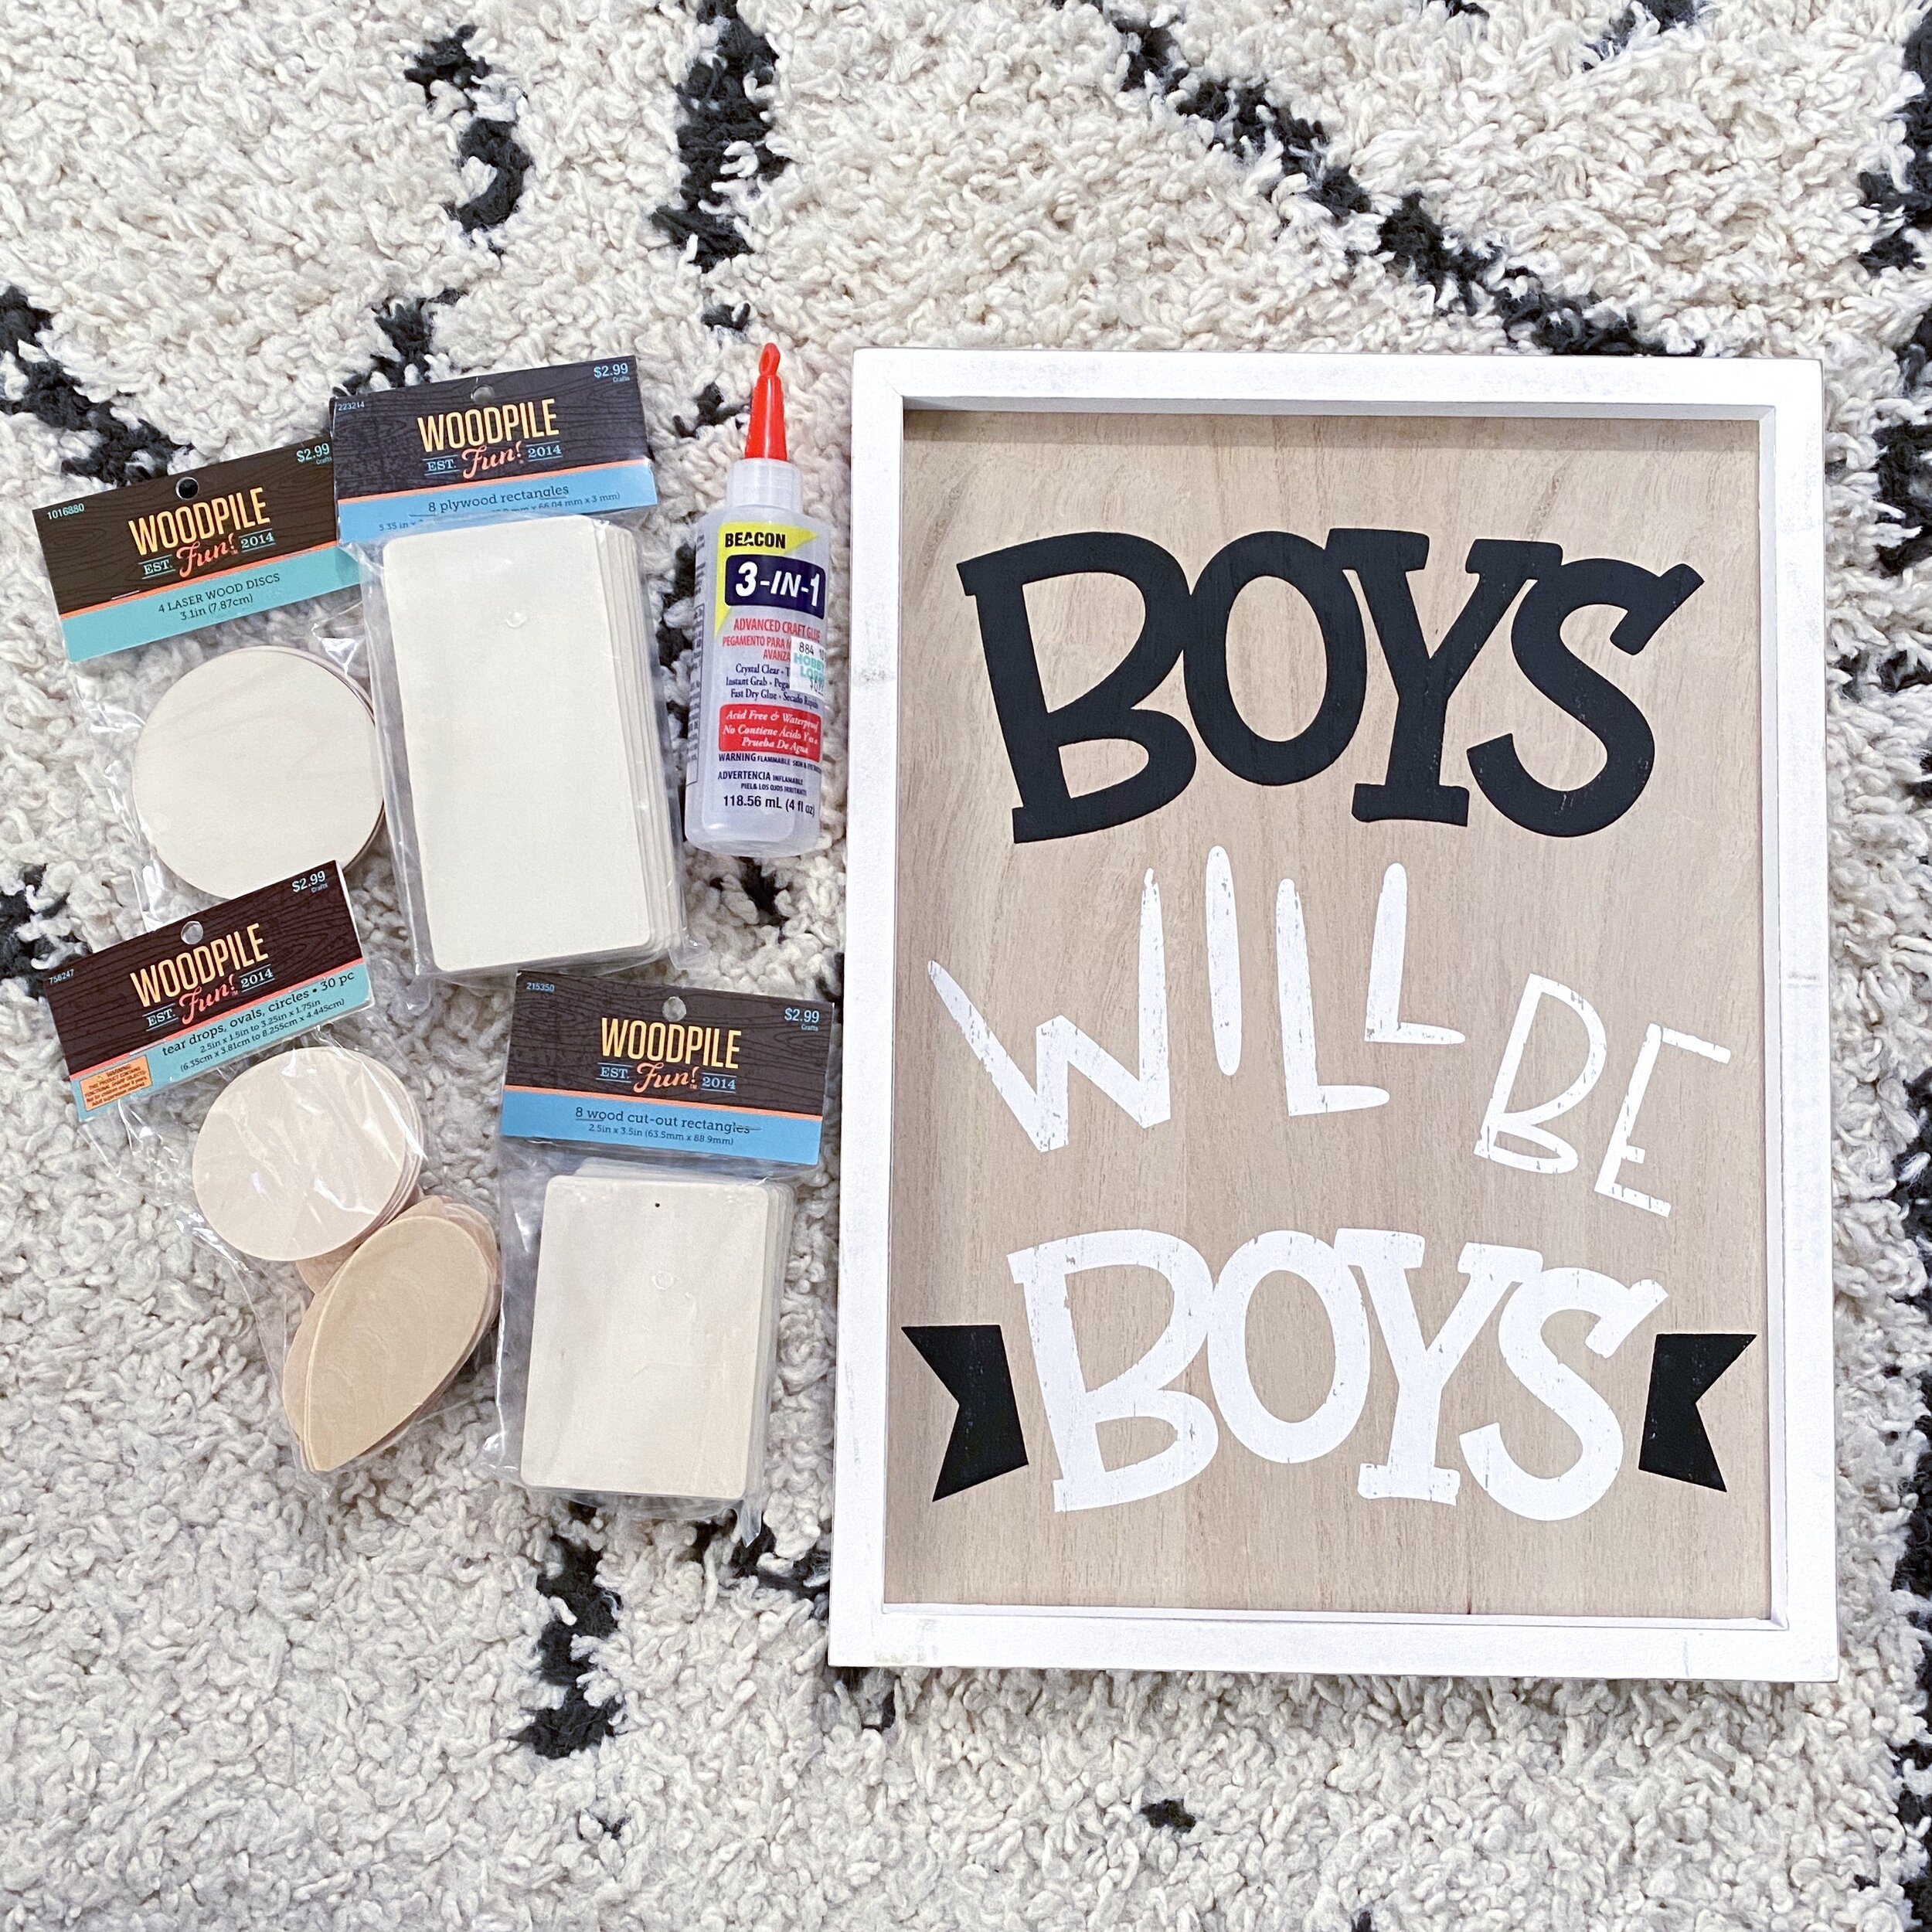
SUPPLIES:
-Craft wood pieces in various shapes (I found mine at Hobby Lobby)
-Strong, quick drying glue
-Framed wood art (I bought mine on sale for $8 from Hobby Lobby- Hobby Lobby & Michaels will almost always have art like this on sale!)
-Painters tape
-Paint color of your choice
-Paint brush or foam brush
INSTRUCTIONS:
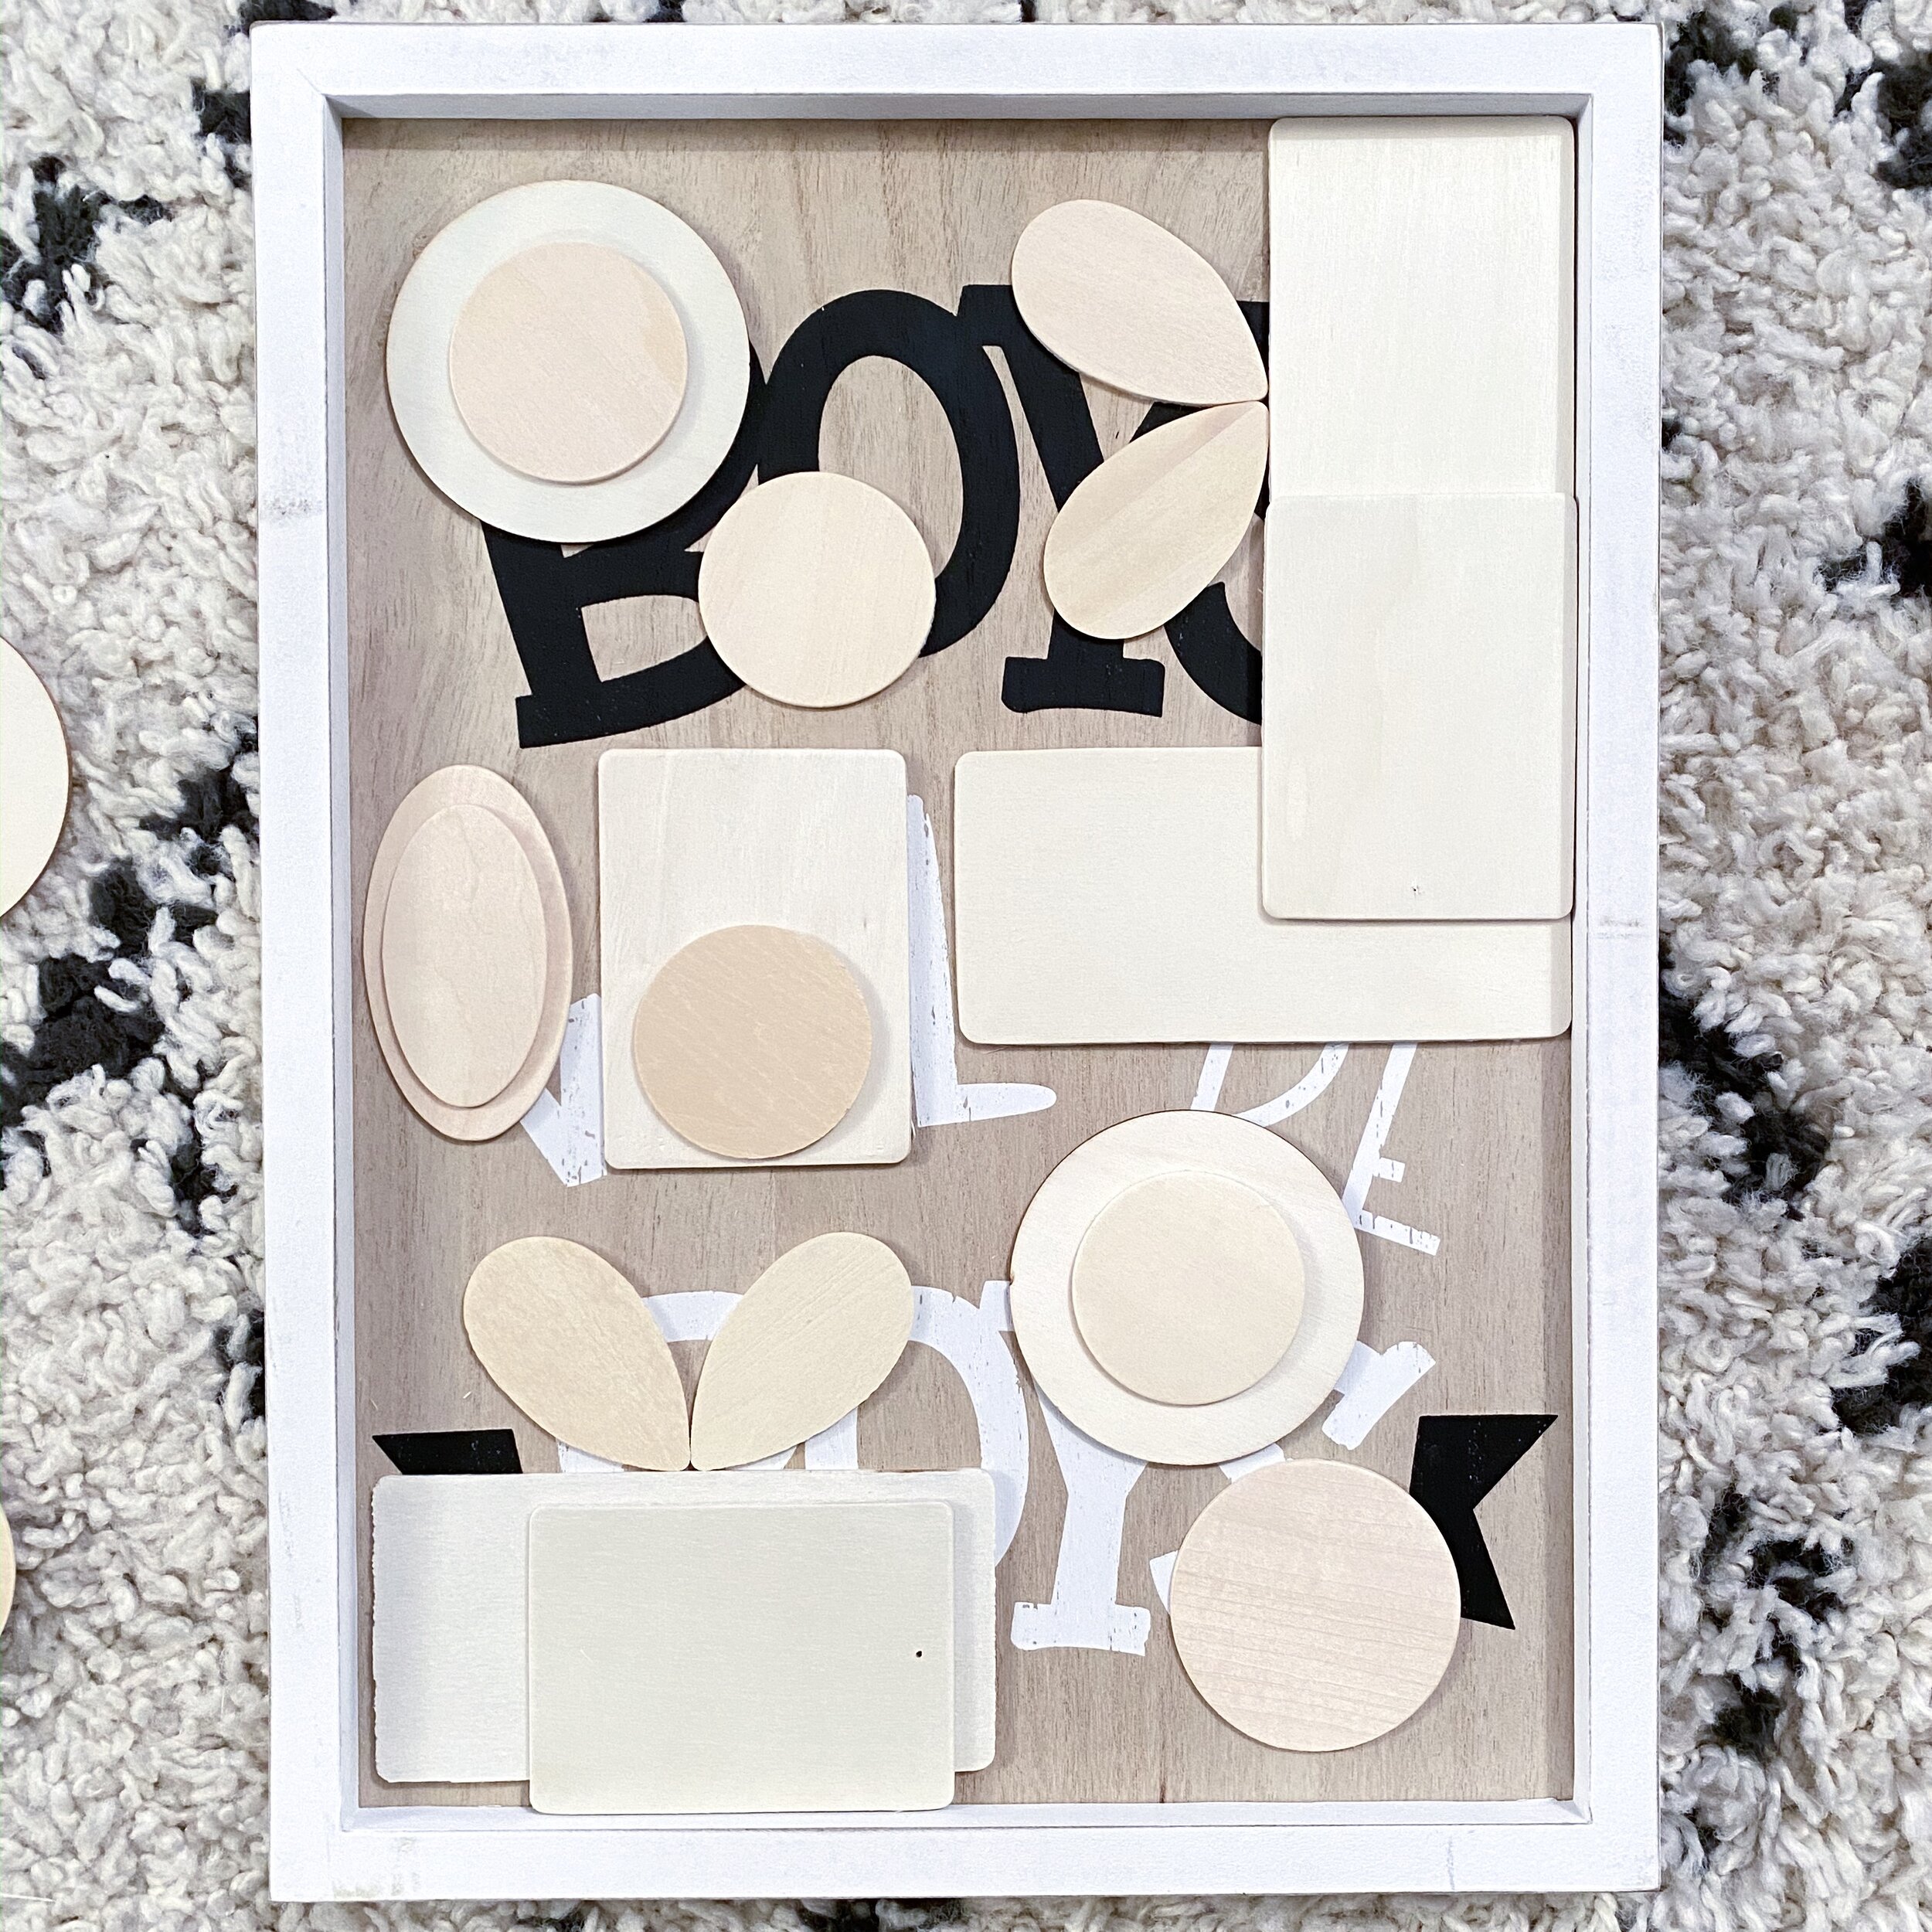
1) Take all of your wood shapes out of their packages and play around with a layout until you find a design you like.
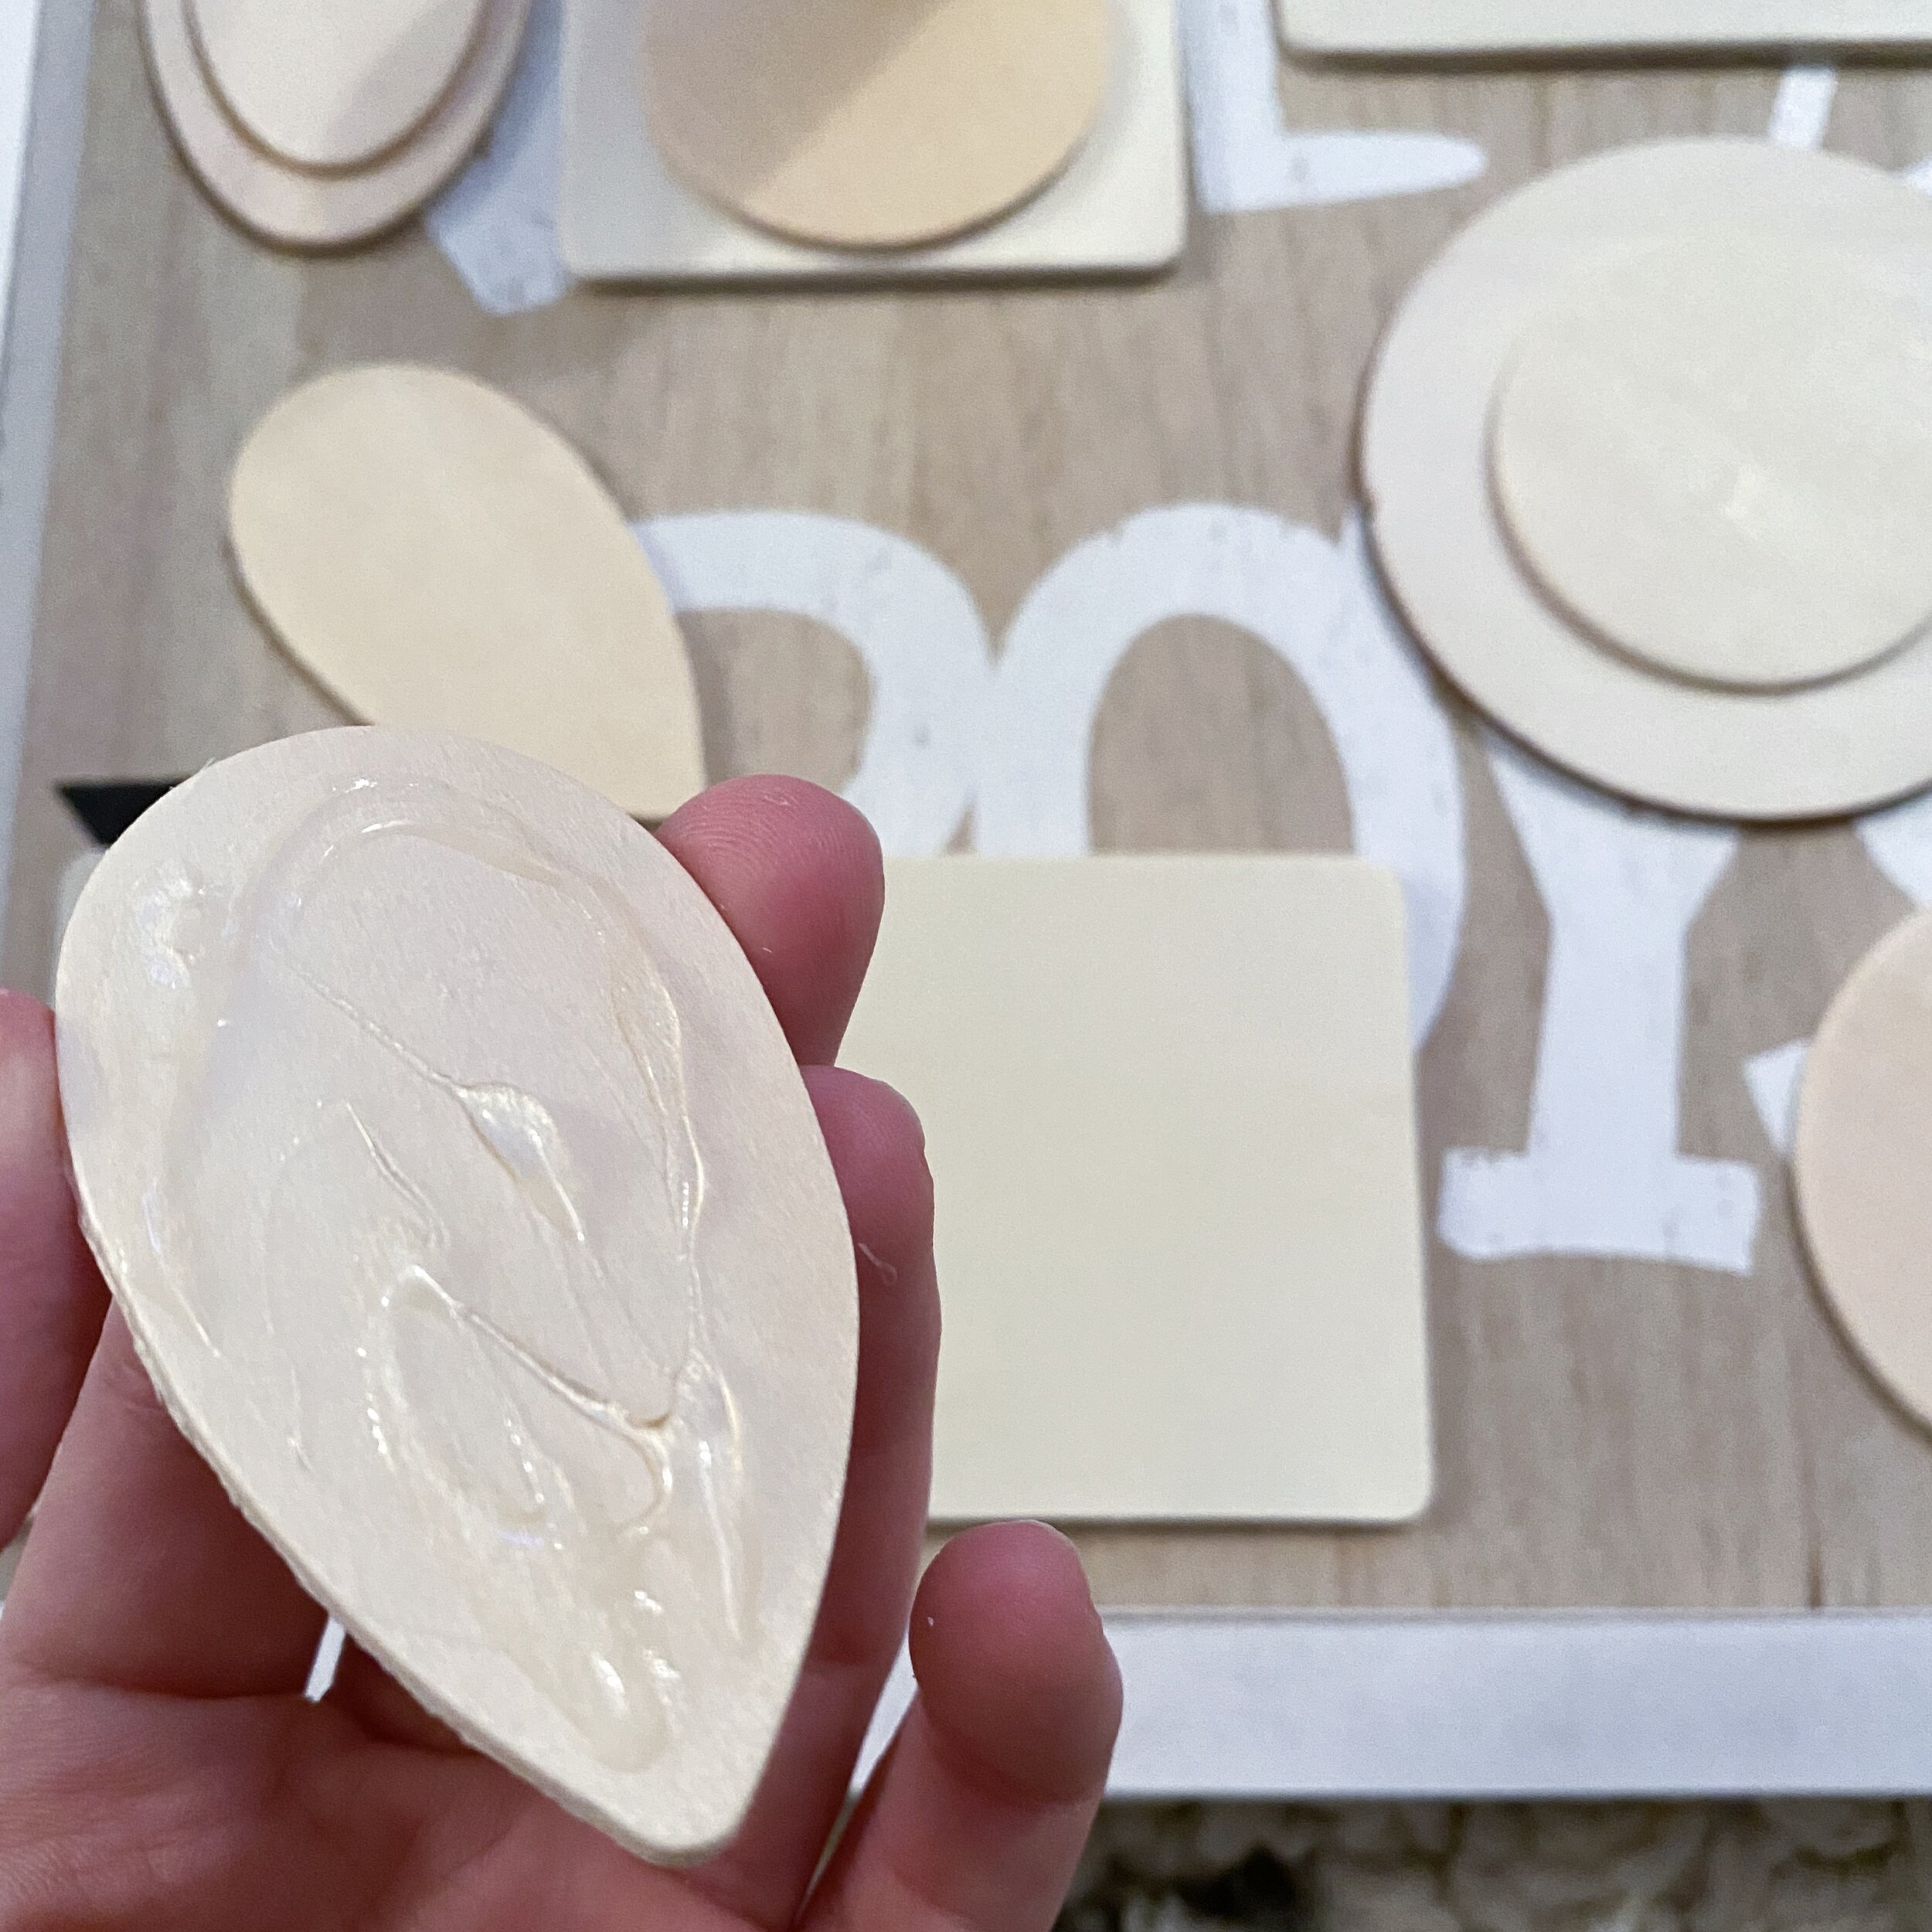
2) One by one, begin gluing each piece down.
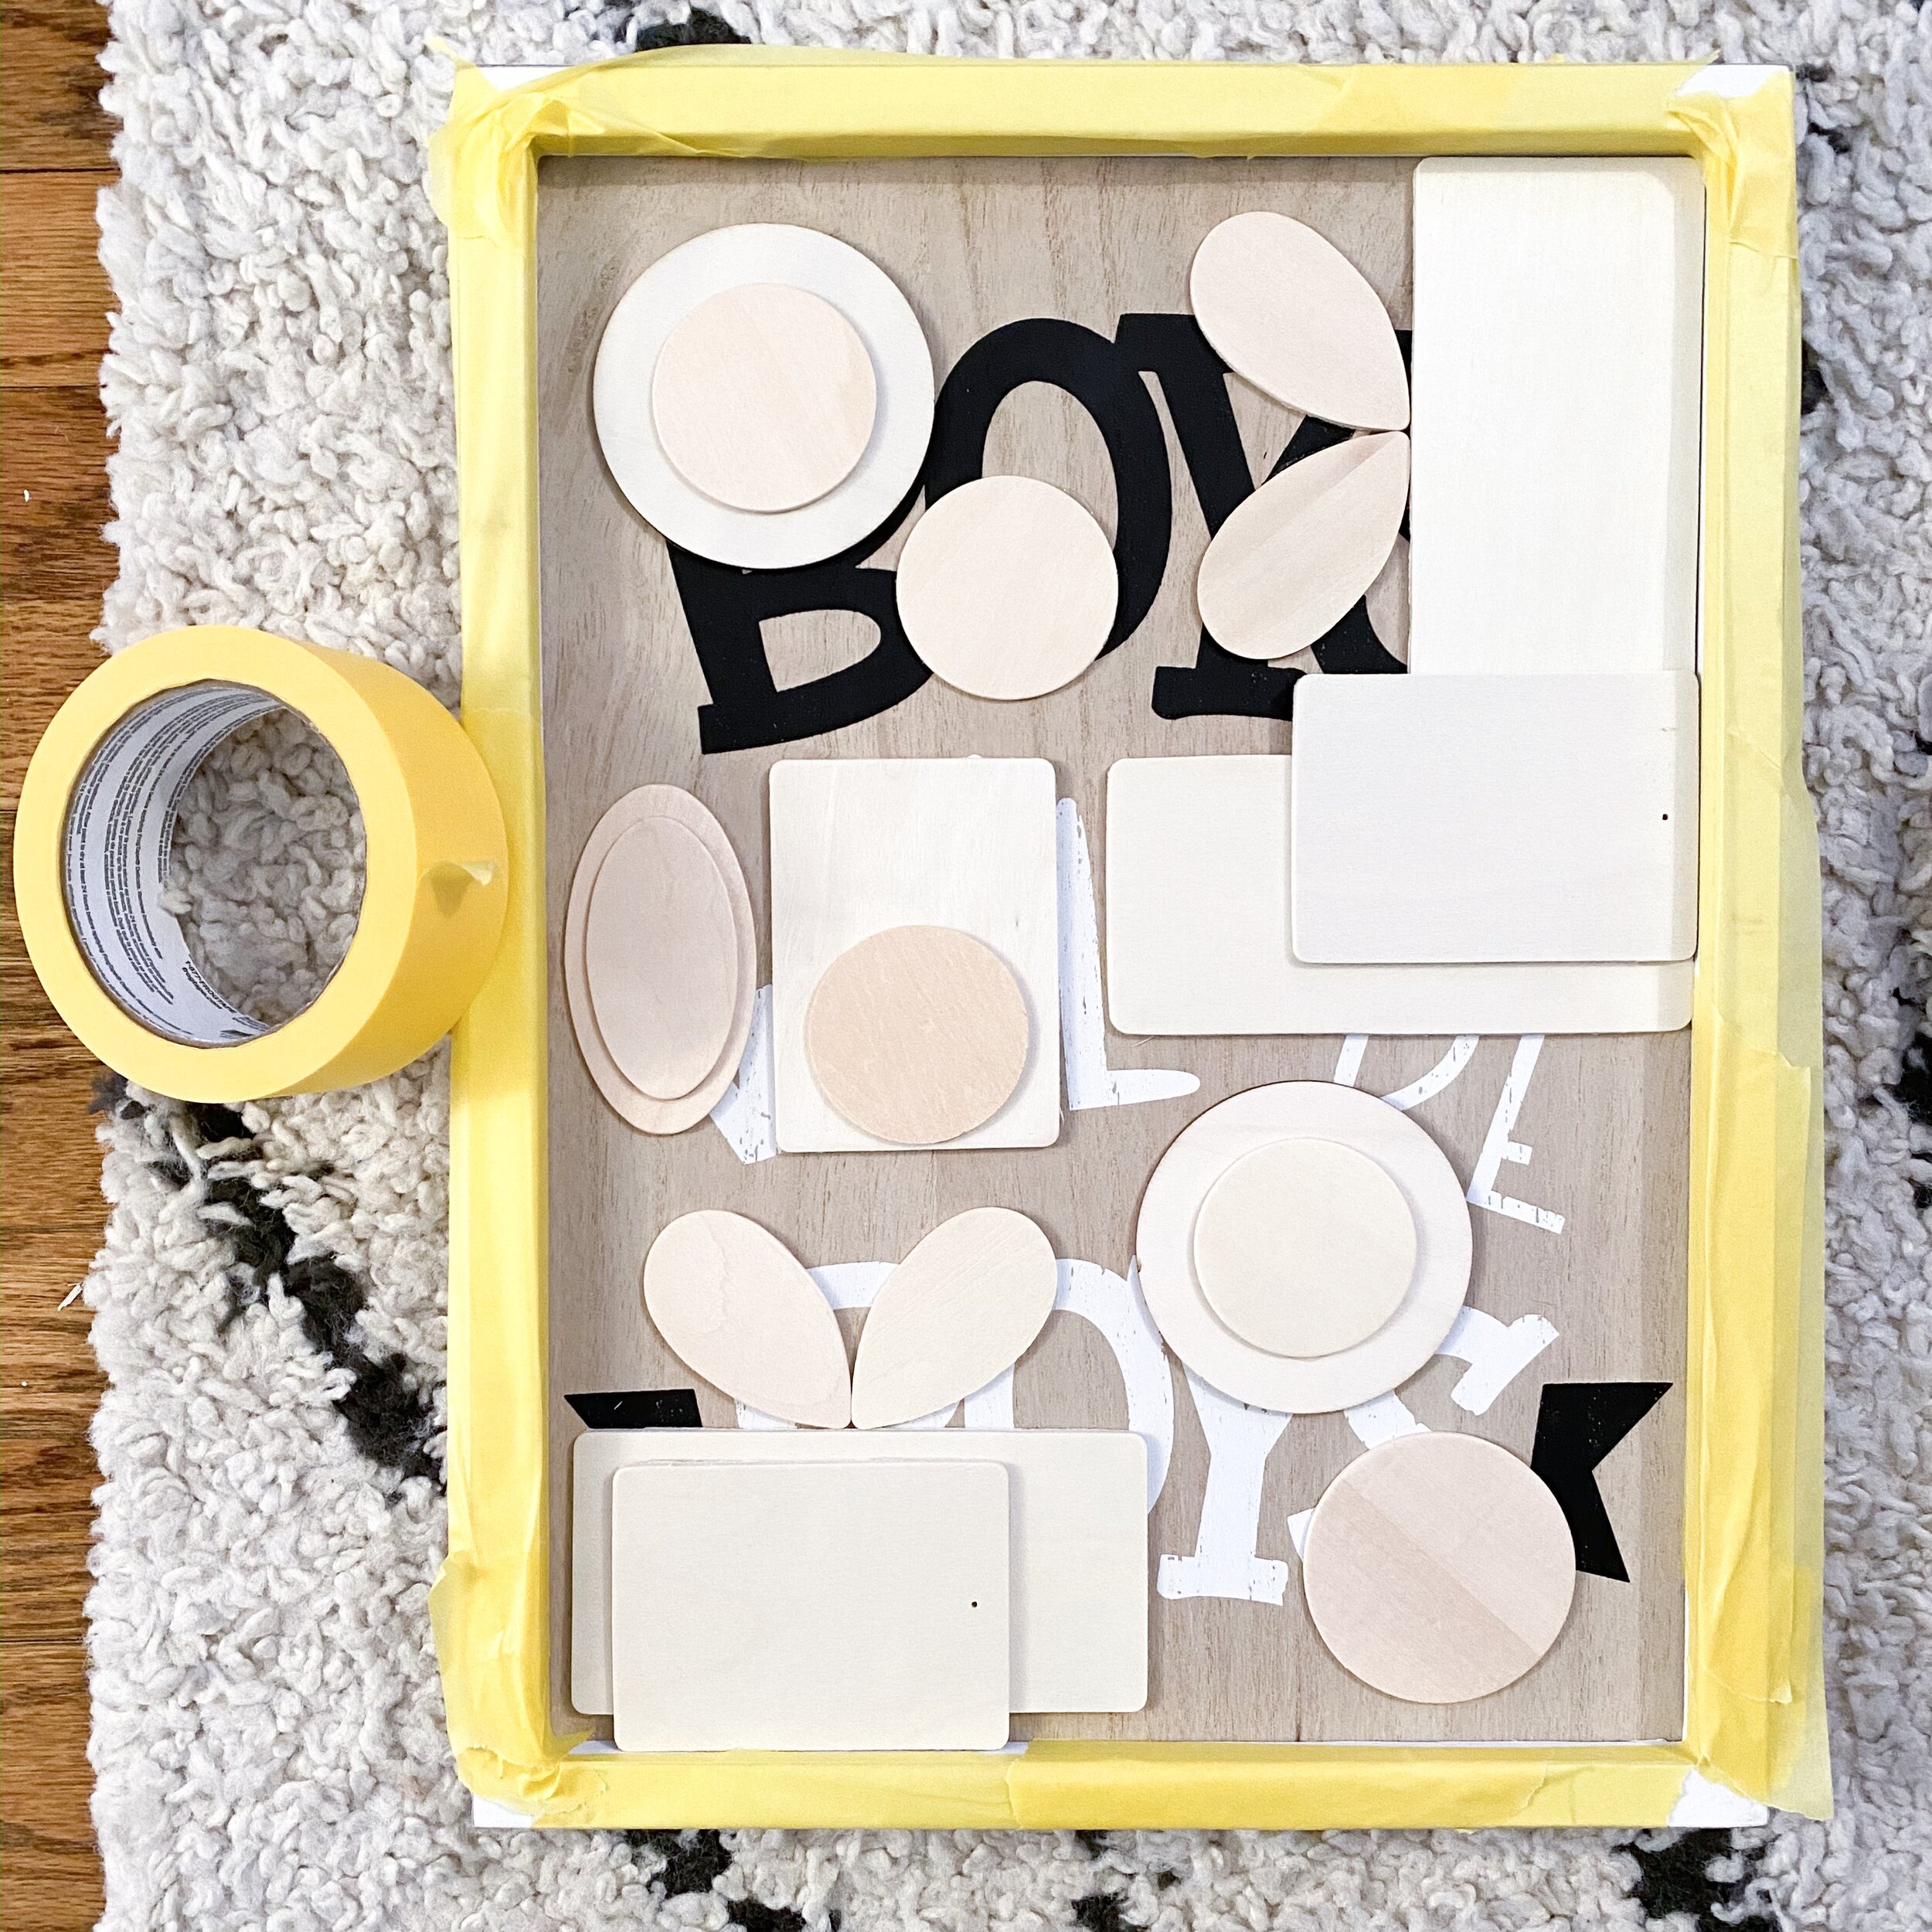
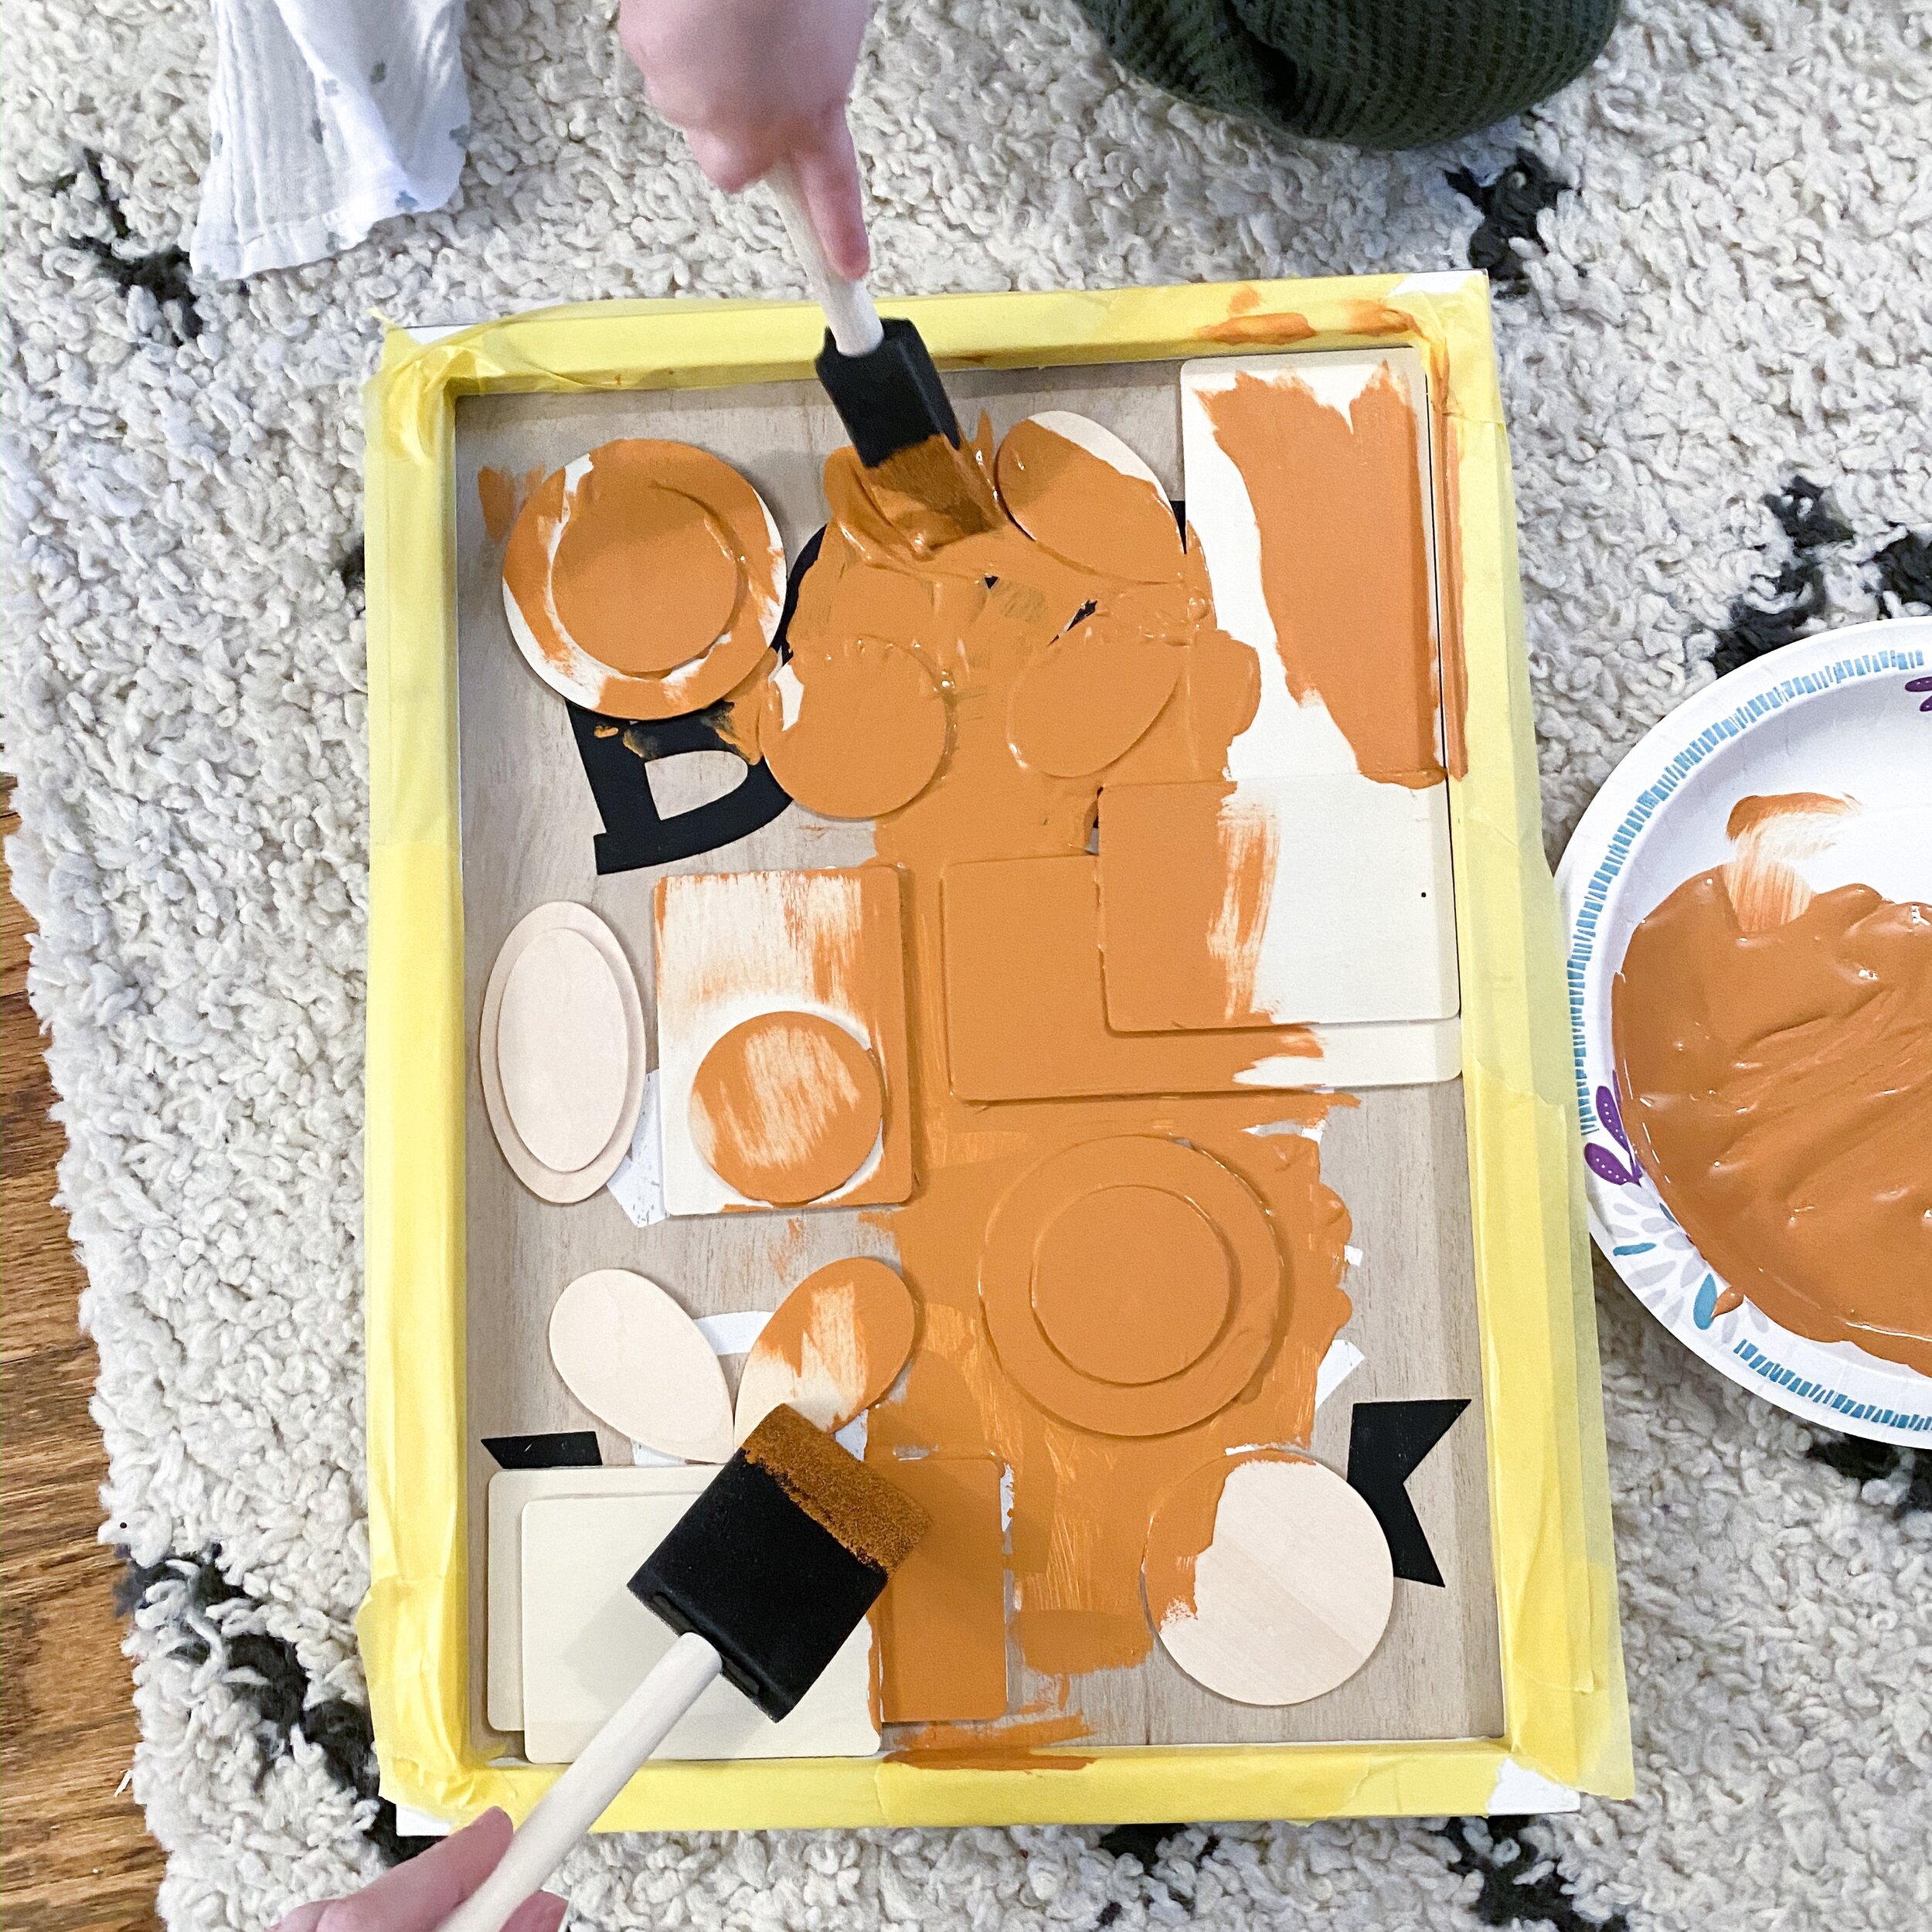
3) Once the glue is dry, tape off the edges of your frame (unless you plan to paint the frame the same color).
4) Keep painting layers until you can no longer see the words/pictures of the original art. (because mine had black lettering, I had to do about 3 coats of paint)