DIY BATHROOM UPDATE - PROGRESS POST
I posted a few weeks ago about how I was starting a mini makeover on our guest bathroom. I wrote that I had hoped to get all the painting finished, new mirror hung, and wall shelves up all in one weekend… well apparently I cursed myself! That same day I posted, I went home and started painting the counter top. I forgot to get primer, but I went ahead and started painting anyway thinking it wouldn’t be a big deal. BIG mistake… the layers of paint started getting tiny air bubbles and I knew that I would have to scrape it all off and start over the right way. That was a huge bummer, so I decided I would take a break from painting to remove the old medicine cabinet and hang this new mirror I bought. I figured that would be something quick and easy I could do that would make a big difference in the overall appearance… which would then get me back motivated to keep working!
Wellllll… I was wrong about that!! When I took the medicine cabinet down (which was screwed onto the wall- not set into the wall), I discovered a big hole behind it!
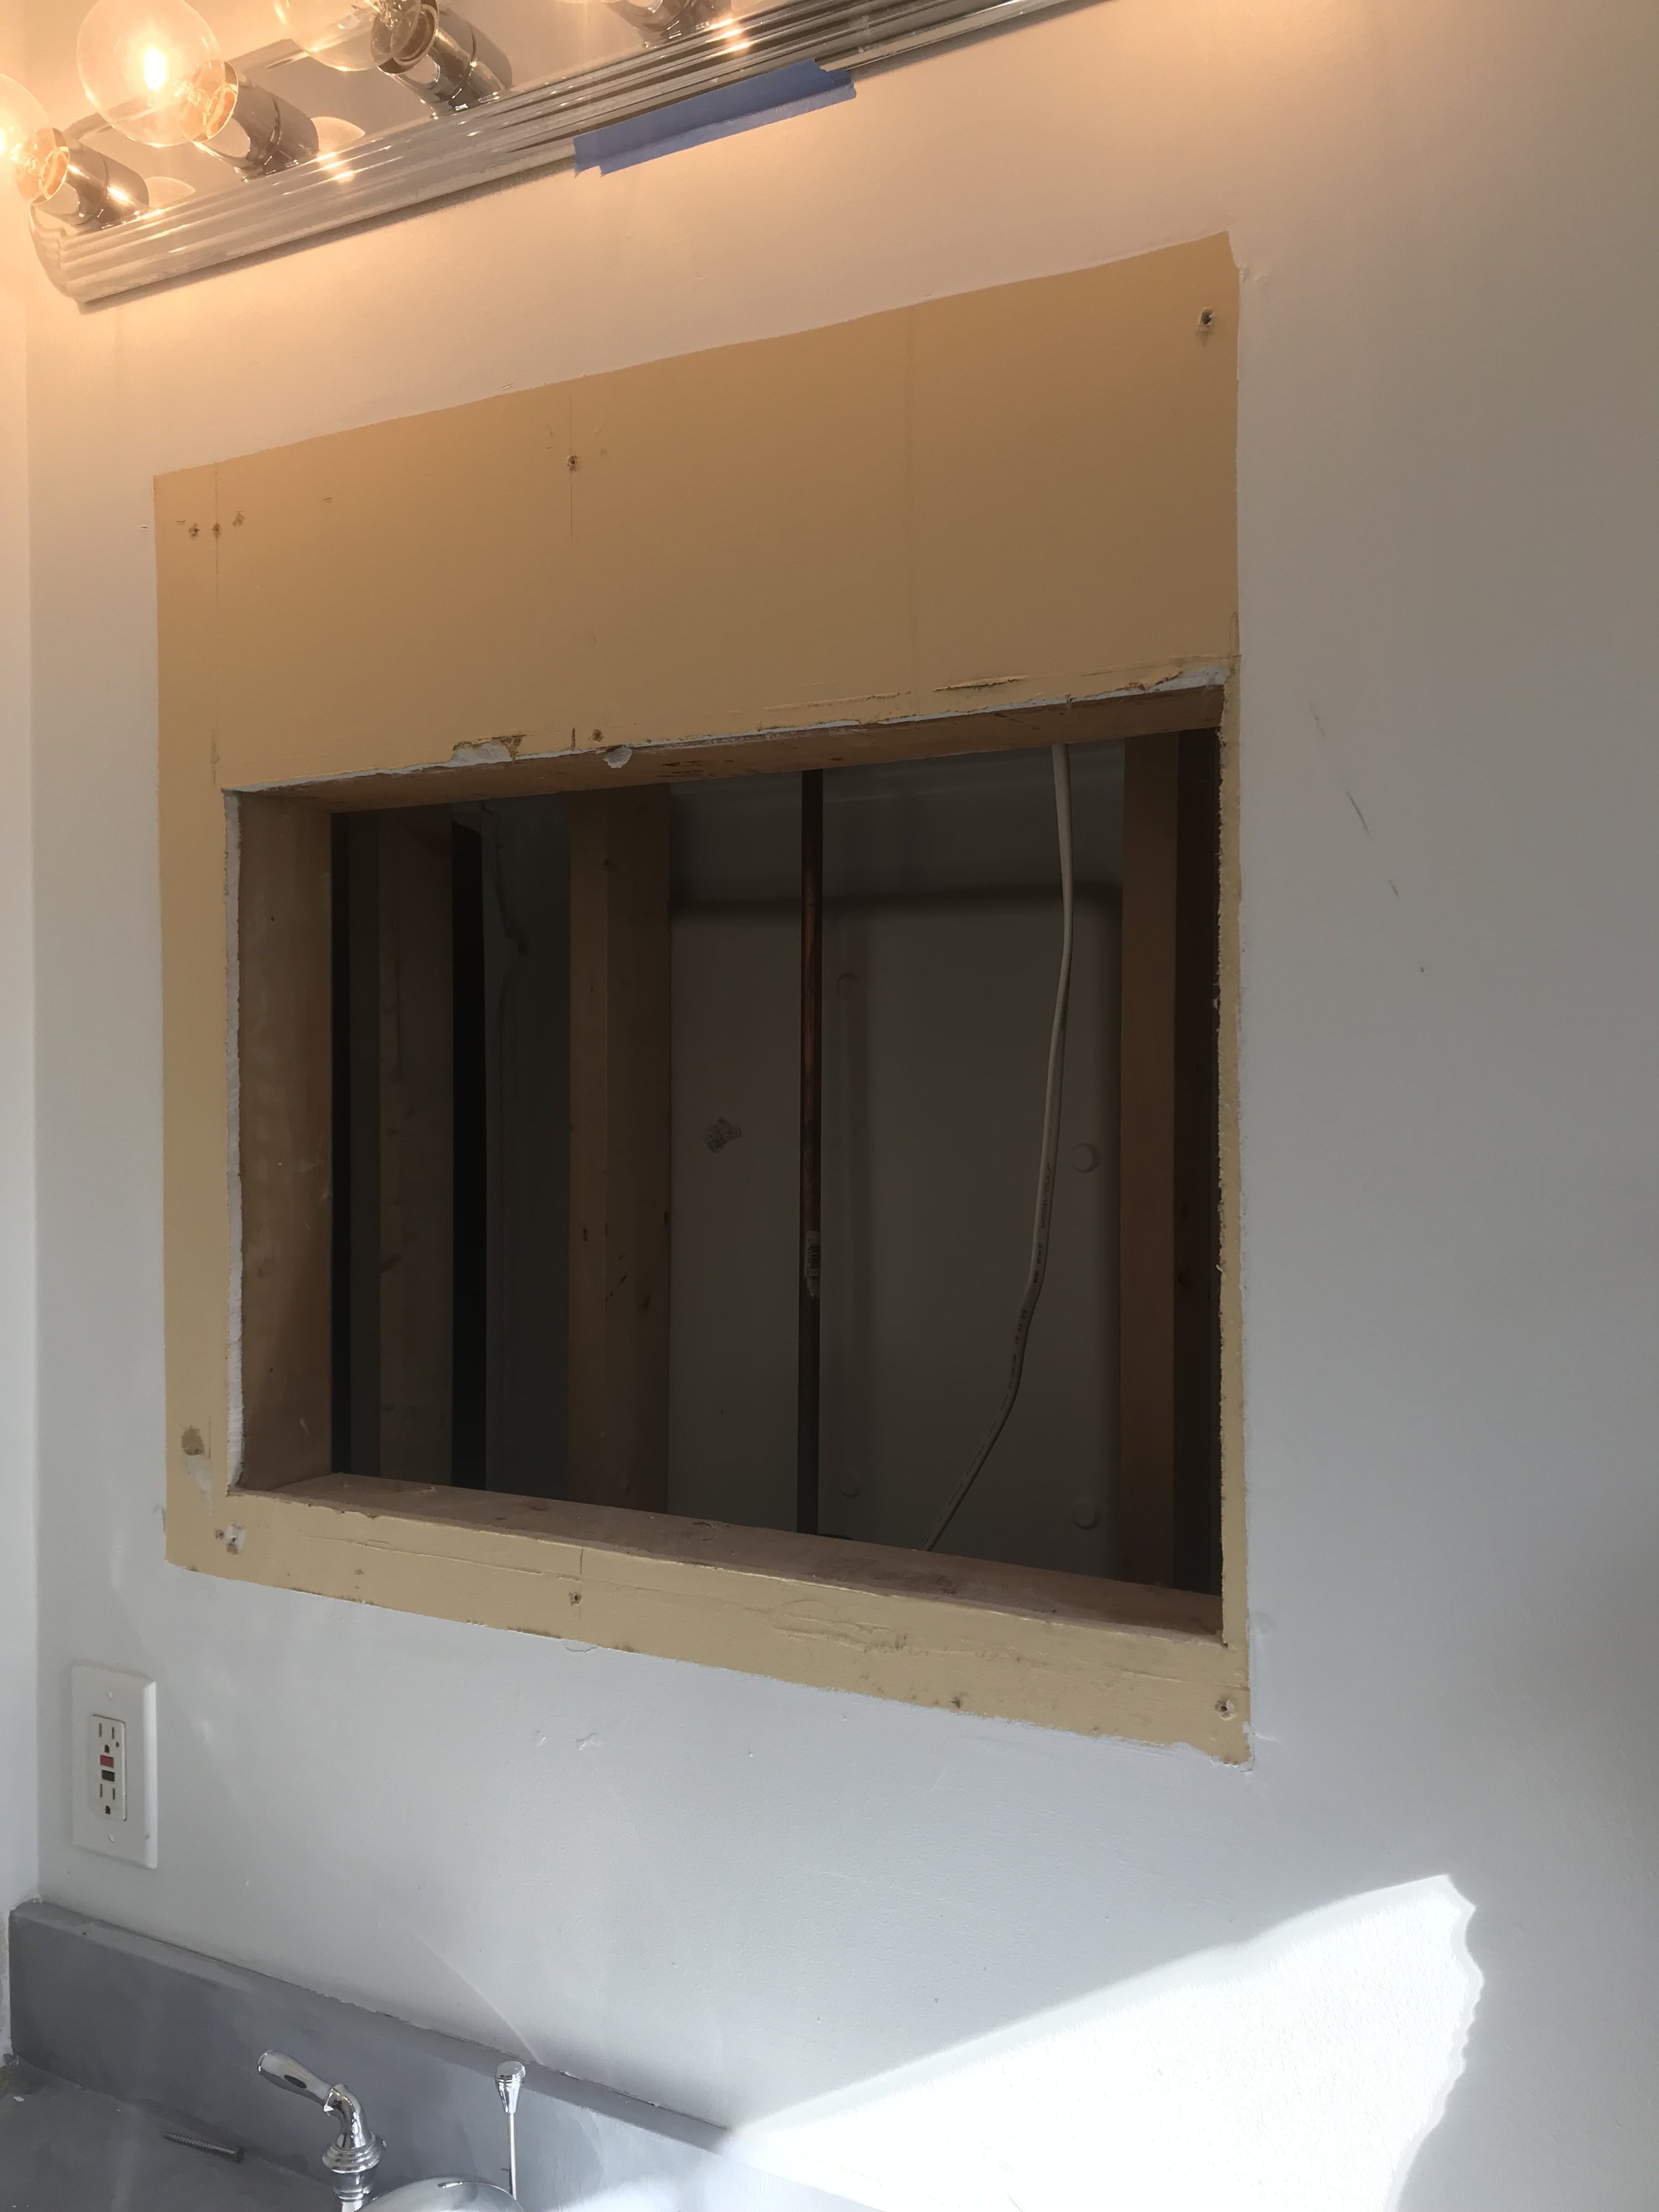
I’m thinking that this house originally had a medicine cabinet that was set into the wall and the previous owners just put a bigger mirror over top of the hole instead of patching it. (Side note… how terrible is that yellow paint color?!)
SO I had to run back out to Home Depot and ask the kind employees what supplies I needed and how I go about patching this size hole. I literally just followed the guy up and down the aisles while he put exactly what I needed in my cart (he even cut the wood and drywall patch to exactly the sizes I needed)! It is actually a pretty easy process, I’ll have to do it again in our master bathroom so I’ll put a tutorial together! The hardest part for me was screwing in some of the screws- I don’t have enough upper arm strength so I had to call in some backup from my husband… (he works out)! ;-)


Close up view of the hole I patched!
Aside from patching the hole, I also:
-Scraped and repainted the counter top
-Hung two shelves above the toilet
-Painted the vanity
(For the cabinet color, I combined 3 different paint samples I already had on hand- SW Polished Concrete, SW Tin Lizzie, + SW Homburg Gray)
What I still have left to do:
-Seal the counter top with matte polyurethane
-Touch up the vanity paint
-Replace the cabinet knobs (going to use these black ones I have extra of from our bedroom dresser)
-Sand and paint the wall above the sink
-Hang mirror
-Find + install new light
-Find new rug
I’ve been having a hard time deciding on exactly what vanity light + rug I want, but I’ve started leaning towards a vintage Turkish rug. I feel like this space really needs a small statement rug to pull it all together. It might seem crazy to put a pricier rug in a place like a bathroom, but apparently wool rugs do great in them! I read this article from BrePurposed, and it definitely helped sway me towards “yes”.
This time I’m not even going to try and guess when I’ll accomplish the things on my to-do list because I don’t want to jinx myself! But make sure to follow me on Instagram to keep up with any progress updates, and hopefully I’ll be posting on here about it soon!
YOU MIGHT ALSO BE INTERESTED IN:
Guest Bathroom Plan | April 2018
Places I’d Like to Visit- The Surfrider Malibu | June 2018