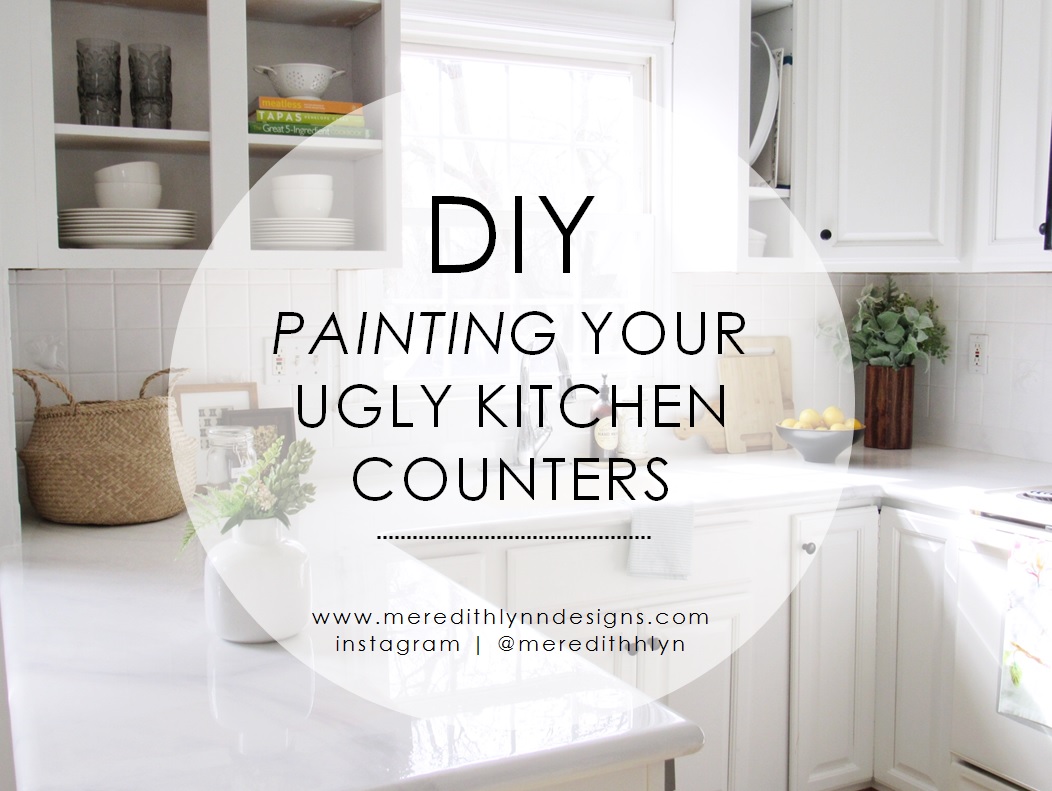
DIY | PAINTING MY KITCHEN COUNTERTOPS
After the success of painting our kitchen backsplash, I got to thinking what else I could transform with paint??! Our newly bright white backsplash made our counters look extra dull, so I started googling. I found a counter painting kit made by Giani for around $80 and tons of pictures from people who had success with it. We were all set on pulling the trigger on that, but then I started finding posts from people who achieved the look I wanted without it. This post from Earnest Home Co & this one from Batchelors Way helped convince me that I could do it with supplies that I mostly already had! I'm not going to lie and say this was a super easy DIY project - it took almost two days of work (not straight working, I had a ton of distractions) + a lot of patience... BUT the results are way worth it!!
I definitely recommend getting a piece of wood to practice the marbling technique out on first. You'll feel more confident in your abilities and you'll learn what works and what doesn't.
The first thing I did was clear everything off our counters and clean them. Then I used rubbing alcohol to degrease them.
From there it was just rolling on two coats of primer, and then I did two coats of regular wall paint.
After the wall paint, it's time to start adding in the marble detail. I googled pictures of mostly white marble with light gray veining since that was the look I was going for.
First I dampened my sponge and used a light shade of gray to add the bigger, main veins. I read that the veins in marble usually go in the same direction, so that's how I applied them.
After doing one, I would use my dry brush and brush in multiple directions to blur it out. This step is super important so that you don't see the sponge texture.
Then I used a different damp sponge to sponge in more white paint. I went back and forth with these steps until I was happy with the look.
Real marble has a layered look to it, so continuing to add more paint only makes it more realistic.
Then I took a piece of ripped cardboard to draw in a darker gray, thin vein in random parts -- then dry brushed that.
Sometimes I would dab some white paint on top of the darker veining and quickly blur it out to add more depth.
Those are basically all the steps involved in creating the marble look -- it's a lot of going back to the same areas and adding more white or gray until it finally looks how you want. I had to force myself to step away at some points because it becomes hard to tell what looks good when you're staring at the same thing for a long period of time.
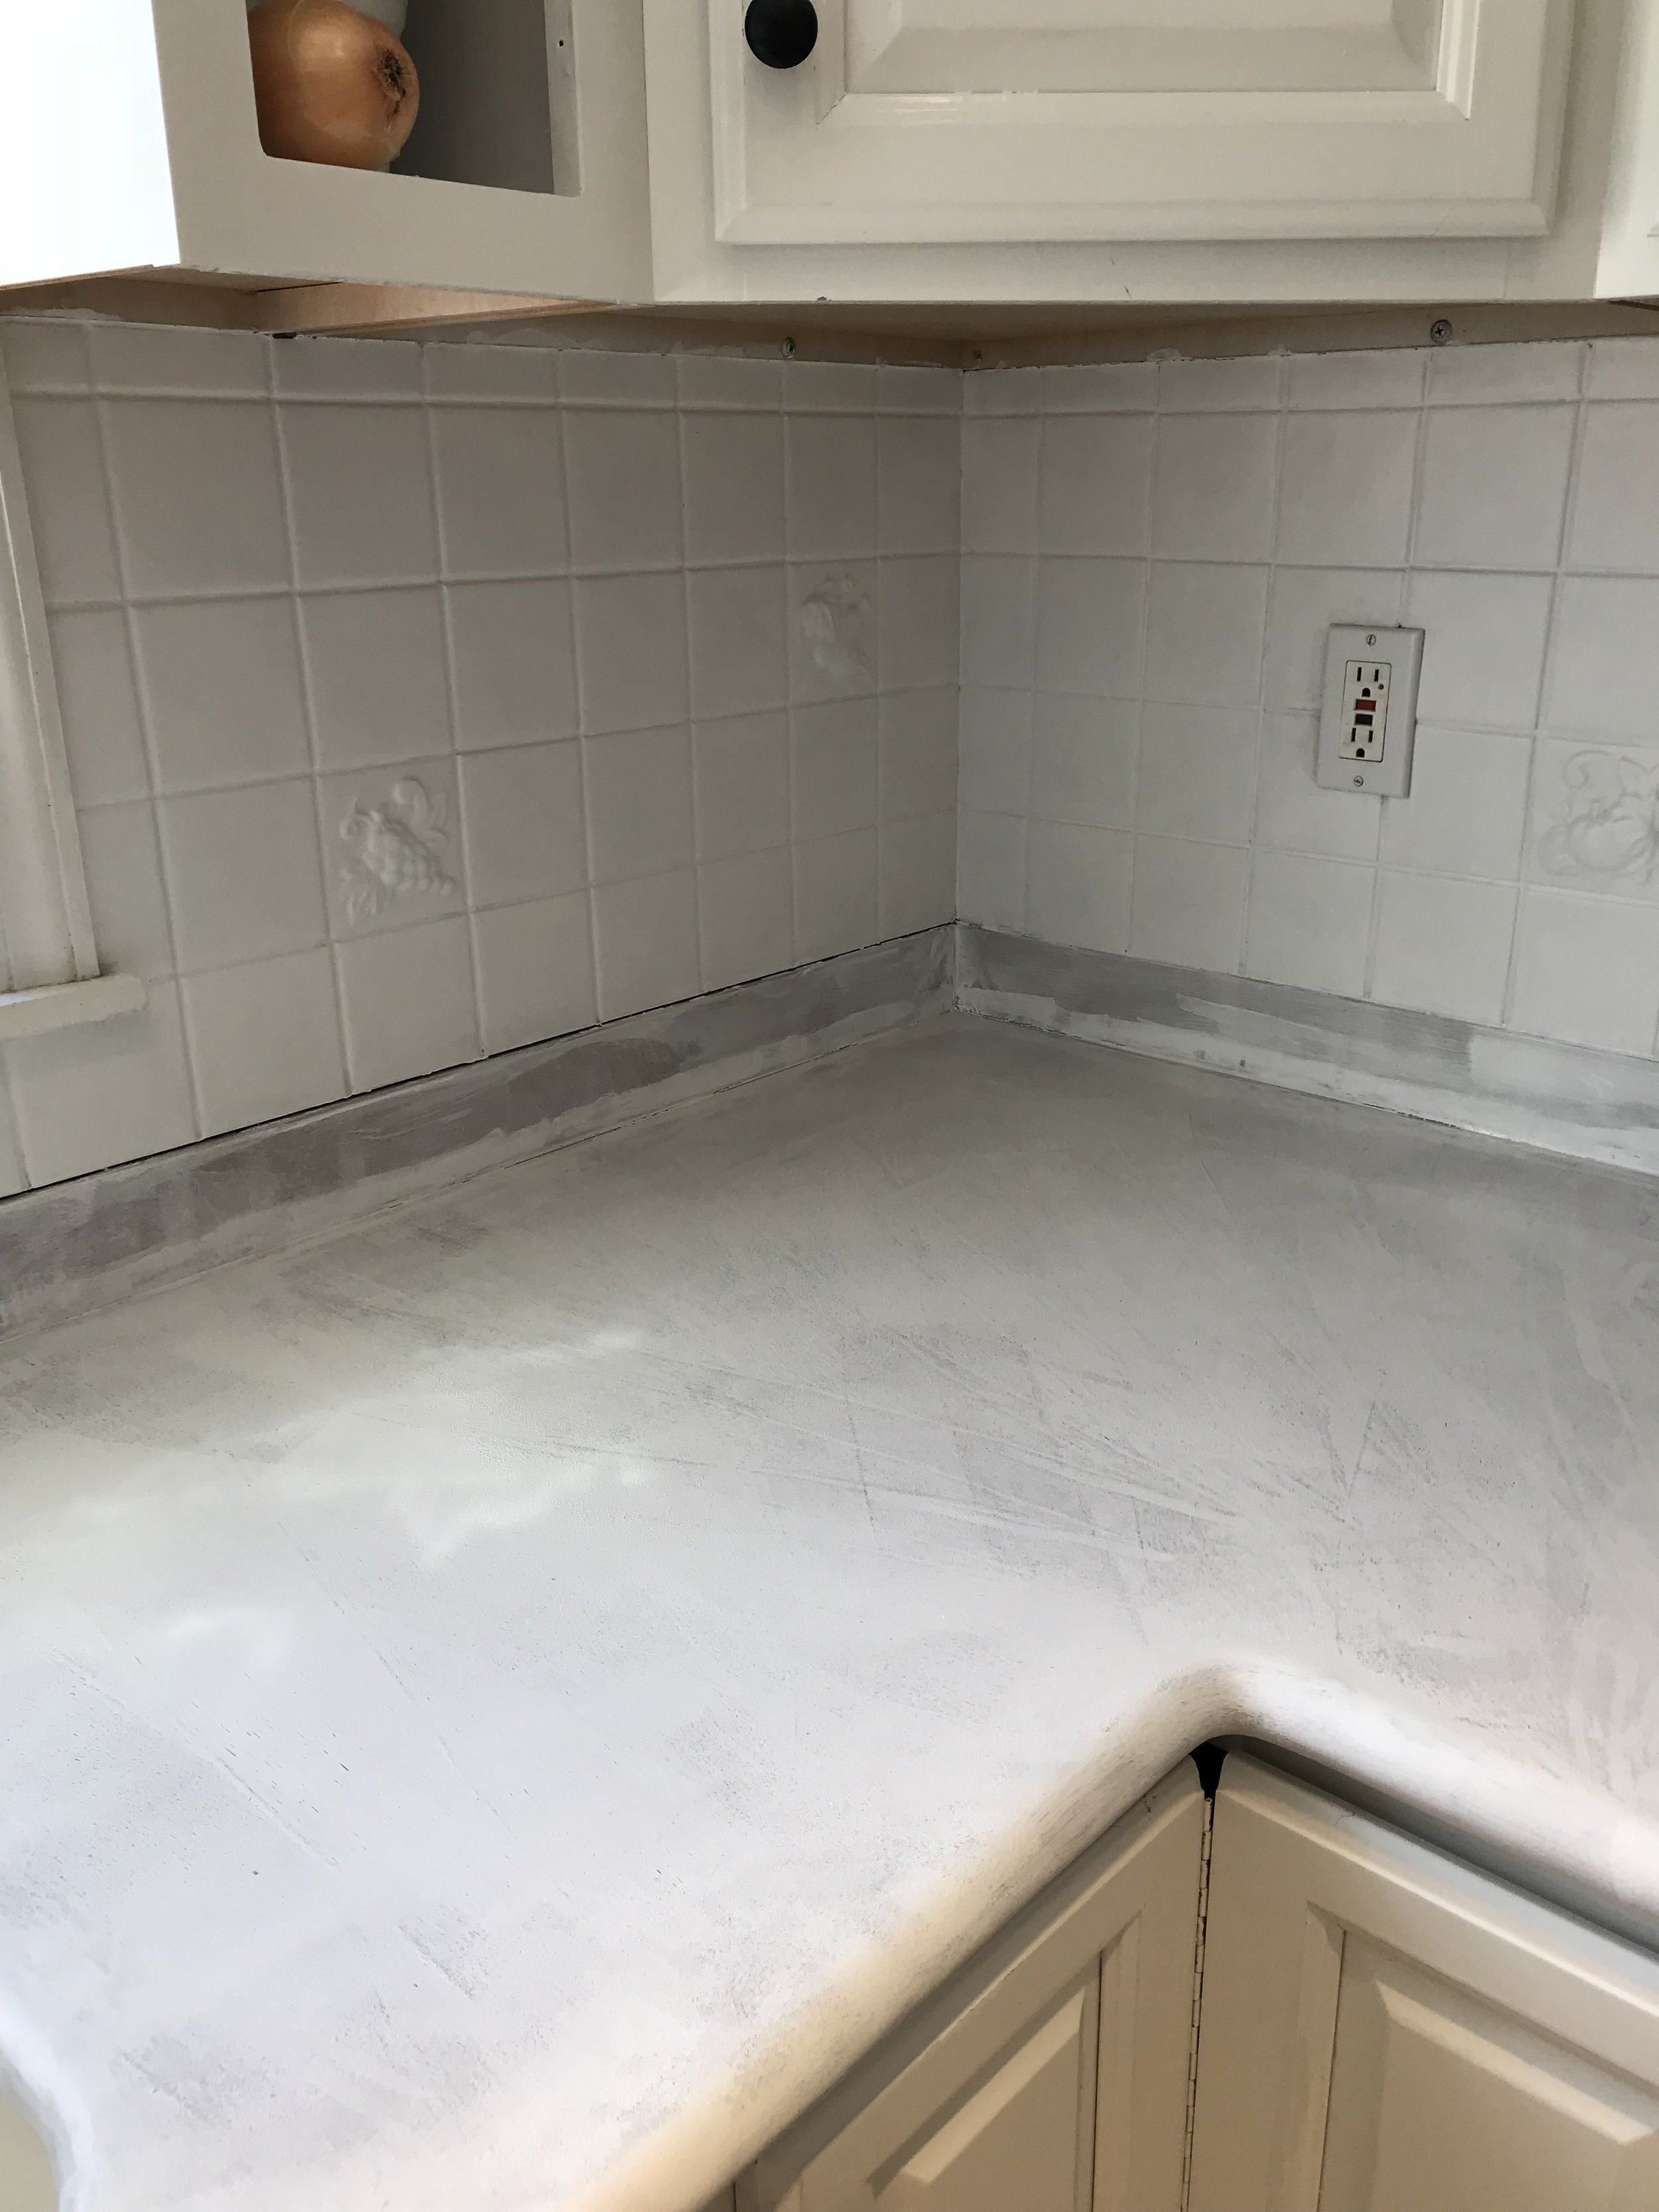
After one coat of Primer.... don't mind the random onion in that cabinet!

Sponging on light gray paint -- I used gloves for a lot of the work because I never knew when I was going to have to take a break to do something with the baby really quick!

Dry brushing the sponge texture away

Adding in detail with darker gray paint + a piece of cardboard
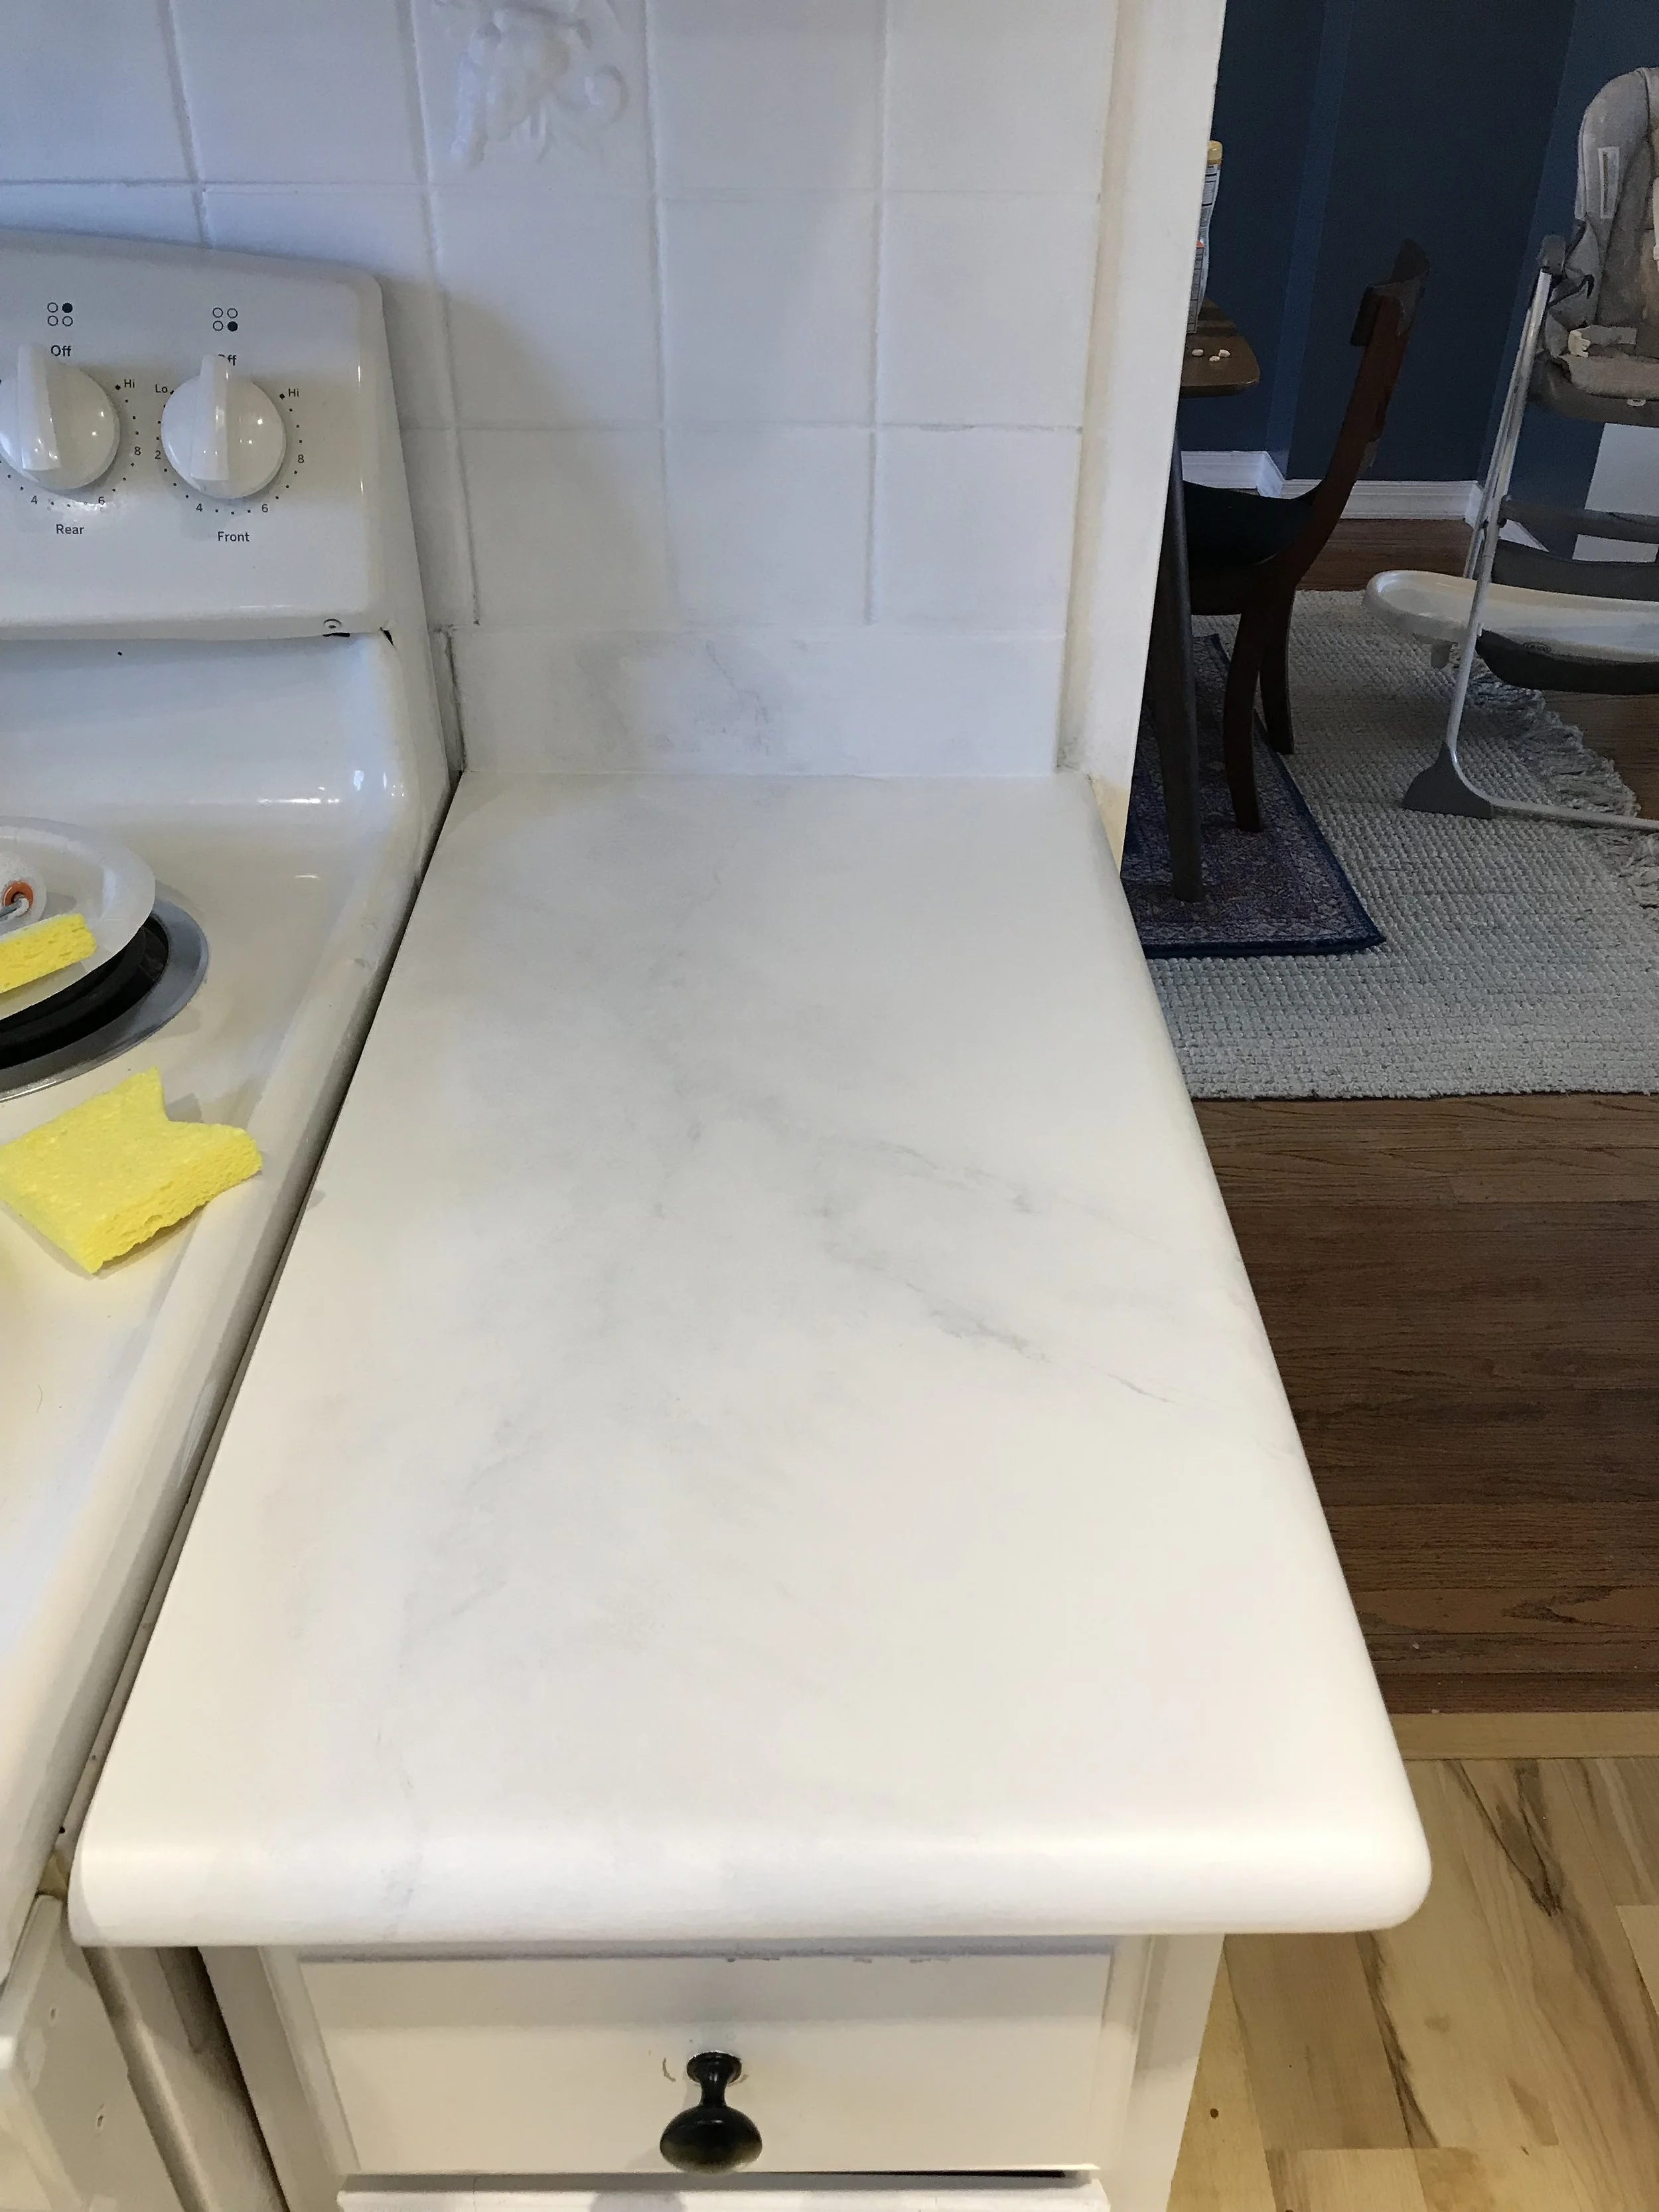
Here is how one counter looked after I was finished adding details and before we coated with epoxy
When you're happy with look of your design, you can let the paint dry completely. Then you'll want to go and try to smooth out any texture on the counters with a joint knife. I was scared to do this, worried I would mess up the paint, but my friend Bill showed me how to do it correctly. You light push and scrape any surface that has bumps and because I had added in so many layers, any paint that did come up just revealed the colors below it -- make it look even more natural!
Once you scrape away as many bumps as you can, you want to wipe all the dust away.
Then tape off your backsplash and appliances + tape on drop cloths to protect your lower cabinets, appliances, and floor from the epoxy.

Scraping away any bumps and texture

Tape up your drop cloth (I took this photo after we had already spread the epoxy on)
After everything is taped off, mix the epoxy according to the instructions. Then pour directly onto the counters and spread out using the foam brushes. You want to spread quickly, but carefully so that you minimize how many bubbles are created. The epoxy will level itself, so you don't have to be super precise with it - just make sure all areas are coated.
Once you have the surface covered, check for air bubbles on the surface. It's easier to do this if you can shine a standing lamp on the surface. Any bubbles you see, can either be blown away with your breath or you can use a hair dryer and point it diagonally at the surface. If you use a hair dryer, don't hover too long over one spot or it will move the epoxy away.
We checked on it several times in the first hour to wipe away drips that were forming. During this time, we also removed all of the tape so that it wouldn't dry with the epoxy.


Blow drying away the air bubbles
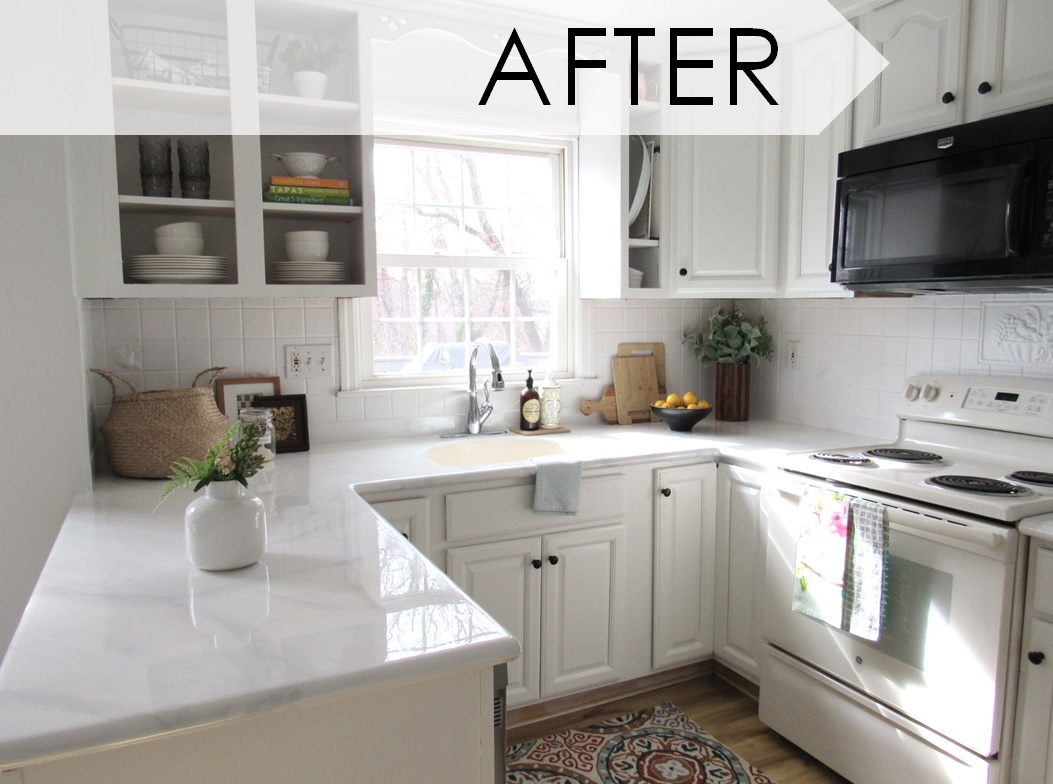
After you take care of the drips and air bubbles, it's just a waiting game! Everything needs to stay off the counters until the epoxy cures - about 3 days. Then you can go back to normal life!! Obviously, don't cut directly on the counters and I've read to only clean with soap + water or vinegar + water... so just treat them like you would any delicate stone countertop. I will definitely do an update post after some time has gone by to let you all know how they're holding up!


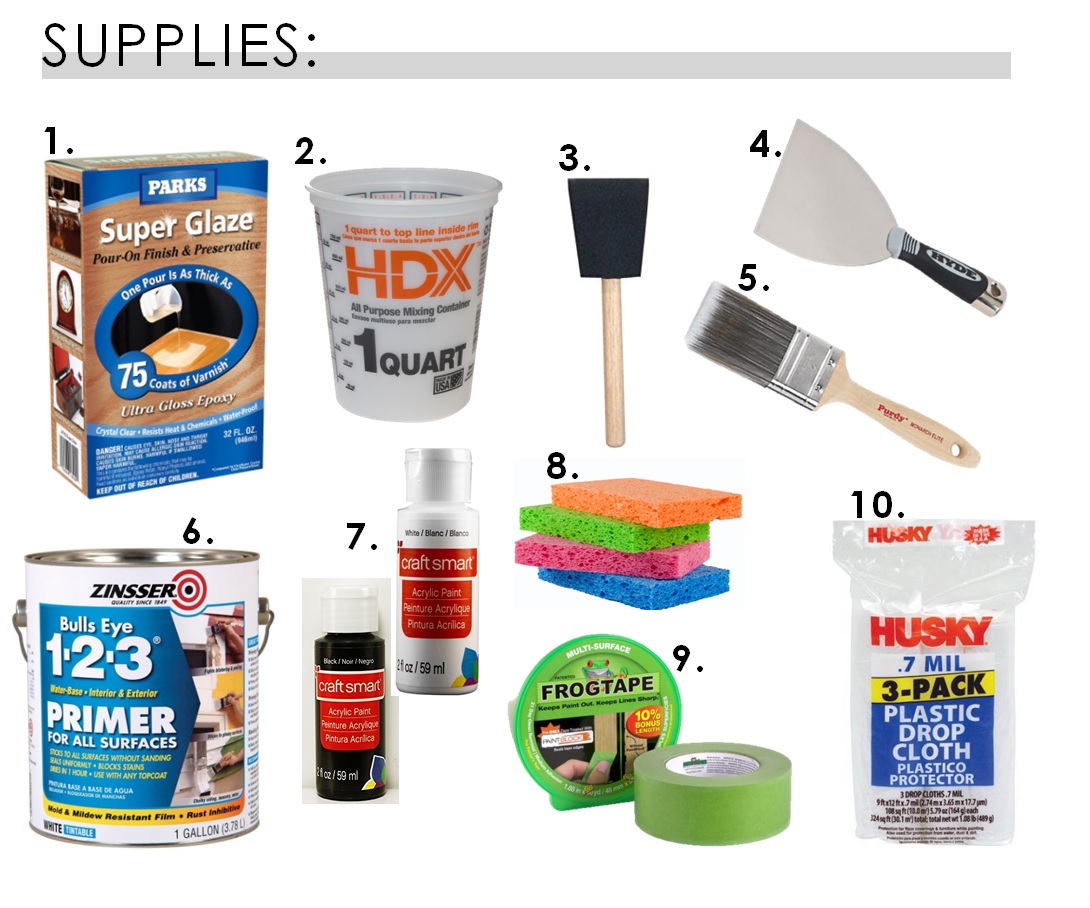
Super Glaze- This is the epoxy we used for the top coat. One box covers way more than we thought it would. We ended up using a little less than two full boxes and we bought ours at Home Depot for $24 per box.
Mixing containers with measurements- one box of super glaze requires 3 mixing buckets.
Foam brush- I started off the project using a roller to roll the primer and paint, but then I started using these foam brushes and the result was much smoother. The roller left an orange skin type texture. I would definitely stick to these foam brushes if I did this again. We also used these brushes to spread the epoxy around and they worked great.
Joint knife- we used this tool after the paint was dry and before we did the epoxy step. We lightly scraped along the surface to get rid of any texture that would cause the epoxy to dry bumpy.
Dry paint brush- I used a clean, soft paint brush after sponging on the marble veining to blur out the lines for a more realistic look.
Zinsser Primer- I had this leftover from painting our backsplash. I painted two coats of primer before painting with regular wall paint.
Black & White Craft Paint- I used these regular craft paints I already had and mixed up a couple different shades of gray for the veining.
Sponges- All of the tutorials I read said to use a sea sponge for the veining, but I was lazy and didn’t feel like going to the craft store. I ended up cutting regular sponges in half and it worked pretty well for me. If you do go this route, you need to be careful not to get any sponge pieces stuck in your paint.
Frog tape- We used this to tape off the backsplash and to tape on our plastic drop cloths. It worked great at keeping the epoxy away from surfaces we didn’t want it to touch.
Plastic Drop Cloths- We covered all lower cabinets, appliances, and our floors with drop cloths to protect them from epoxy drips. Anything epoxy touches and dries on- it stays.
Other Products I Used:
White wall paint – Pure White by Sherwin Williams (Same paint I used on our cabinets & backsplash)
Small artist paint brush – to get in hard to reach places and also used one to do a little bit of the veining
Piece of cardboard – instead of the feather that other blogs used for the veining
BE SURE TO CHECK OUT MY OTHER DIY PROJECTS HERE!
You might also be interested in:
PAINTING OUR KITCHEN BACKSPLASH | March 2018