PAINTING OUR KITCHEN BACKSPLASH
This past weekend I finally did something about the awful backsplash in our kitchen! I’m pretty sure we would have been able to figure out removing it and putting something new up ourselves, but we also want to replace the counters at some point – which is definitely not something we can DIY! So until we’re ready to renovate, I needed something temporary that would make me hate it less!
I posted the question on Instagram and Elizabeth (@elizabethbeardesigns) and Anastasia (@theidentitecollective) came to my rescue!! Both ladies recommended painting it – Anastasia had painted hers in the past and it looks beautiful! For some reason I’ve always been hesitant about paint because of the fruit that bumps out on it – but they both agreed that it would definitely look better white.
I researched painting ceramic tile backsplash and immediately went out to get what I needed: multi-surface primer & a small foam roller. We still had paint leftover from painting our house – which is the same color as the cabinets (Pure White by Sherwin Williams). I also used a small angled brush to get into corners and grout.
This whole project took the better part of an afternoon, getting the paint into all the grout lines was a little tedious—but I definitely wanted to spend extra time getting it right and the results were more than worth it. Our kitchen looks so much brighter now, I would 100% recommend this DIY to anyone!! I listed out what I did below.

1.) Clear everything from the counters and give the backsplash a good cleaning.
2.) After cleaning the tiles, I wiped them down with rubbing alcohol because I read that helps to remove any grease that might make it hard for paint to adhere.
3.) I taped along where the backsplash meets the counters.
4.) Time to paint! I used the foam roller to roll on a thin coat of primer. At first I was pressing the roller down to get the paint into the grout lines, but then later just started using an angled paint brush to get the grout.
5.) After an hour or so, I painted on a second coat of primer.
6.) Once the second coat dried, I started with the paint. It really only needed one coat of paint, but I did go back through and touch up some spots.
That's it! It was really a super simple DIY project that makes a huge impact. The tiles with the fruit are barely noticeable anymore!!
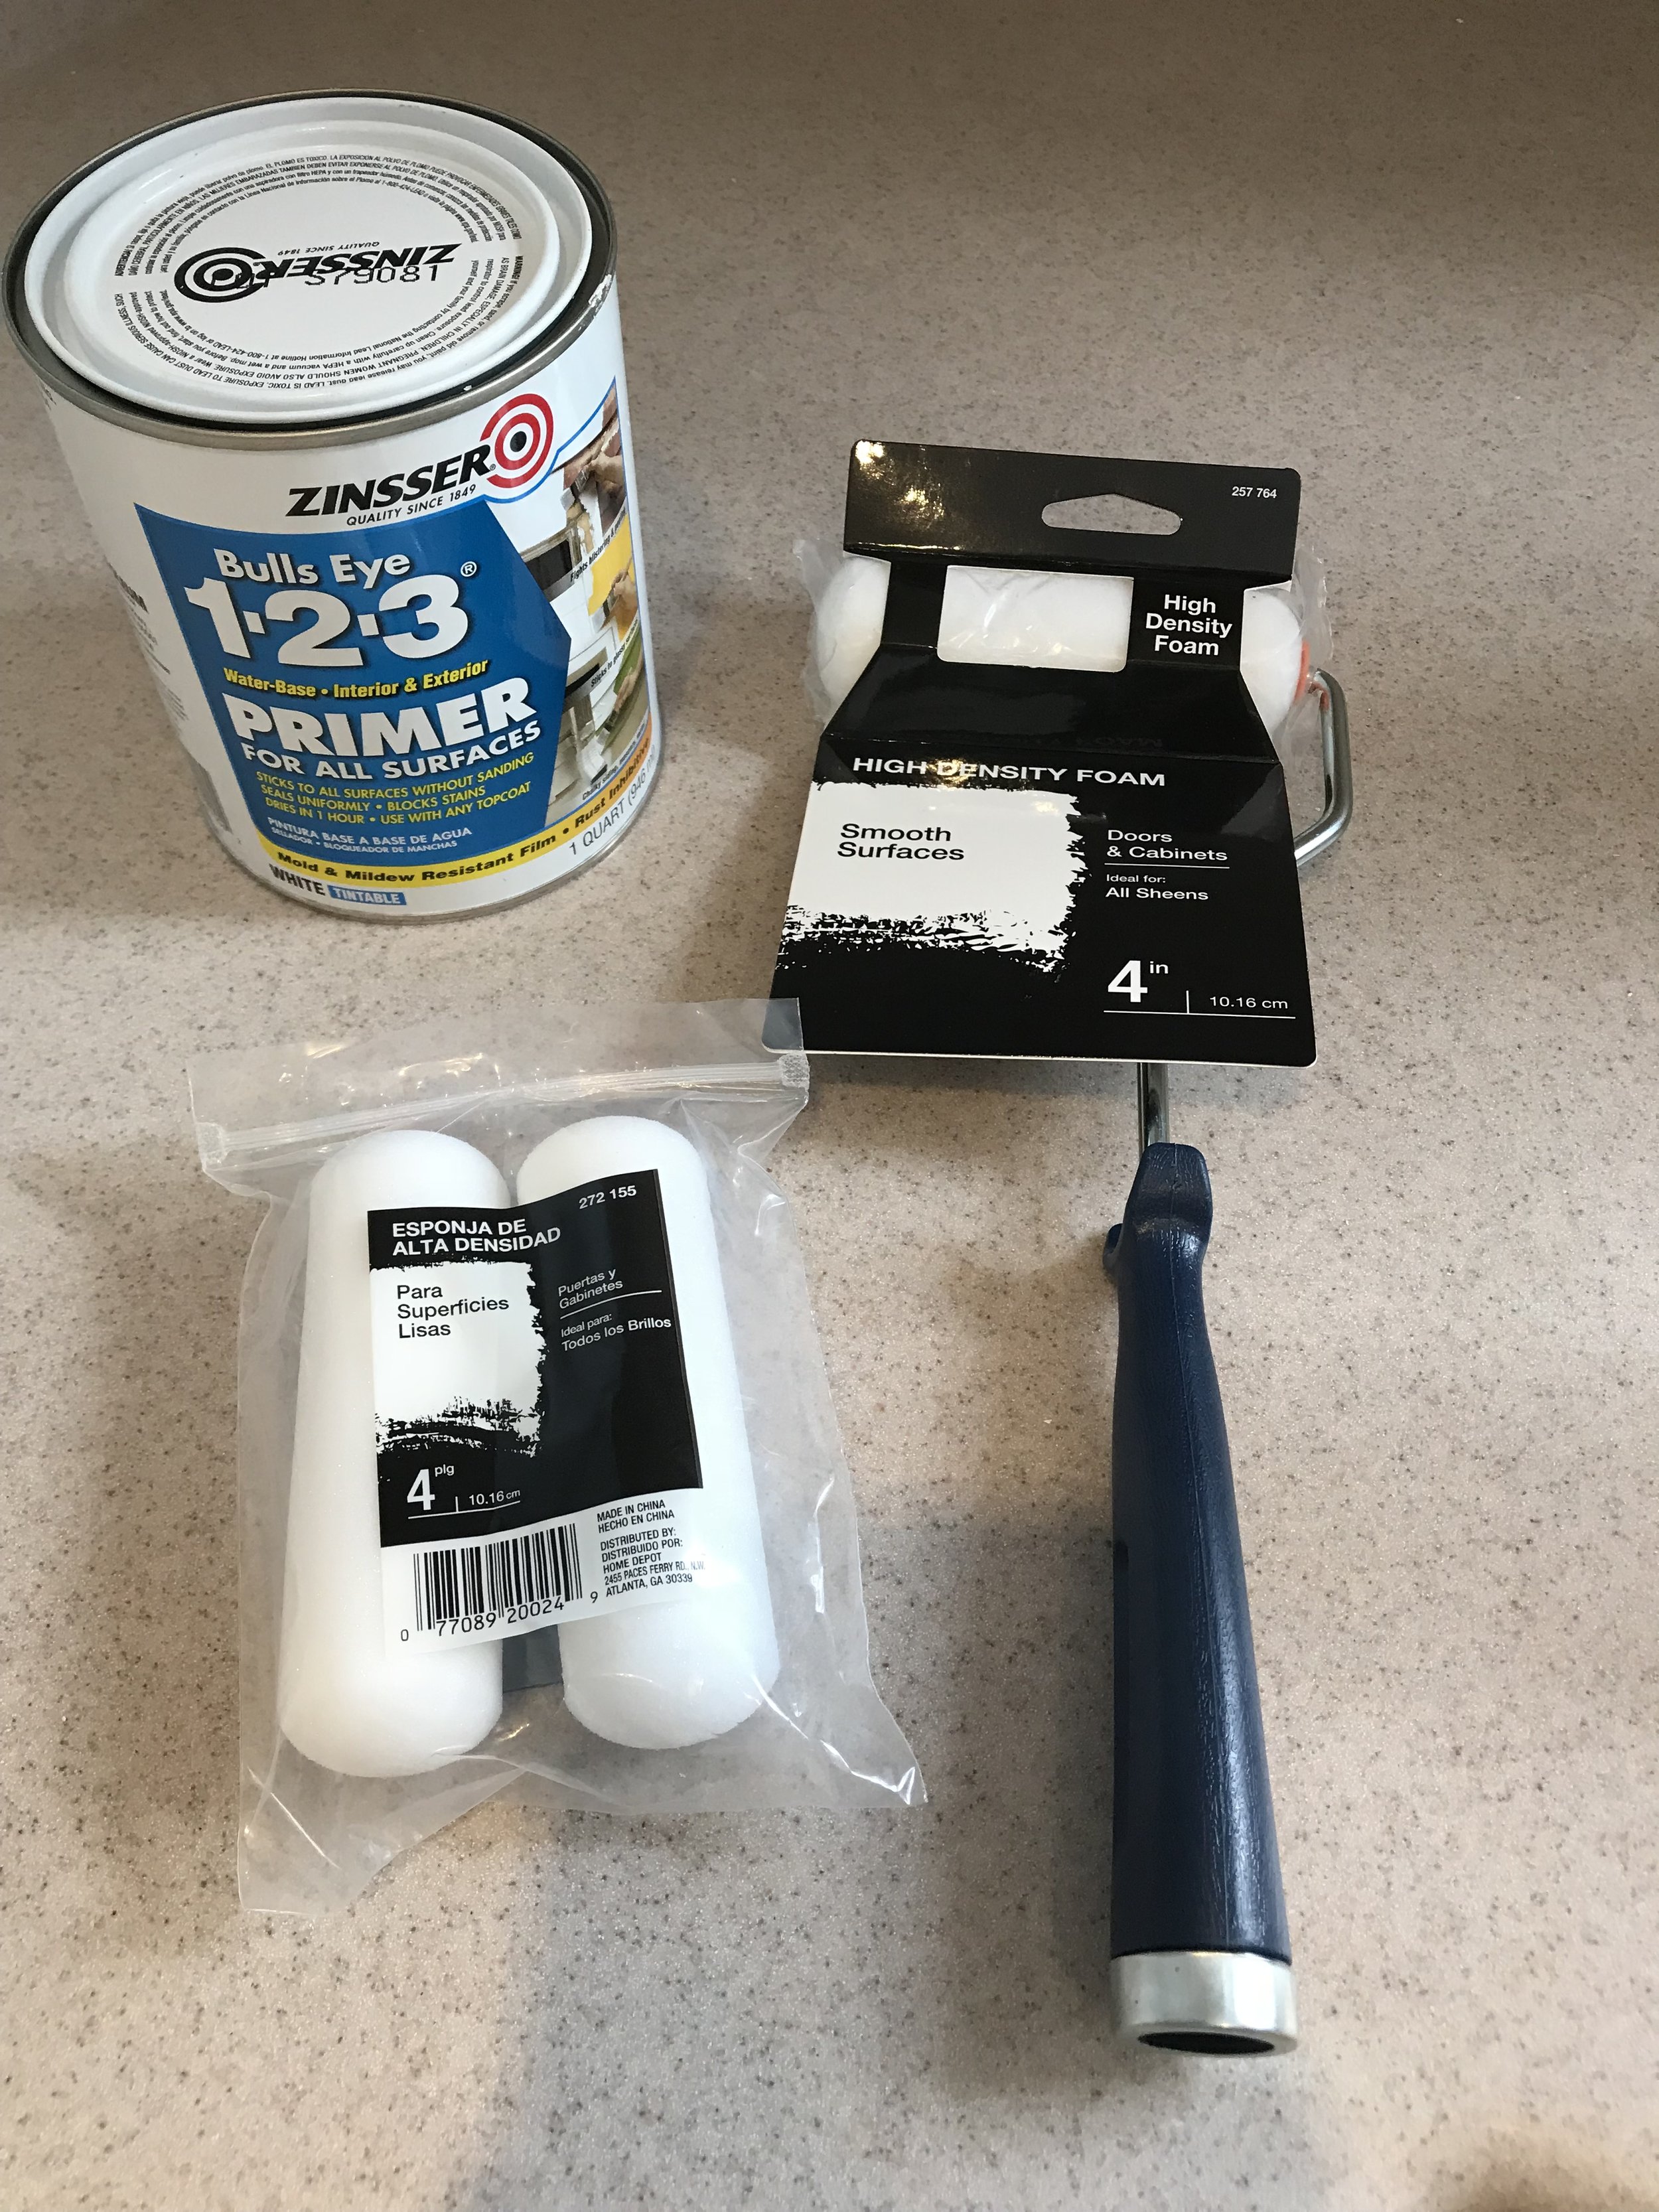
PRODUCTS // I used this + a small angled brush and the paint I used is "Pure White" by Sherwin Williams

BEFORE // the tile was SO bad!!

BEFORE // another before shot- we painted the cabinets when we first moved in
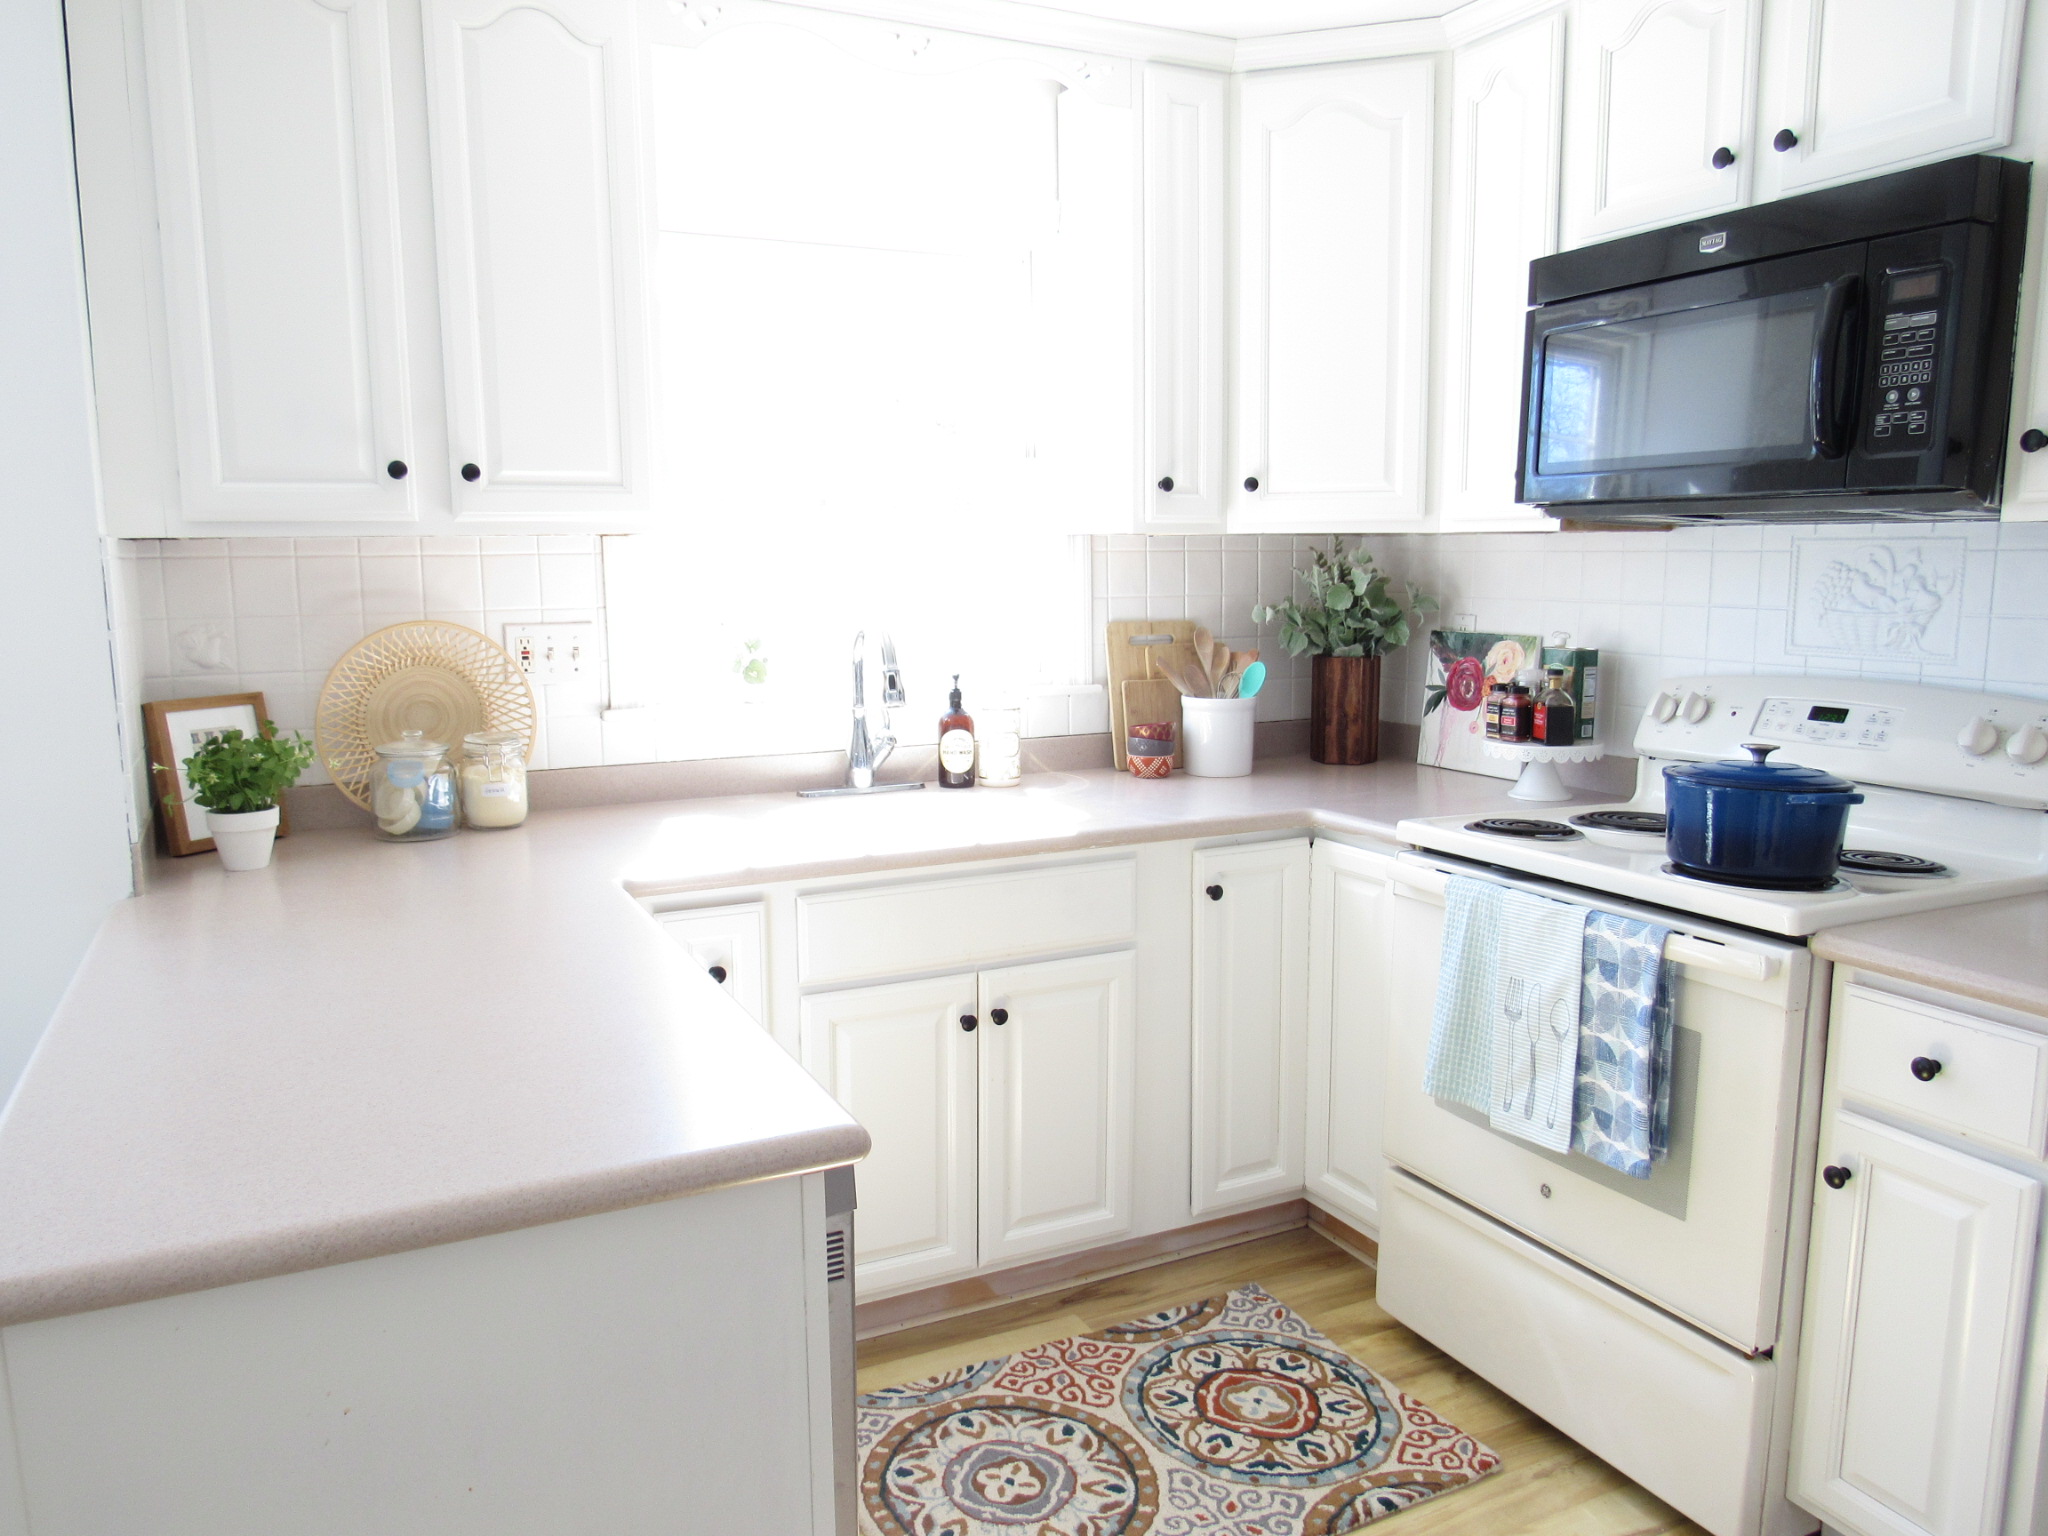
AFTER // ta-DA! so much brighter and happier!!

AFTER

AFTER // one of the fruit tiles -- hardly noticeable!

AFTER // it looks so much better now!!