HOW TO HANG LARGE ART ON A BUDGET

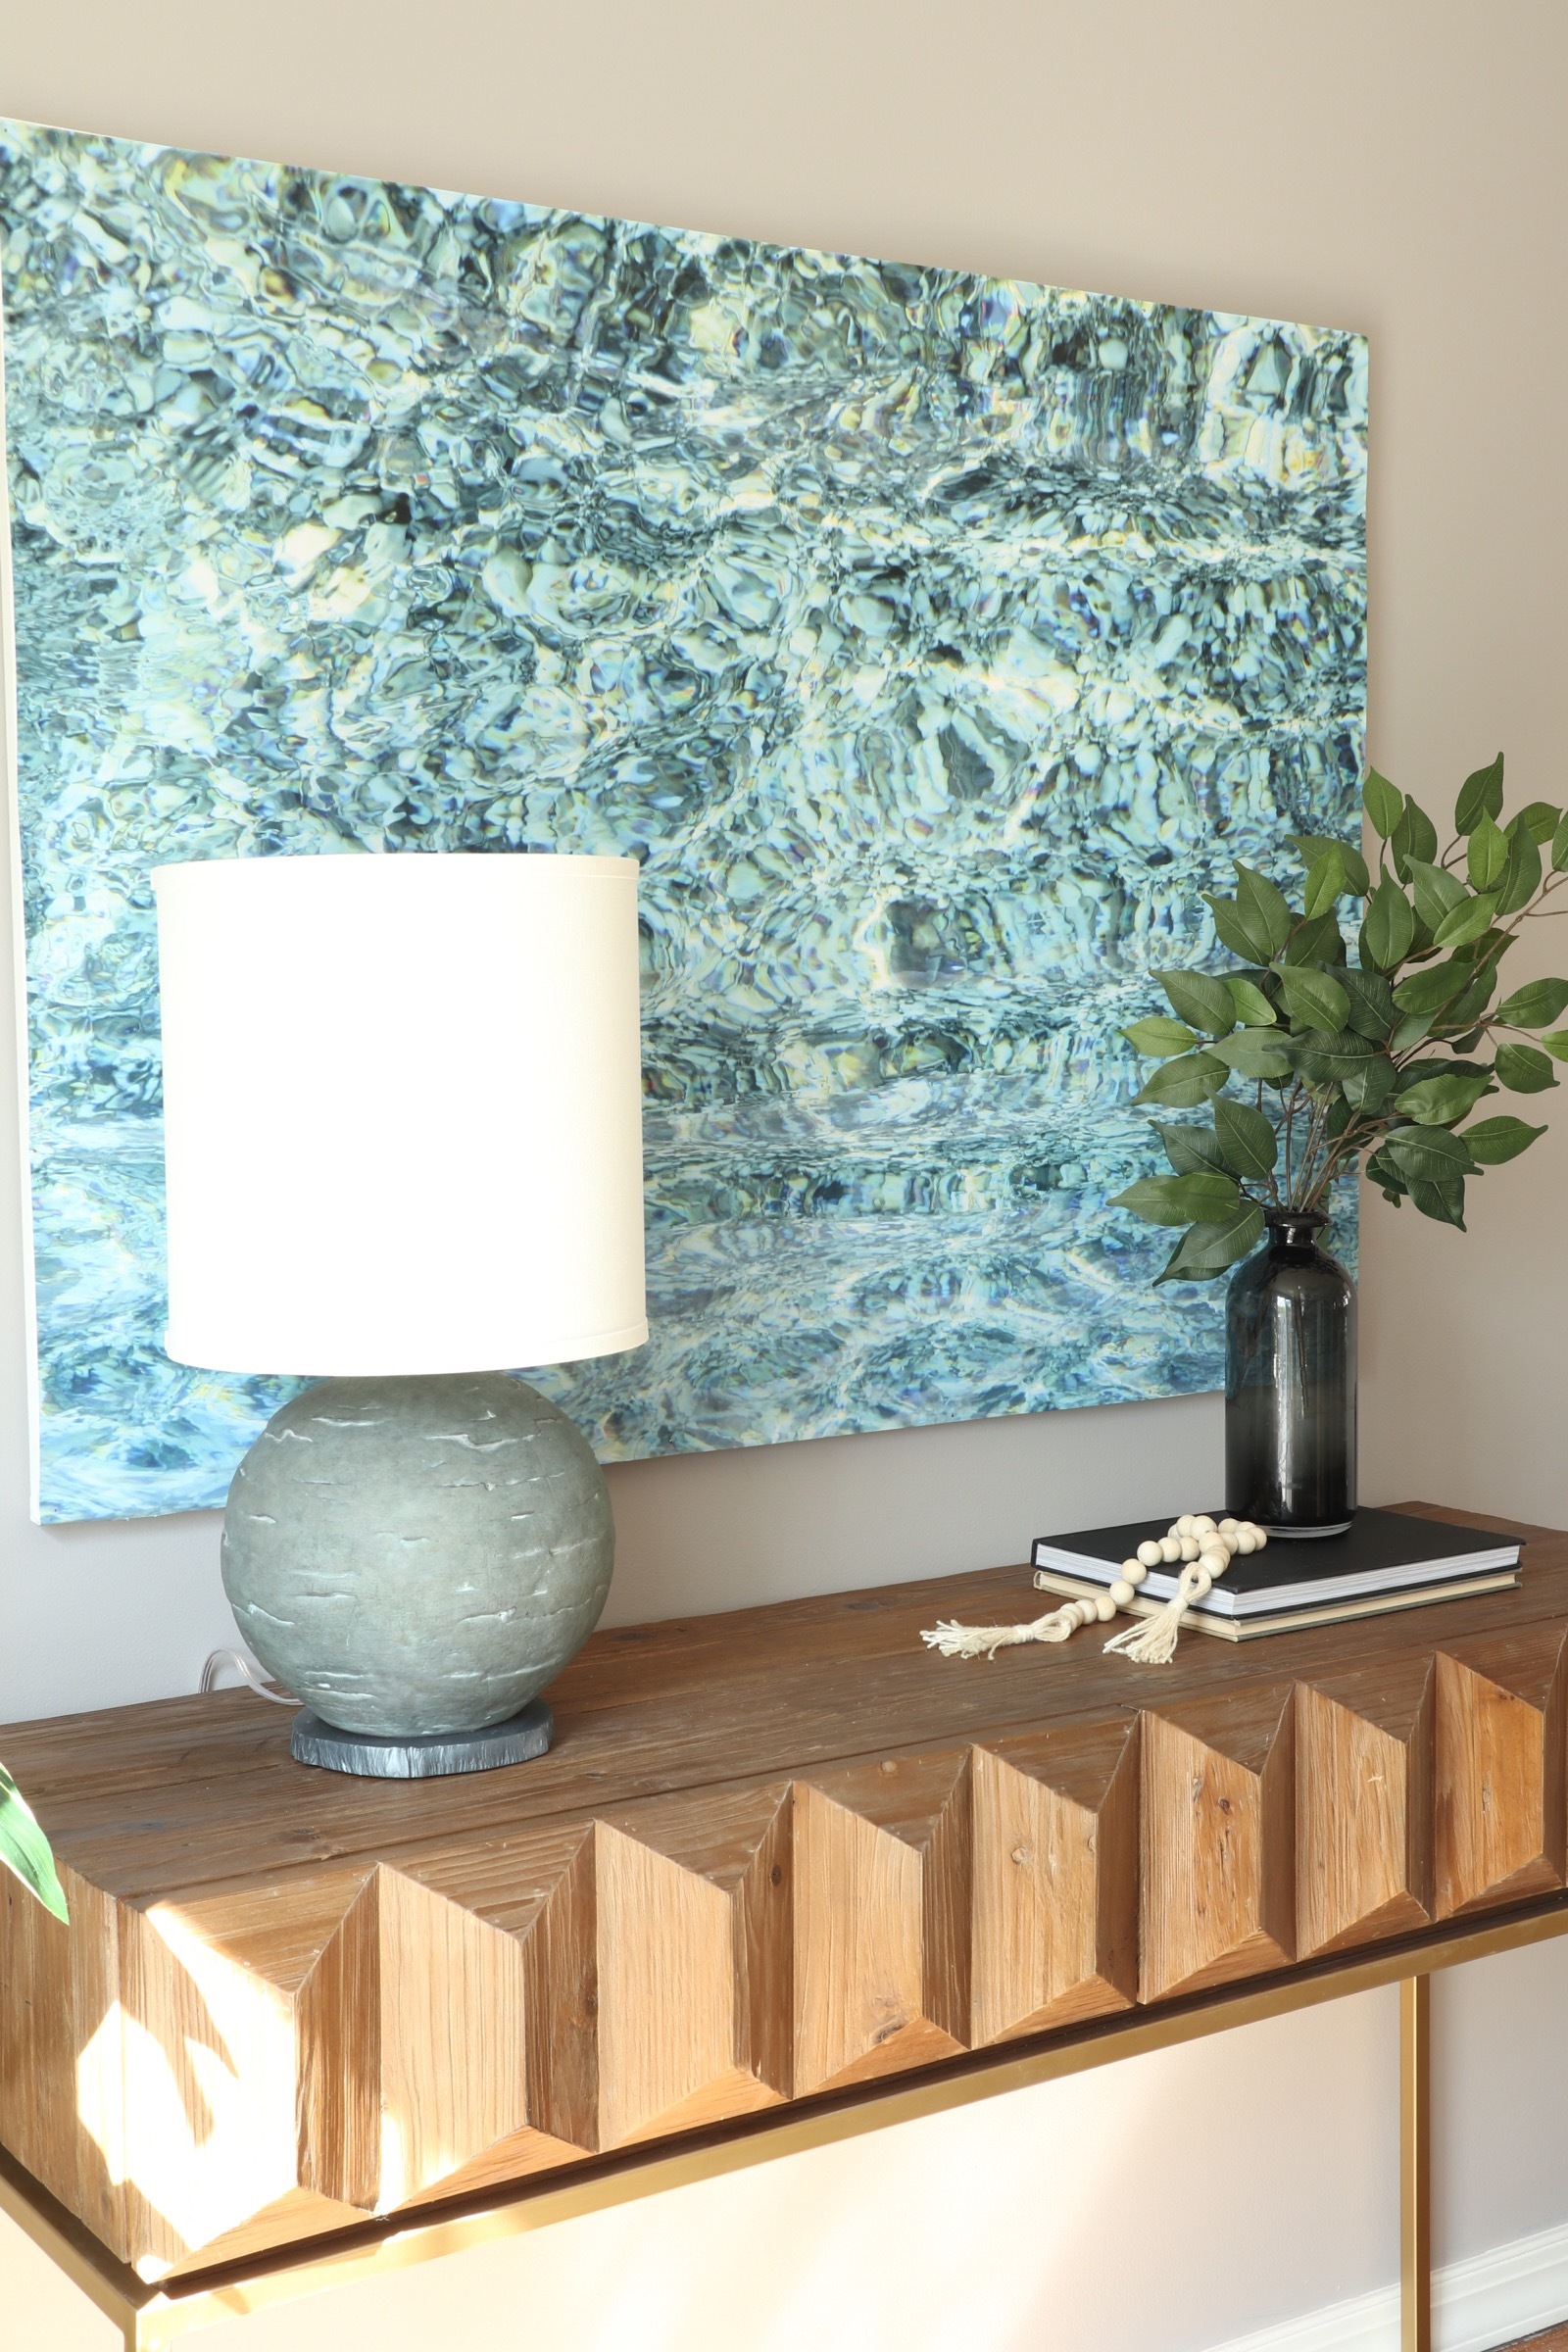
One of my favorite tricks to adding large art (or any size art!) to my home without breaking the bank is to just buy the printable file - usually off Etsy - and then have it printed from a site like Vistaprint or Snapfish. These files usually only cost between $5 - $20 and then depending on what size you’d like, it’s only maybe another $35 at most to have it printed!
For the print shown above, I used a photo that my sister took while on vacation in Greece. After shopping around to various sites, I found that Vistaprint was the cheapest option for the size I needed (36”x48”). I went to their poster printing section and it only cost me $32 to have it printed (I googled a Vistaprint coupon code). Whenever I’m having art printed, I always search around different site’s products - sometimes I find the best deal under their marketing materials, sometimes under signage… but it’s definitely best to see what your options are!
Anyway… after you have the photo printed, you need to hang it up! And if you’re trying to hang up art that’s larger than normal (24x36, 36x48, etc.) then you’ll realize that not only are larger frames harder to find but when you do find them, they’re crazy expensive!! That is why I came up with this budget friendly solution!
Materials (for 36” x 48” print):
-36” x 48” canvas (I chose the lowest priced one at Michaels, they have more expensive options that are thicker)
-Small nails (short enough so they don’t go through to the other side of the canvas)
-Spray Adhesive (you could also spray the entire canvas with spray adhesive and adhere the print that way, but I wanted to make sure the edges wouldn’t eventually curl up)

Steps:
1.) [not pictured] Spray the adhesive at each of the four corners of the canvas and place the print on top. (this help keep it aligned when you’re hammering the nails in)
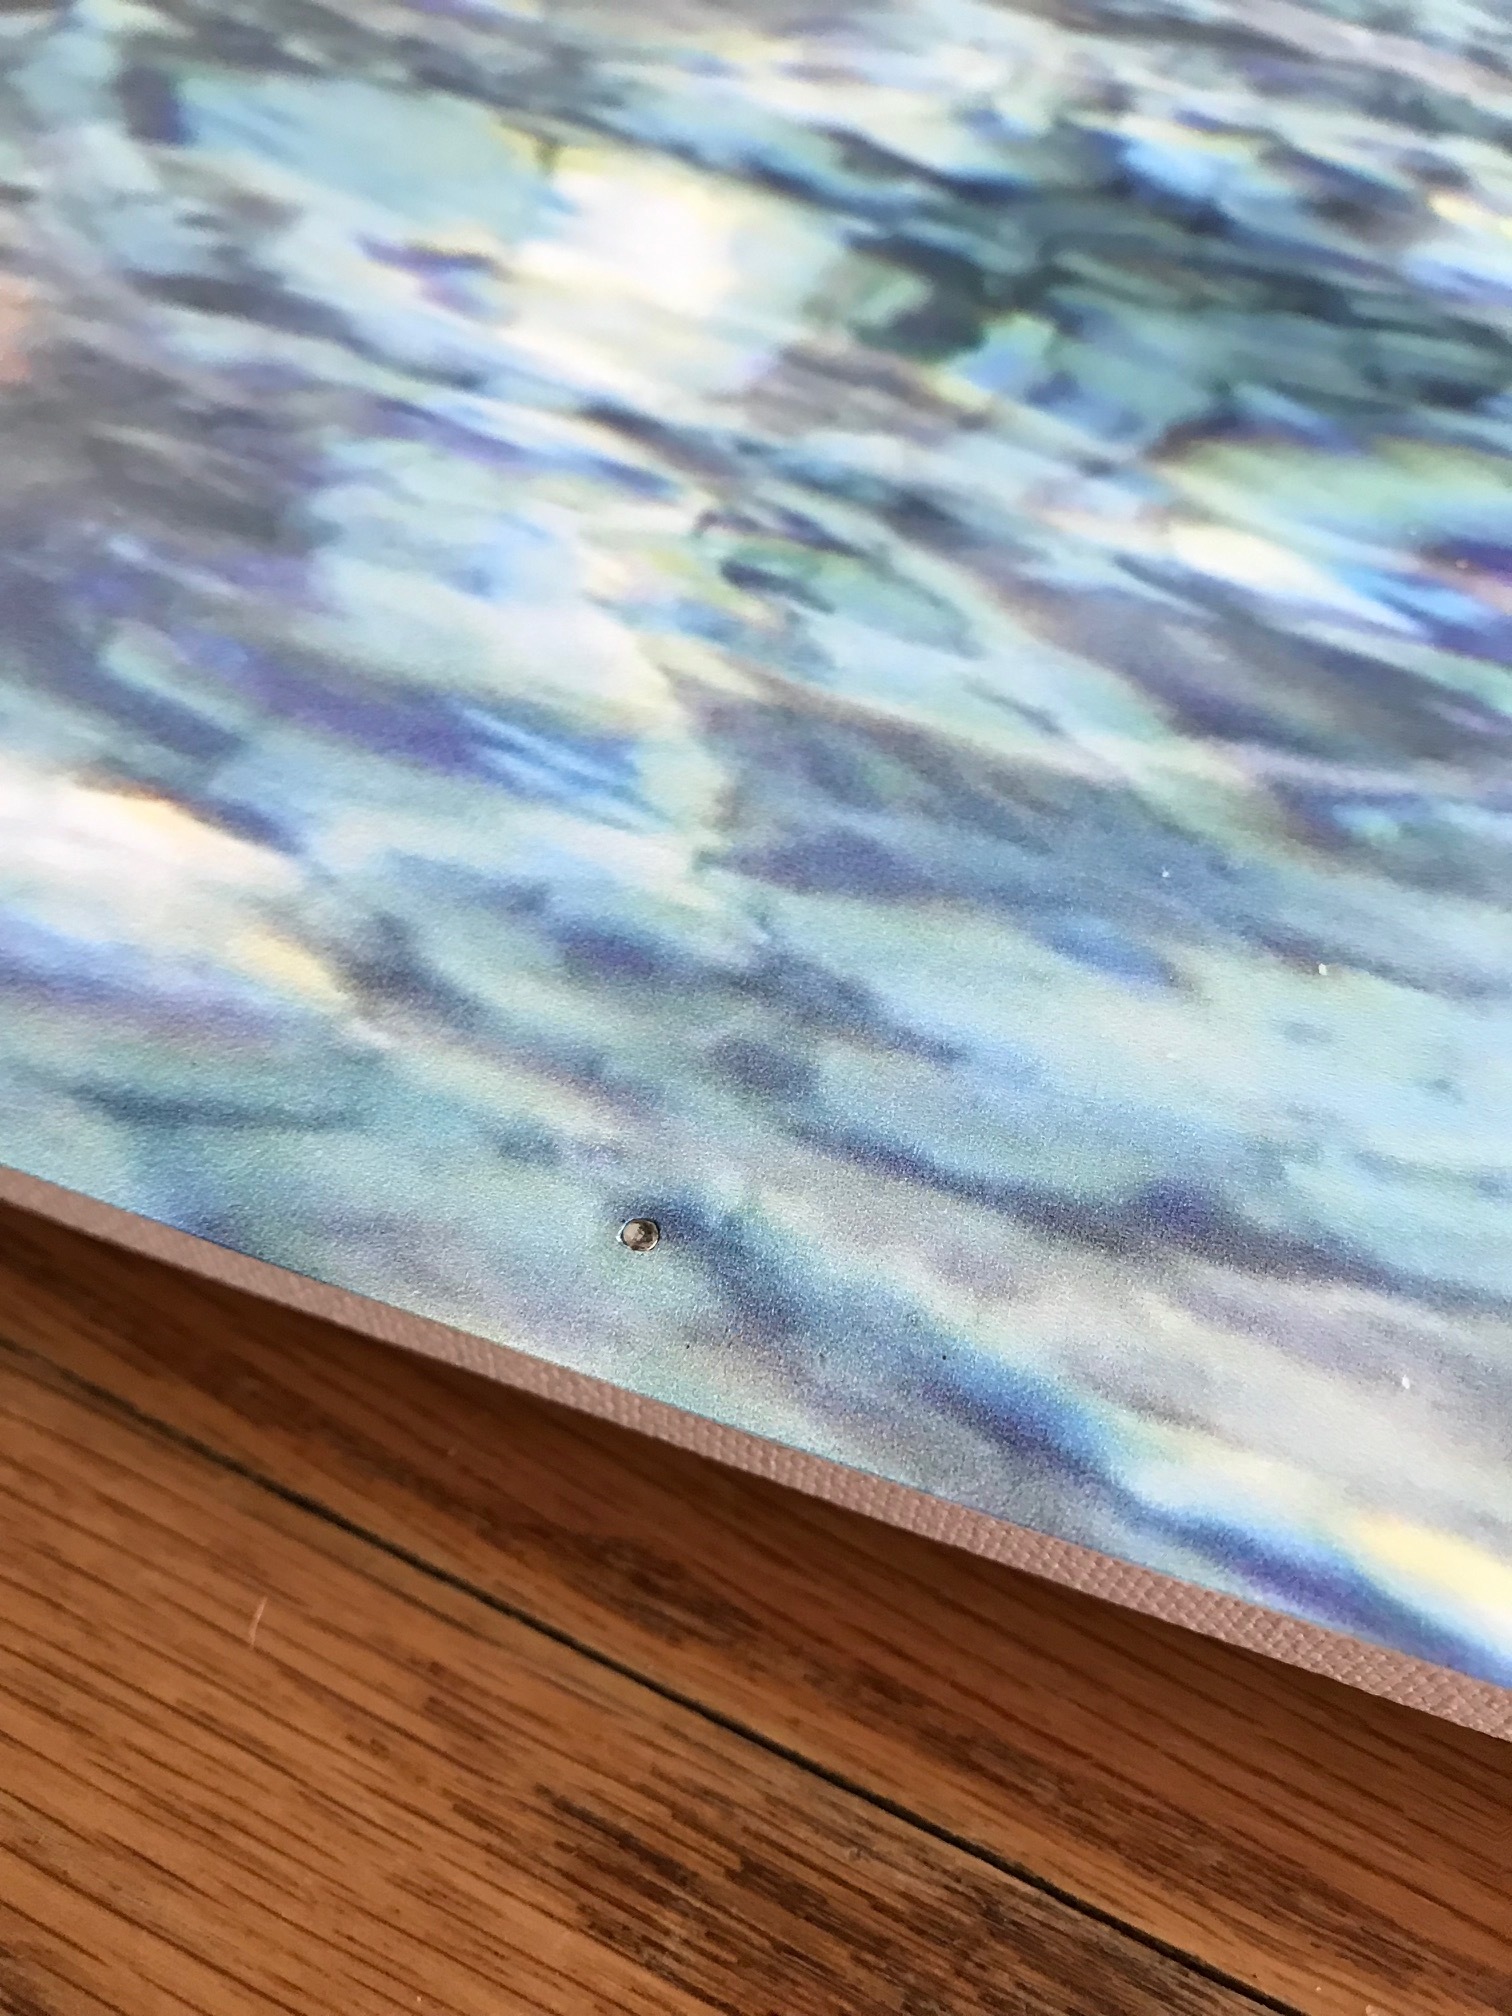
2.) Use your hand to smooth out the print onto the canvas. Make sure to use your hand to pull it pretty taught while you hammer in your first nail. The nail should be hammered all the way down so that the head can hold down the print. [see picture 2]
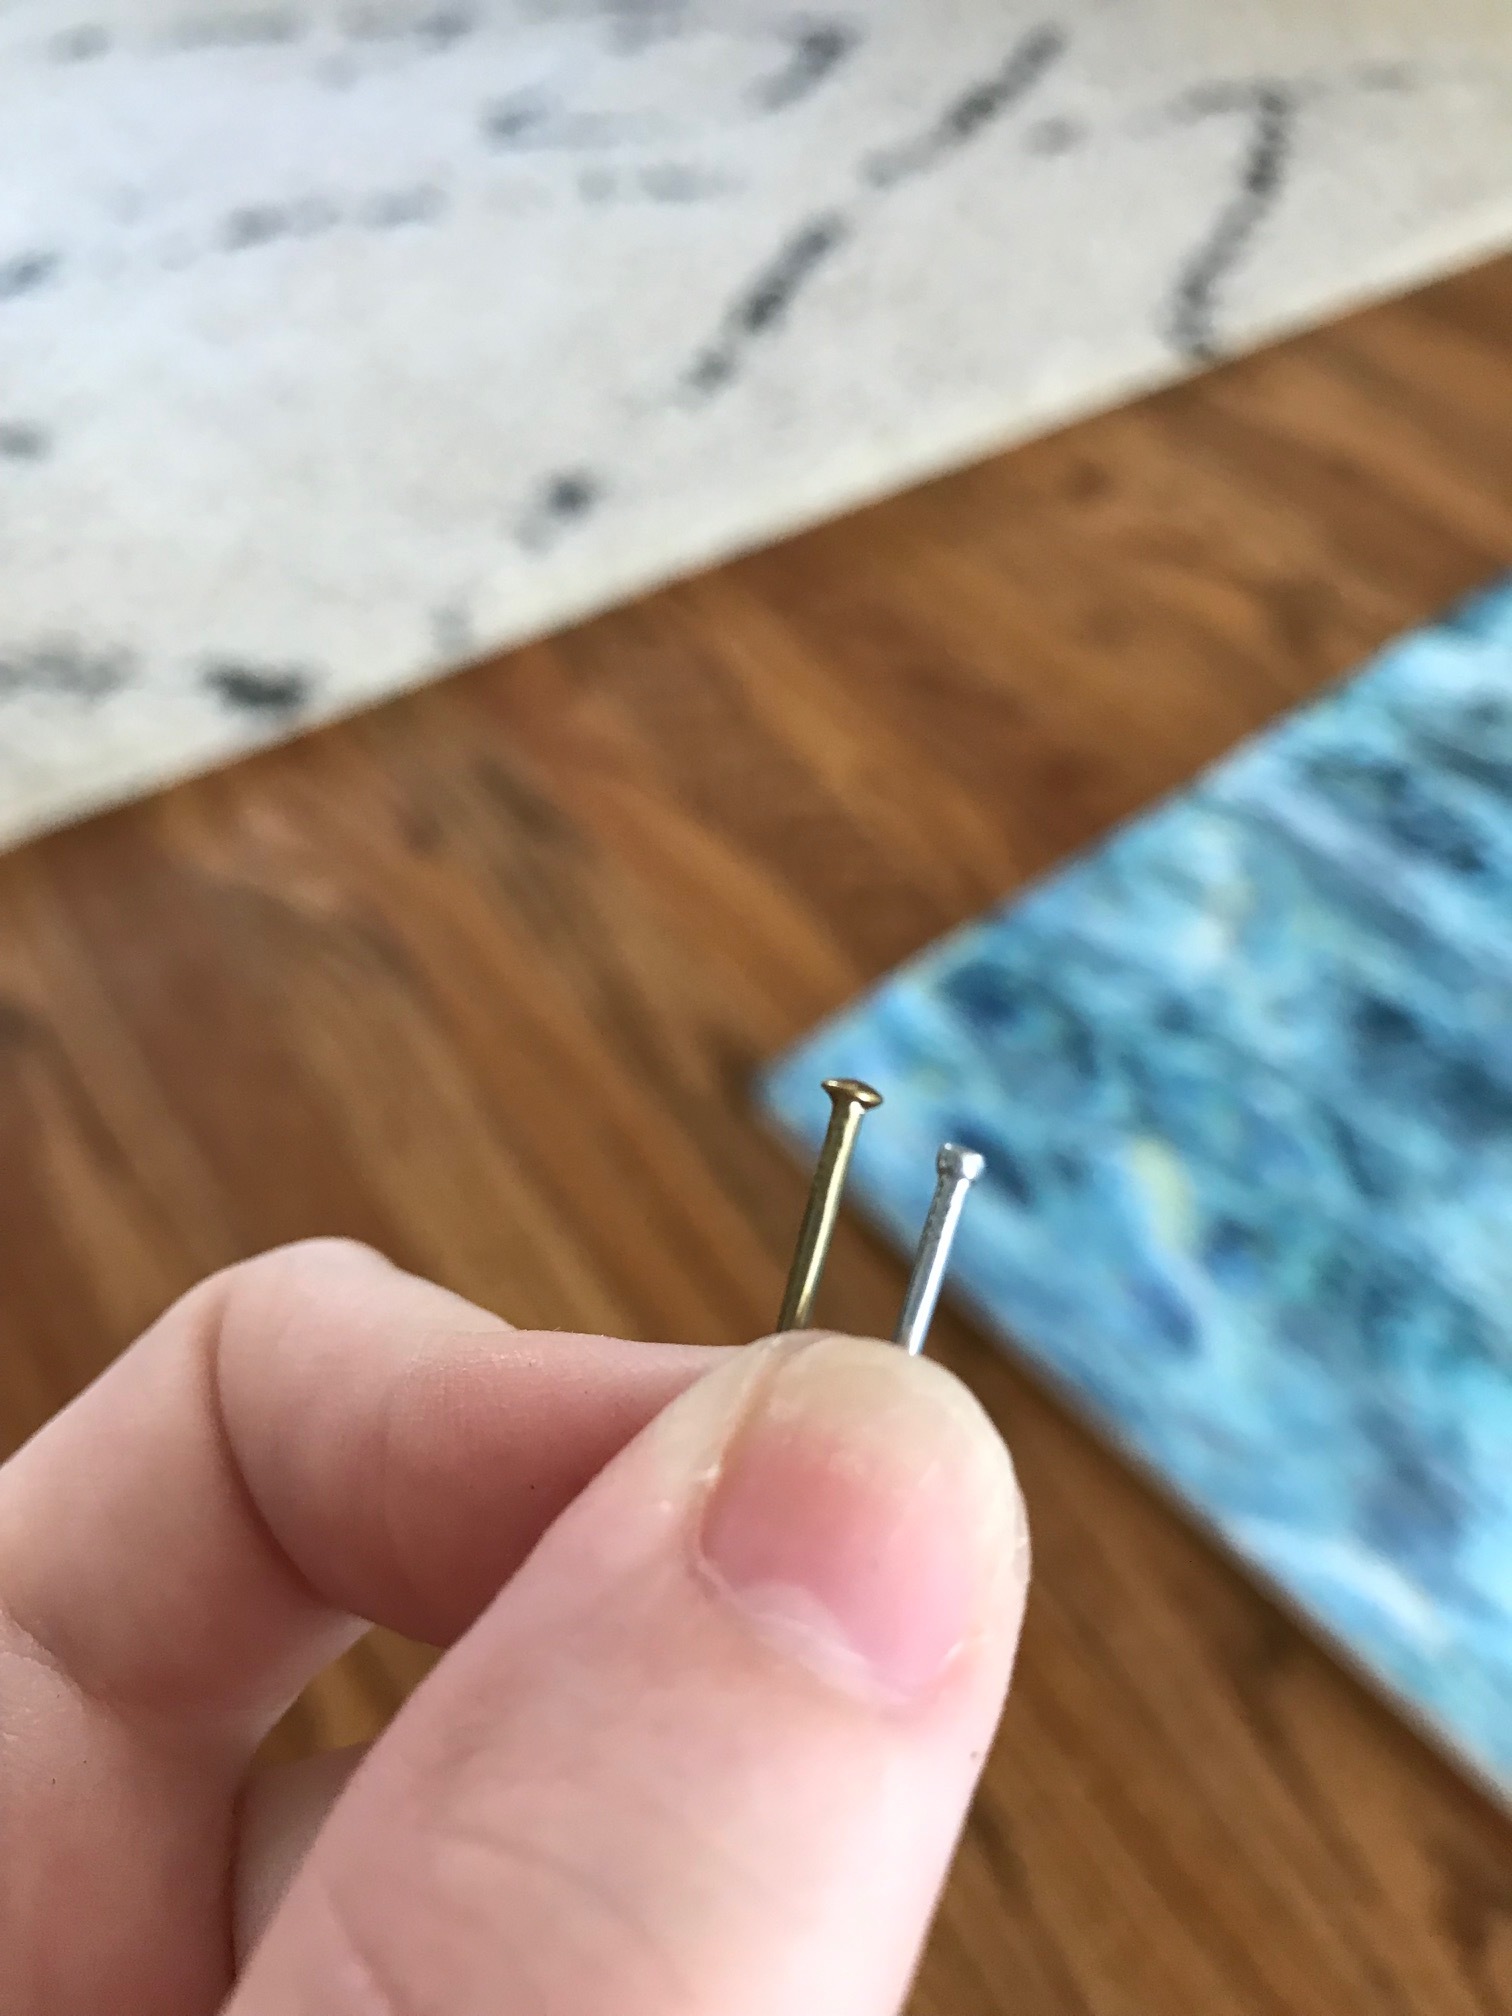
* Learn from my mistake and use a nail that has a big enough head so that your print won’t just rip right through! [picture 3]
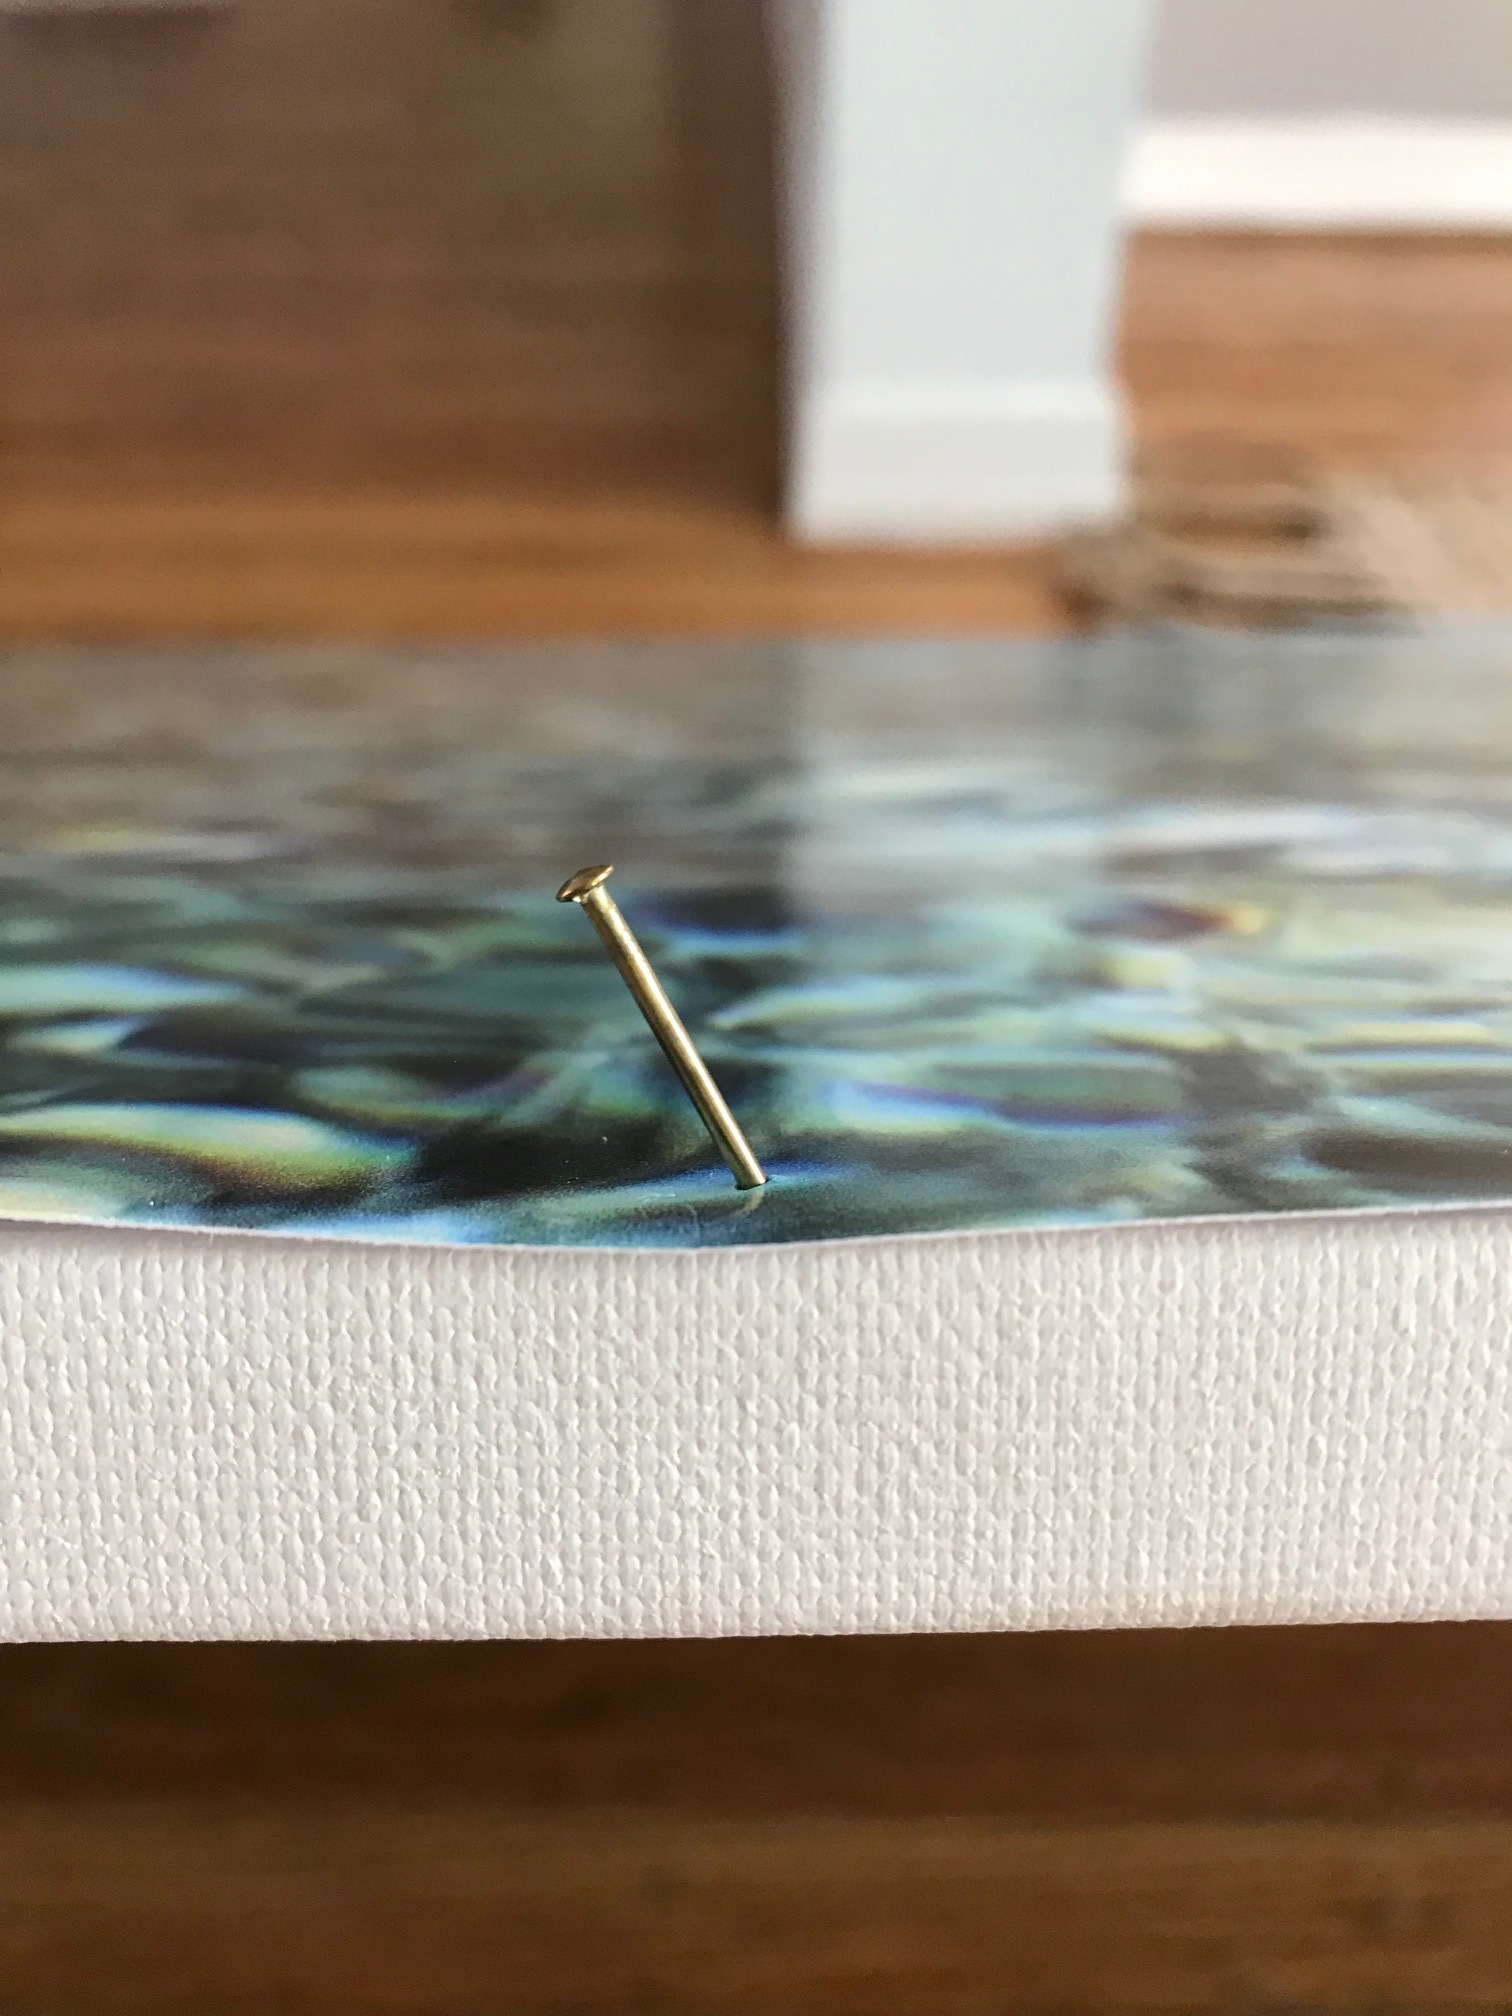
3.) I had to start hammering the nails in on a slight angle because they were just slightly too long
I only ended up needing about 2-3 nails for each side. And if you have a nail gun, the process will be a lot faster. I’m pretty sure a staple gun would also do the trick.
At this point you could either stop and hang it up OR you can also paint the edges of the canvas if you wanted a more “finished” look!