DIY MACRAME LIGHT CORD

I made this DIY Macrame Light Cord for our guest room a while ago. I love that it adds texture and interest while being VERY budget friendly! This was my first attempt at anything involving macrame and I will warn you that after a while it really started to hurt my fingers!
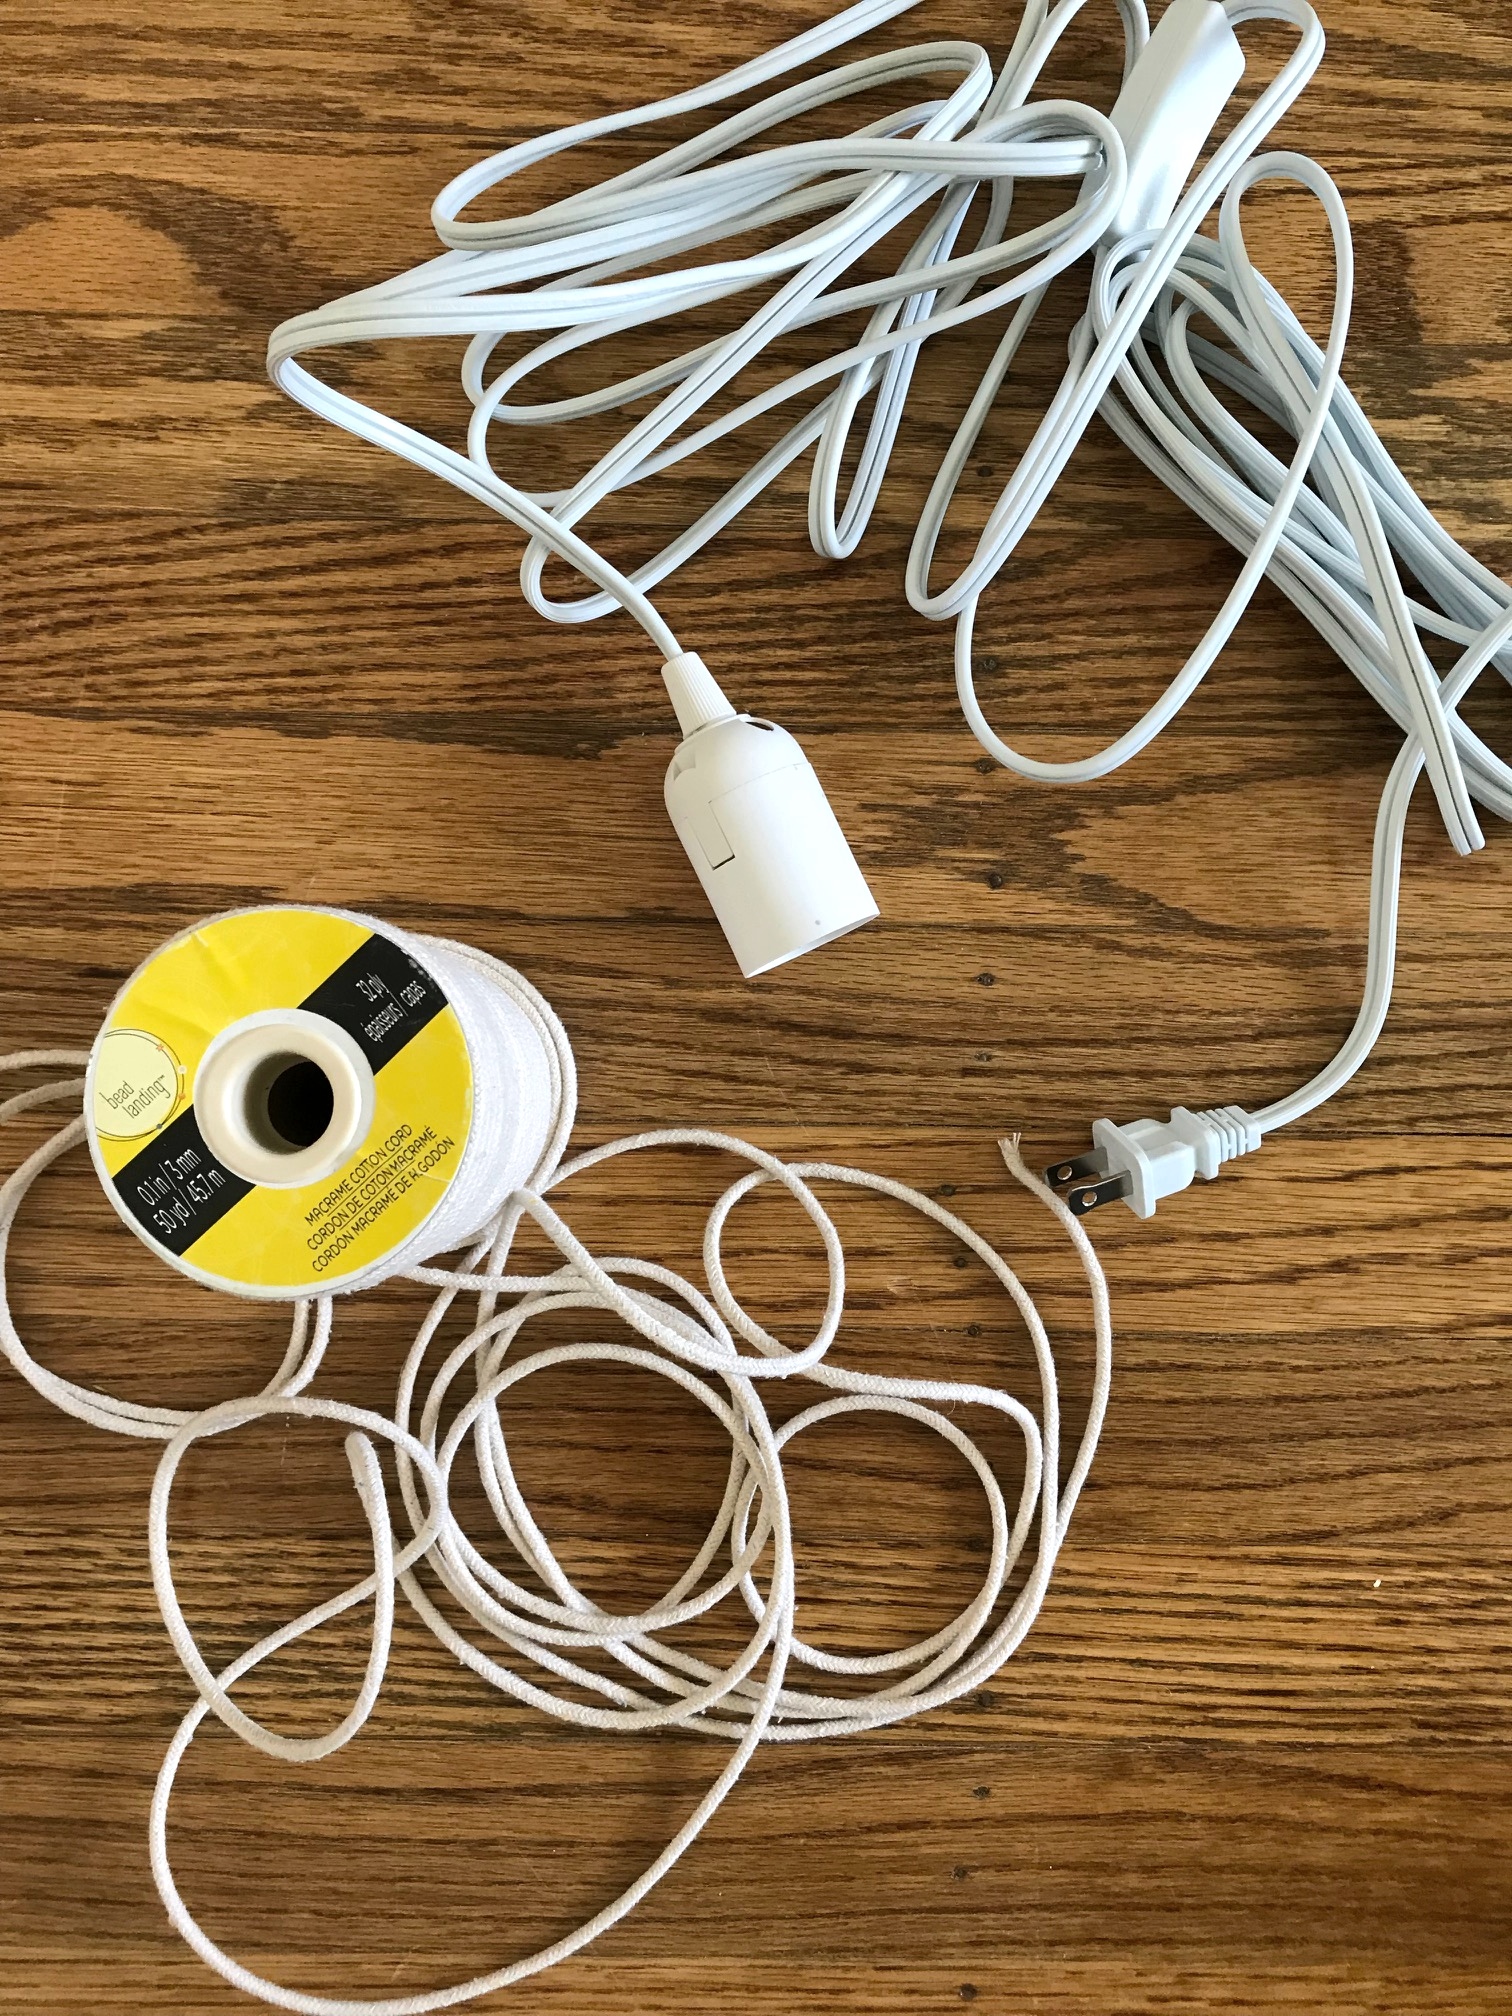


SUPPLIES:
Light Cord - Amazon
Macrame Cord - Amazon
*Please note these are affiliate links, which means I might make a small commission from your purchase at no extra cost to you.
STEPS:
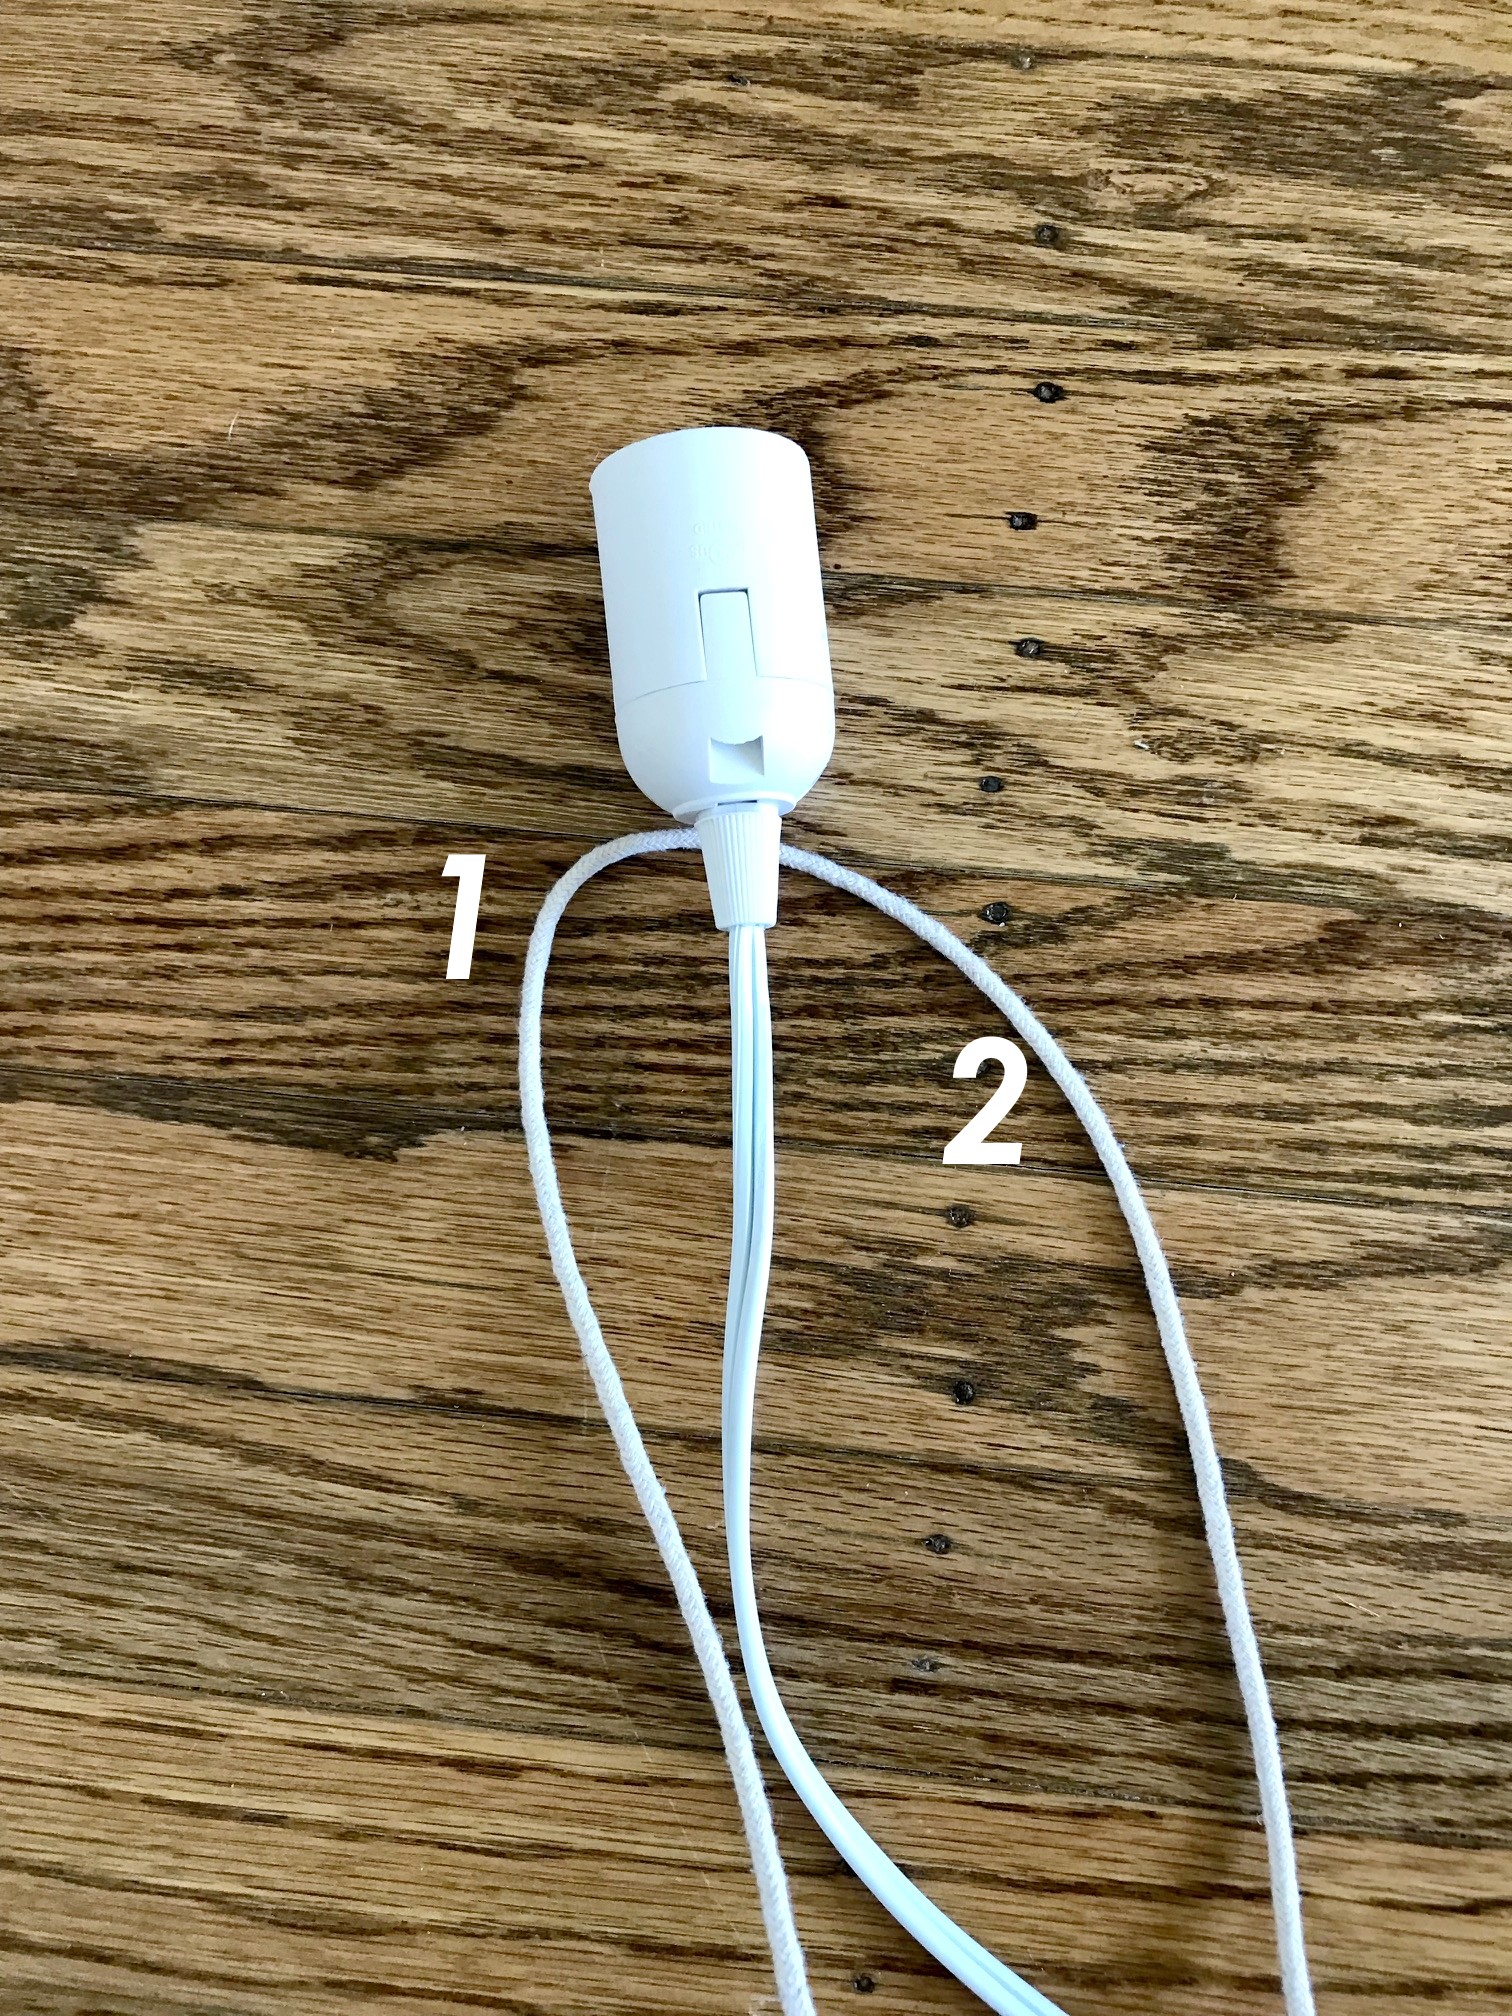
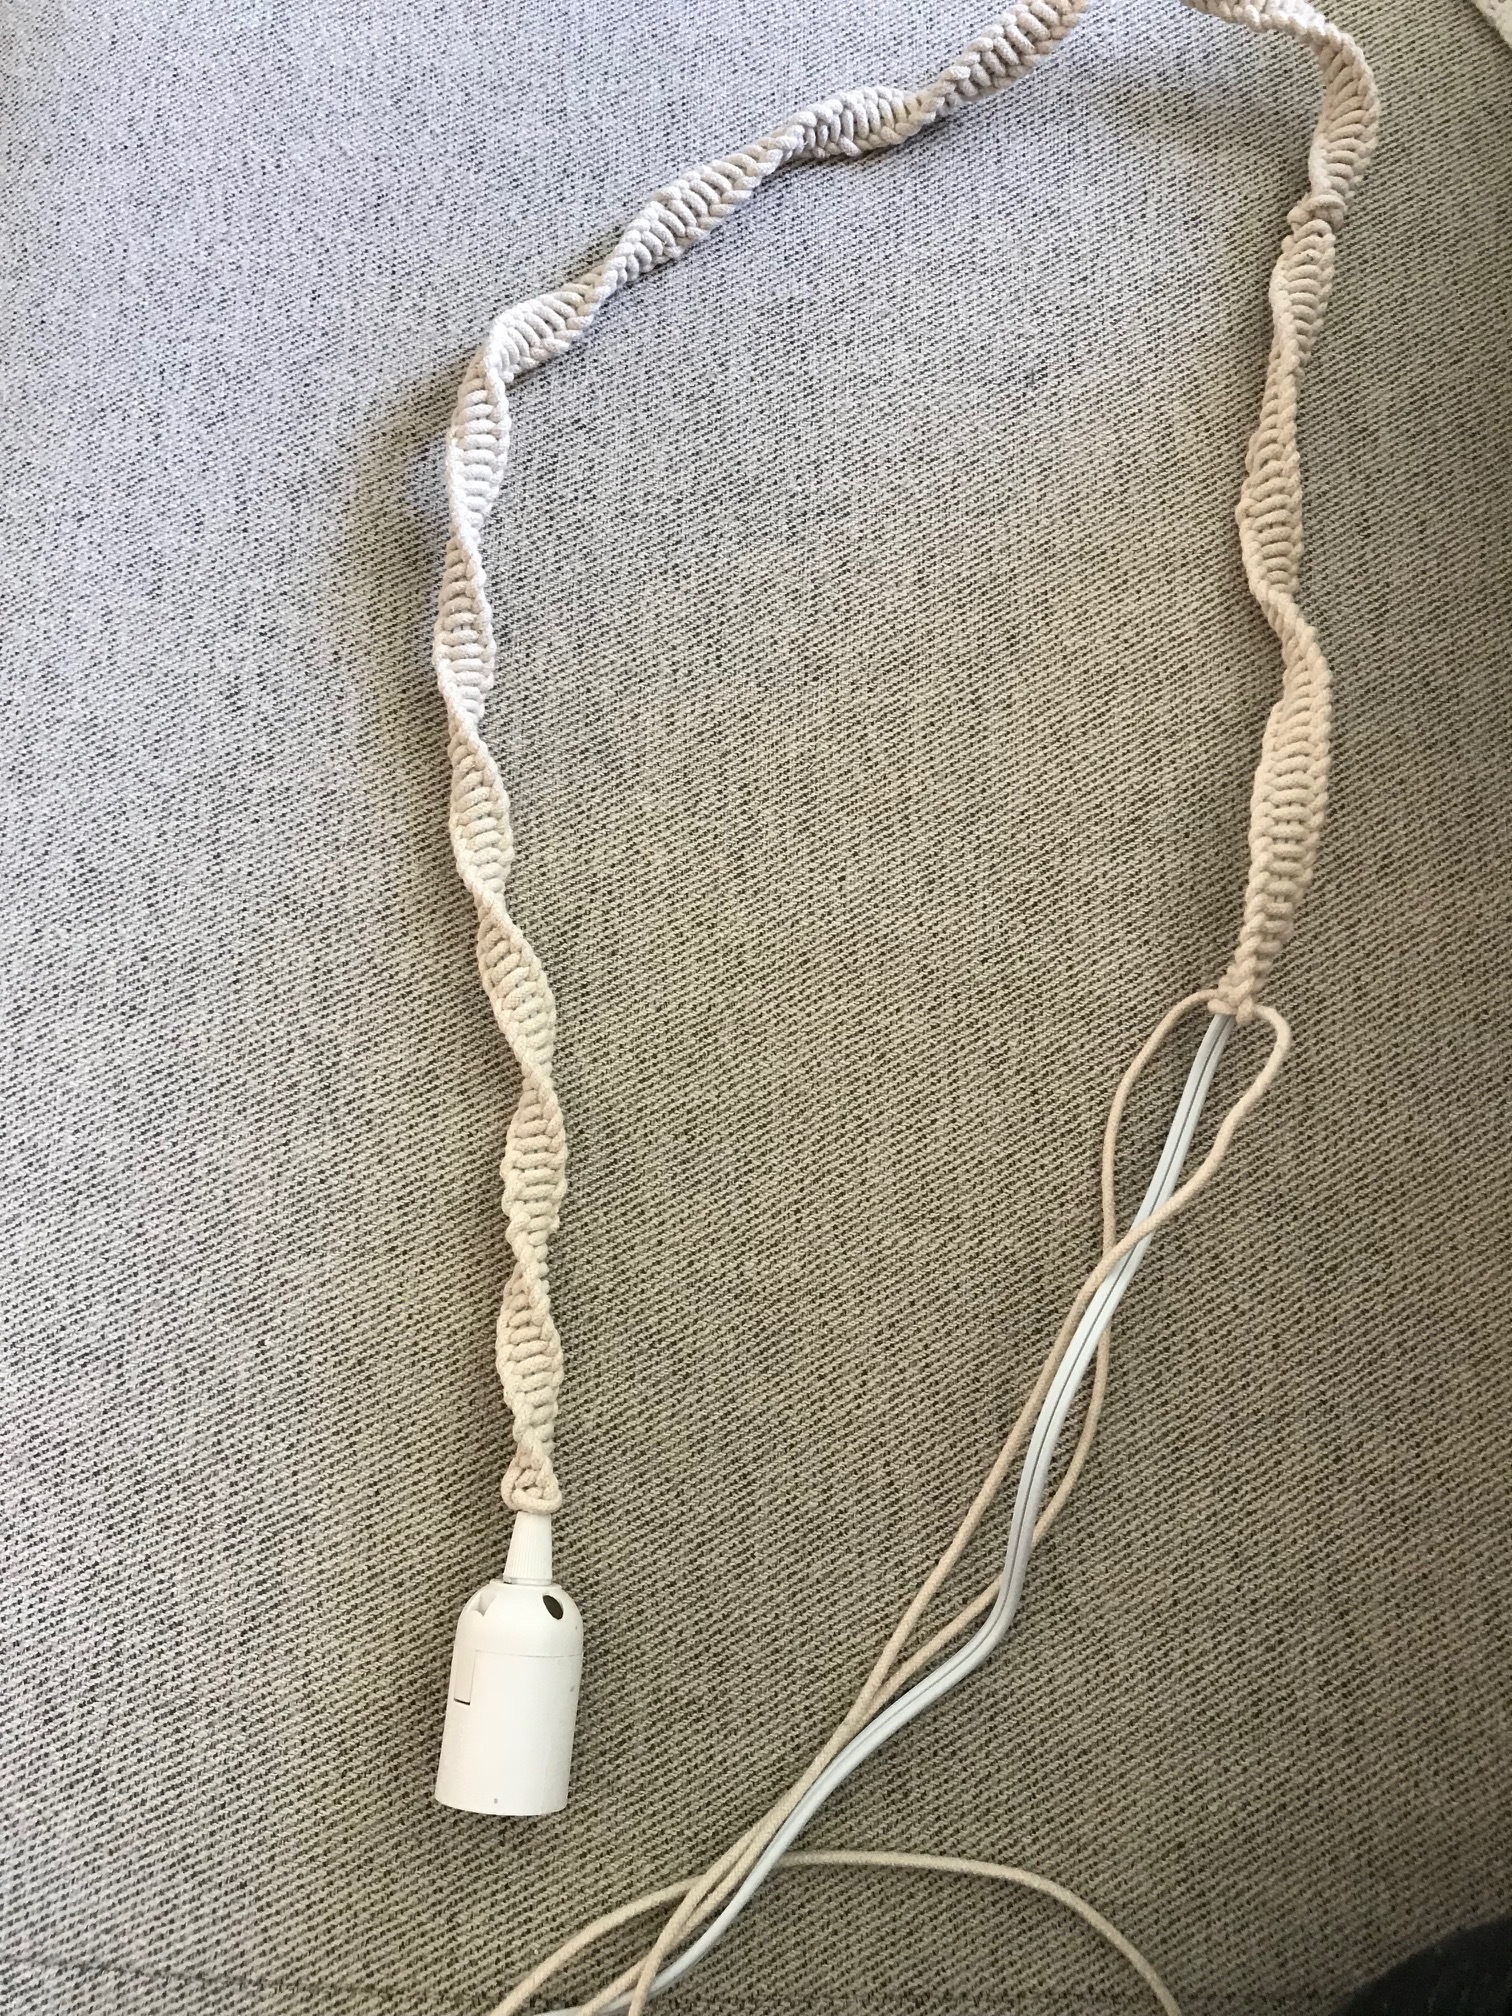
1.) Cut a VERY long piece of macrame cord and place it under the light cord (make sure the cord is the same length on both sides).
2.) Take SIDE 2 of the macrame cord (see photo) and go UNDER the light cord but OVER side 1 of the macrame cord.
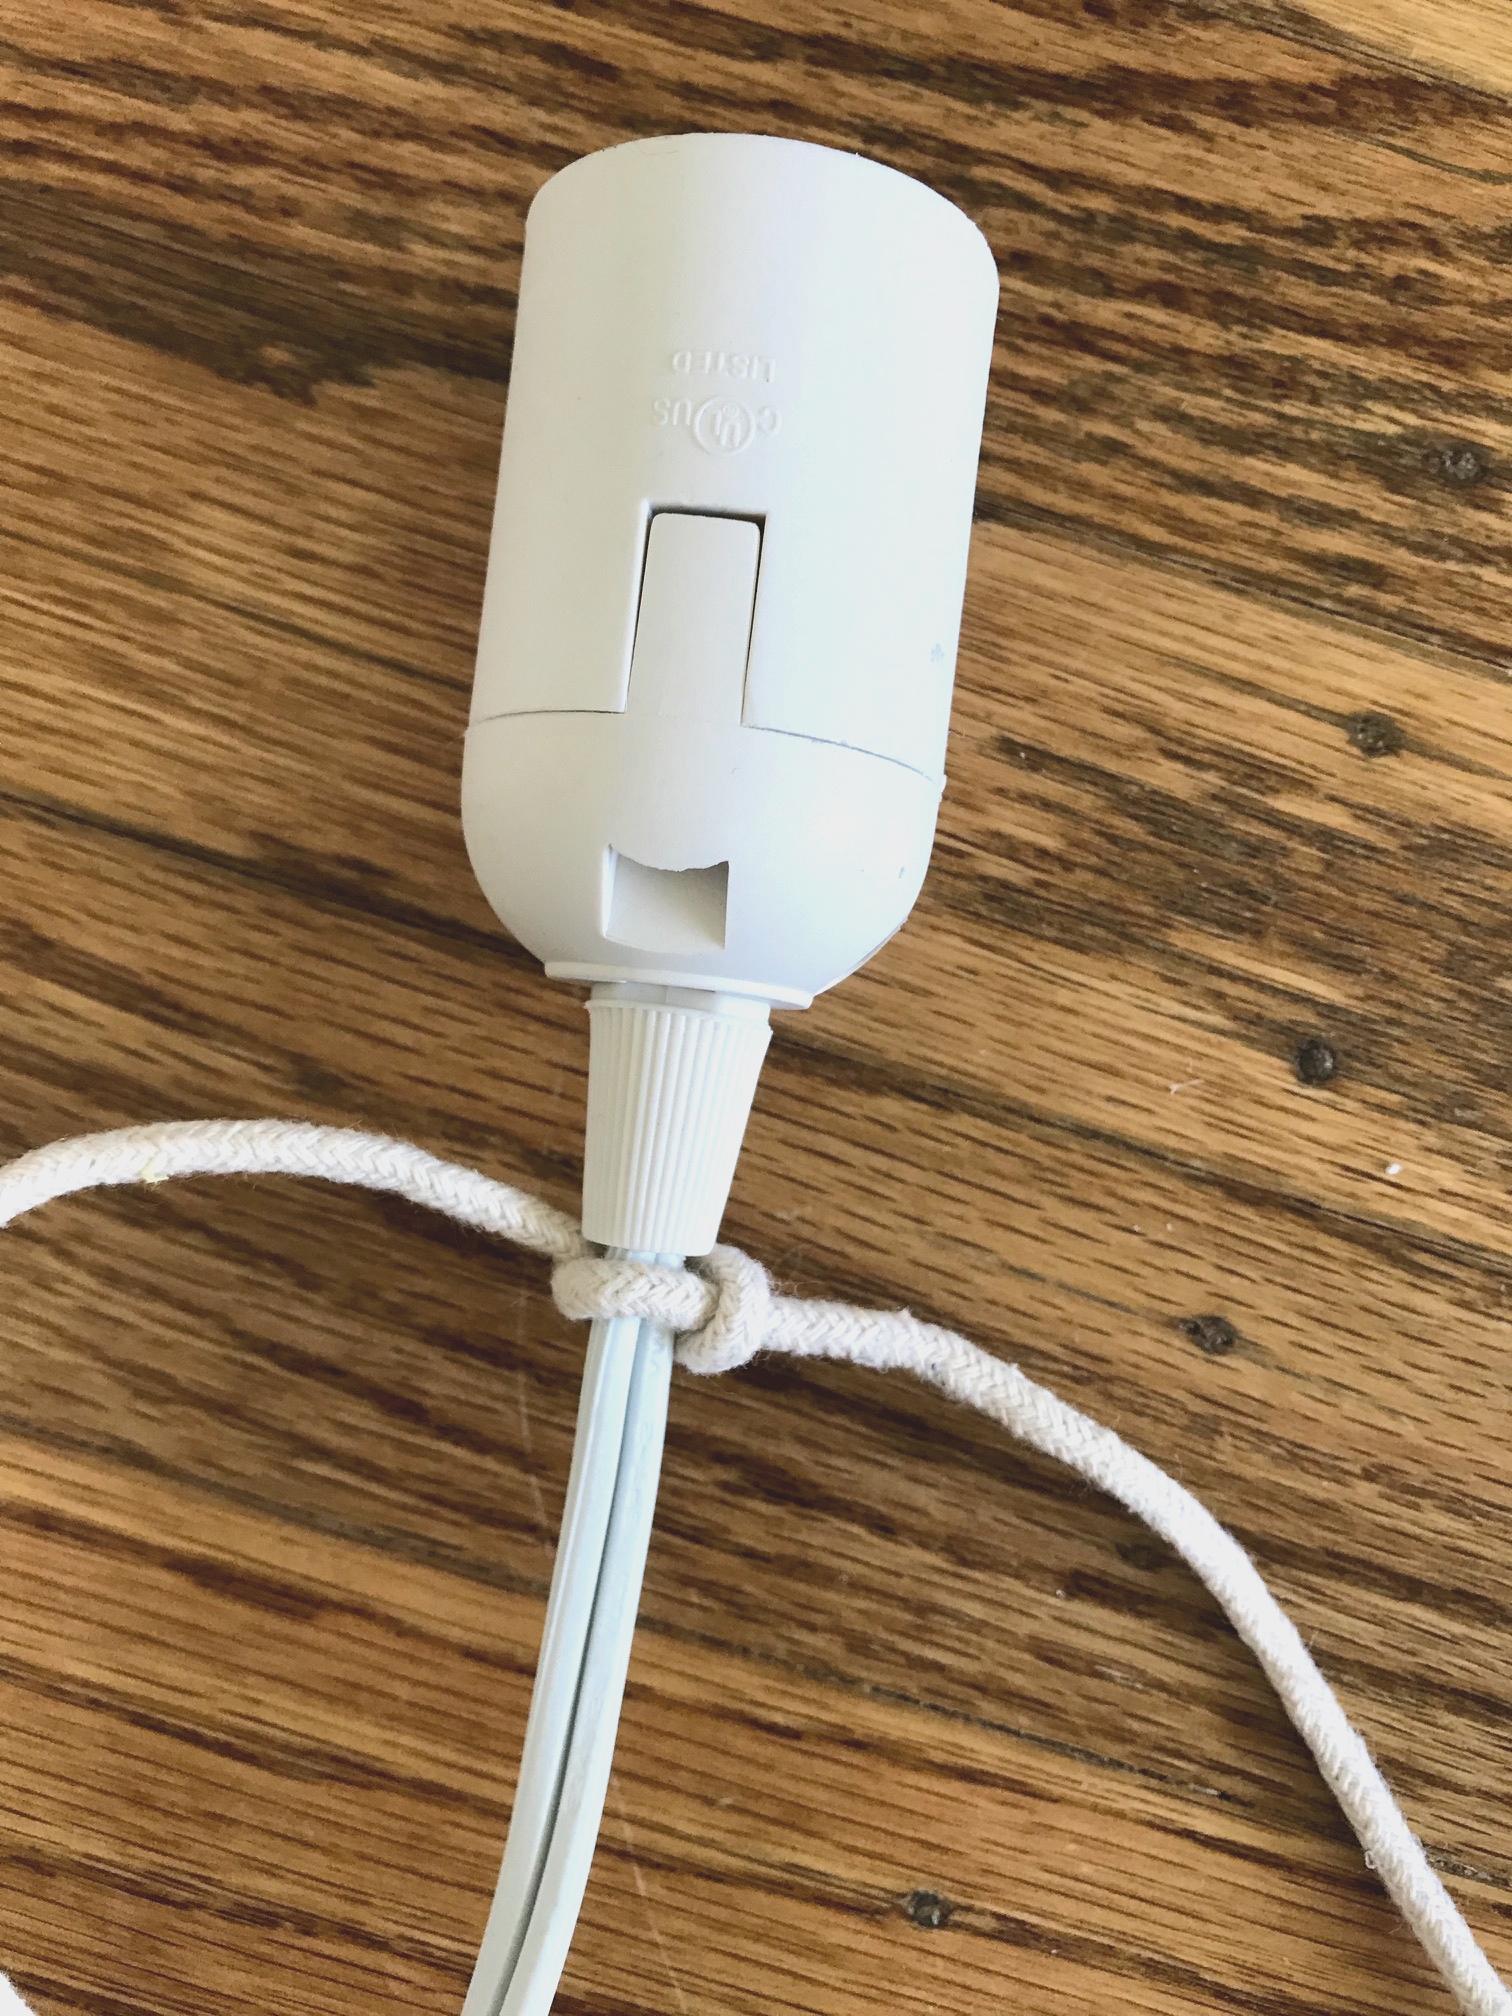
3.) Take SIDE 1 of the macrame cord and go OVER the light cord and then THROUGH/UNDER the loop that you just created with side 2 of the macrame cord.
4.) Pull both ends of the macrame cord tightly and it should look like photo 4.
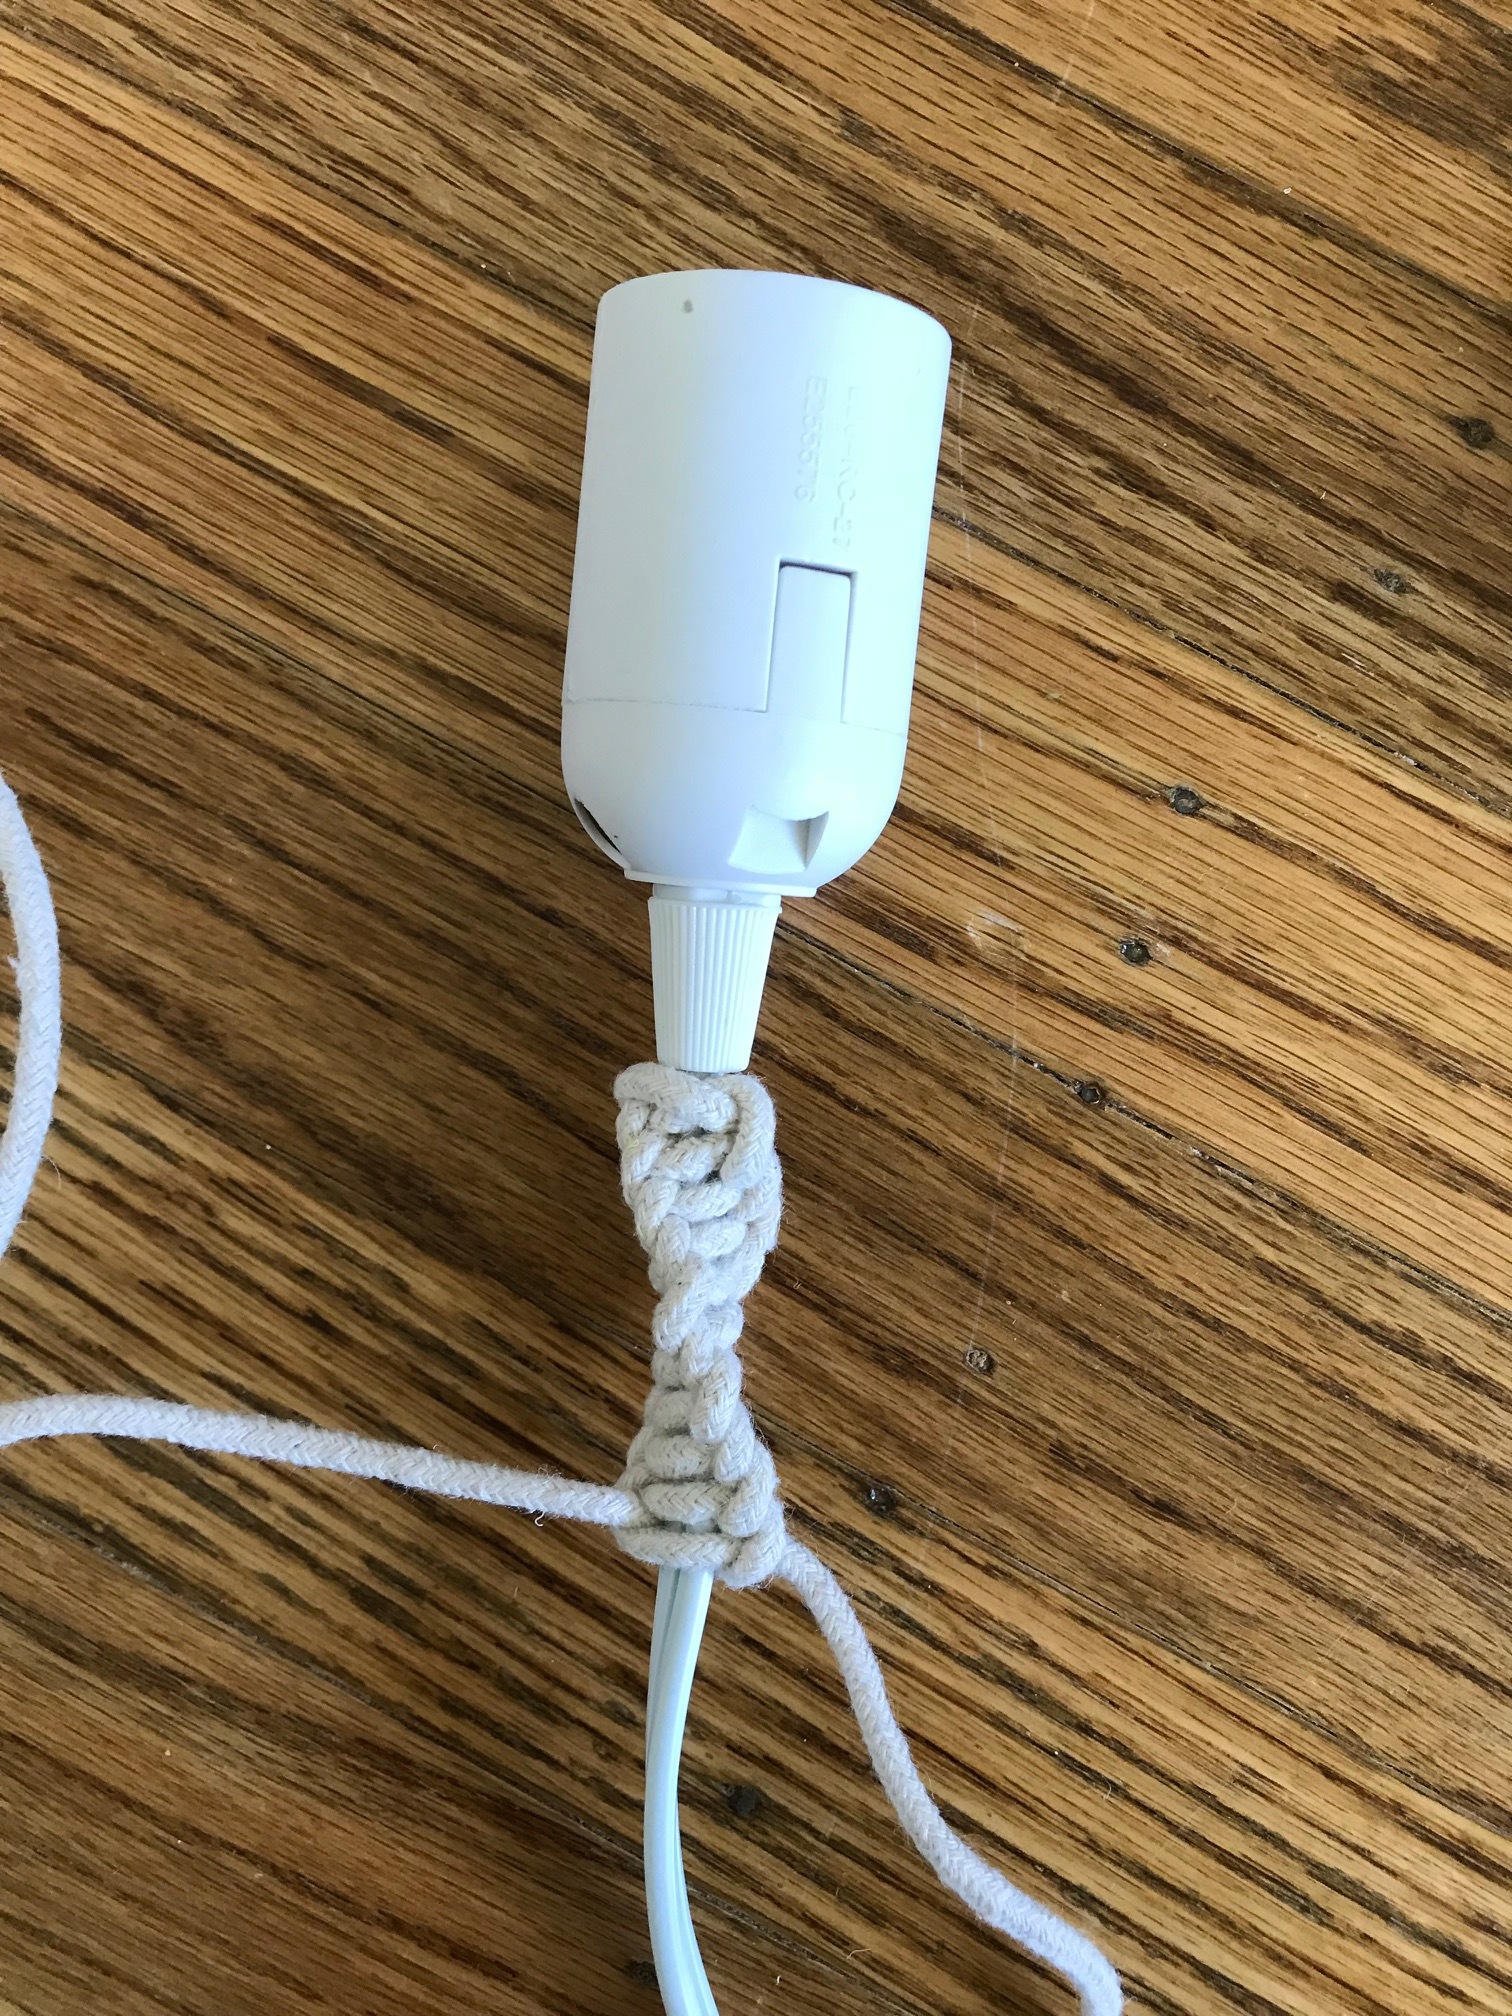
5.) Continue that same process — the macrame cord on your right side will always go UNDER the light cord and OVER the macrame cord on the left side… Then the macrame cord on your left side will go OVER the light cord and then THROUGH/UNDER the loop created on your right side. Pull tightly after each knot.
6.) The spiral will occur naturally as you go on.
7.) Continue making knots for as long as you’d like your cord to be!
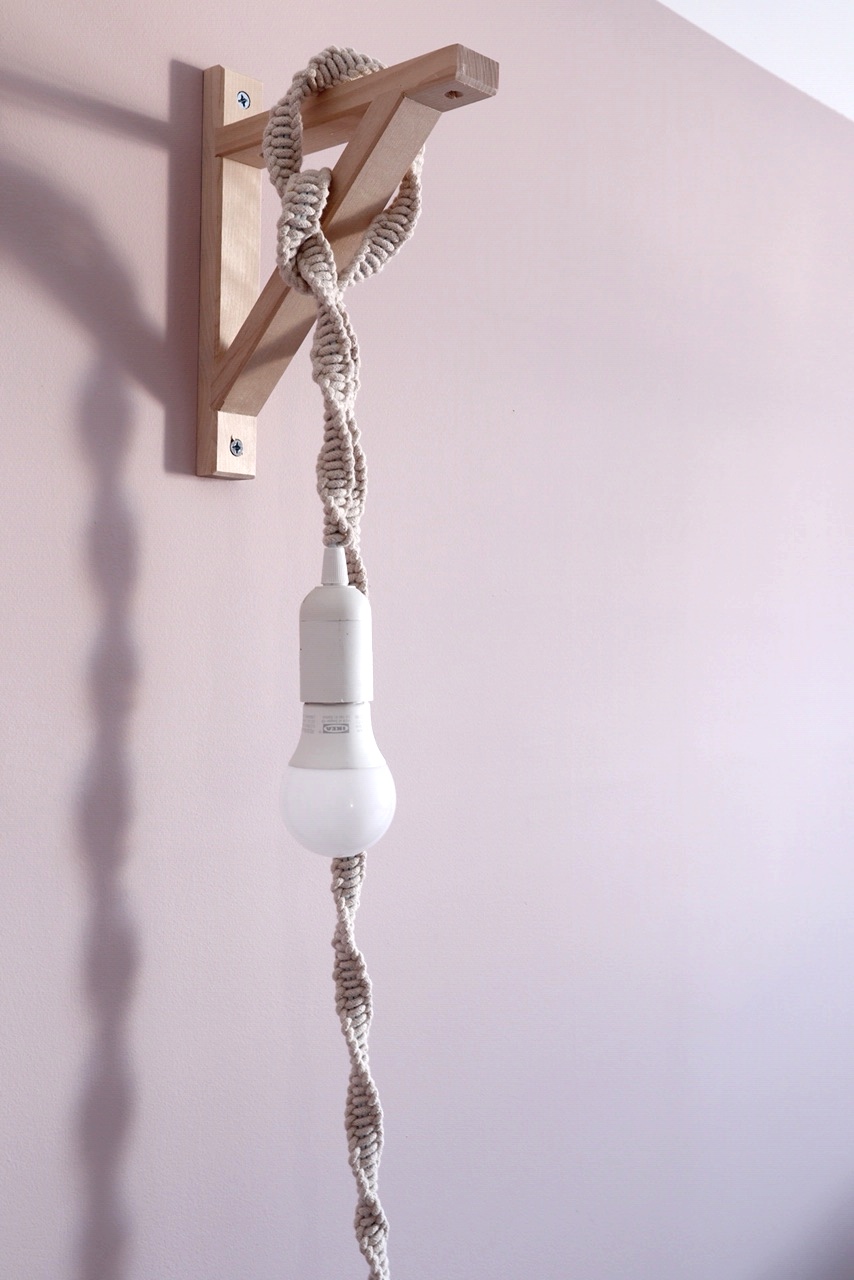
8.) Hang + enjoy!